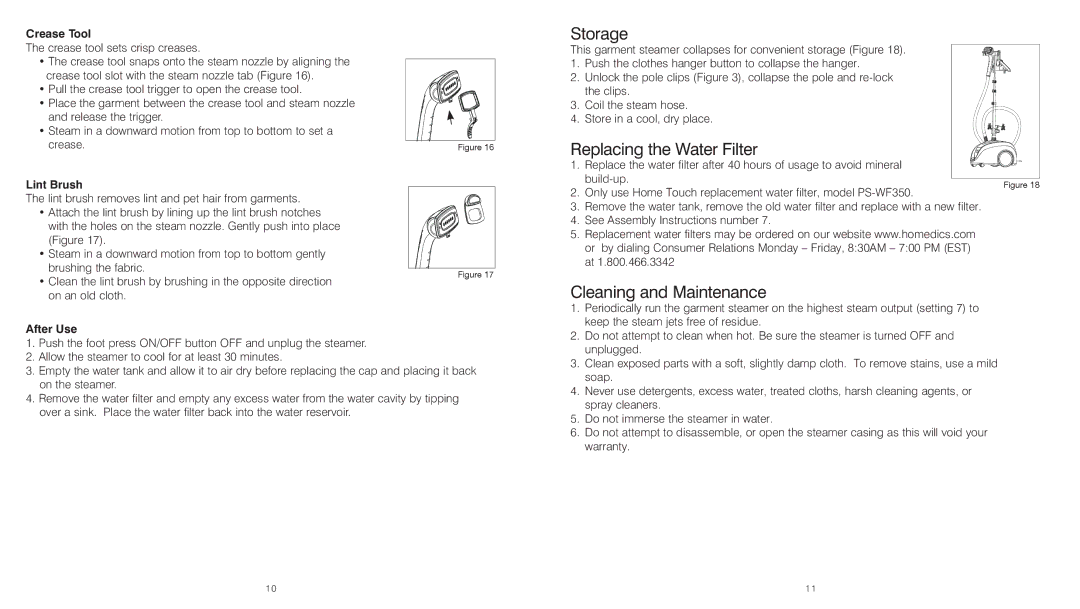
Crease Tool
The crease tool sets crisp creases.
•The crease tool snaps onto the steam nozzle by aligning the crease tool slot with the steam nozzle tab (Figure 16).
•Pull the crease tool trigger to open the crease tool.
•Place the garment between the crease tool and steam nozzle
and release the trigger. |
|
• Steam in a downward motion from top to bottom to set a |
|
crease. | Figure 16 |
Lint Brush
The lint brush removes lint and pet hair from garments.
•Attach the lint brush by lining up the lint brush notches with the holes on the steam nozzle. Gently push into place (Figure 17).
•Steam in a downward motion from top to bottom gently
brushing the fabric. |
| |
Figure 17 | ||
• Clean the lint brush by brushing in the opposite direction | ||
| ||
on an old cloth. |
|
After Use
1.Push the foot press ON/OFF button OFF and unplug the steamer.
2.Allow the steamer to cool for at least 30 minutes.
3.Empty the water tank and allow it to air dry before replacing the cap and placing it back on the steamer.
4.Remove the water filter and empty any excess water from the water cavity by tipping over a sink. Place the water filter back into the water reservoir.
Storage
This garment steamer collapses for convenient storage (Figure 18).
1.Push the clothes hanger button to collapse the hanger.
2.Unlock the pole clips (Figure 3), collapse the pole and
3.Coil the steam hose.
4.Store in a cool, dry place.
Replacing the Water Filter |
| ||
1. | Replace the water filter after 40 hours of usage to avoid mineral |
| |
| Figure 18 | ||
2. | Only use Home Touch replacement water filter, model | ||
| |||
3. | Remove the water tank, remove the old water filter and replace with a new filter. |
| |
4. | See Assembly Instructions number 7. |
| |
5. | Replacement water filters may be ordered on our website www.homedics.com |
| |
| or by dialing Consumer Relations Monday – Friday, 8:30AM – 7:00 PM (EST) |
| |
| at 1.800.466.3342 |
| |
Cleaning and Maintenance
1.Periodically run the garment steamer on the highest steam output (setting 7) to keep the steam jets free of residue.
2.Do not attempt to clean when hot. Be sure the steamer is turned OFF and unplugged.
3.Clean exposed parts with a soft, slightly damp cloth. To remove stains, use a mild soap.
4.Never use detergents, excess water, treated cloths, harsh cleaning agents, or spray cleaners.
5.Do not immerse the steamer in water.
6.Do not attempt to disassemble, or open the steamer casing as this will void your warranty.
10 | 11 |
