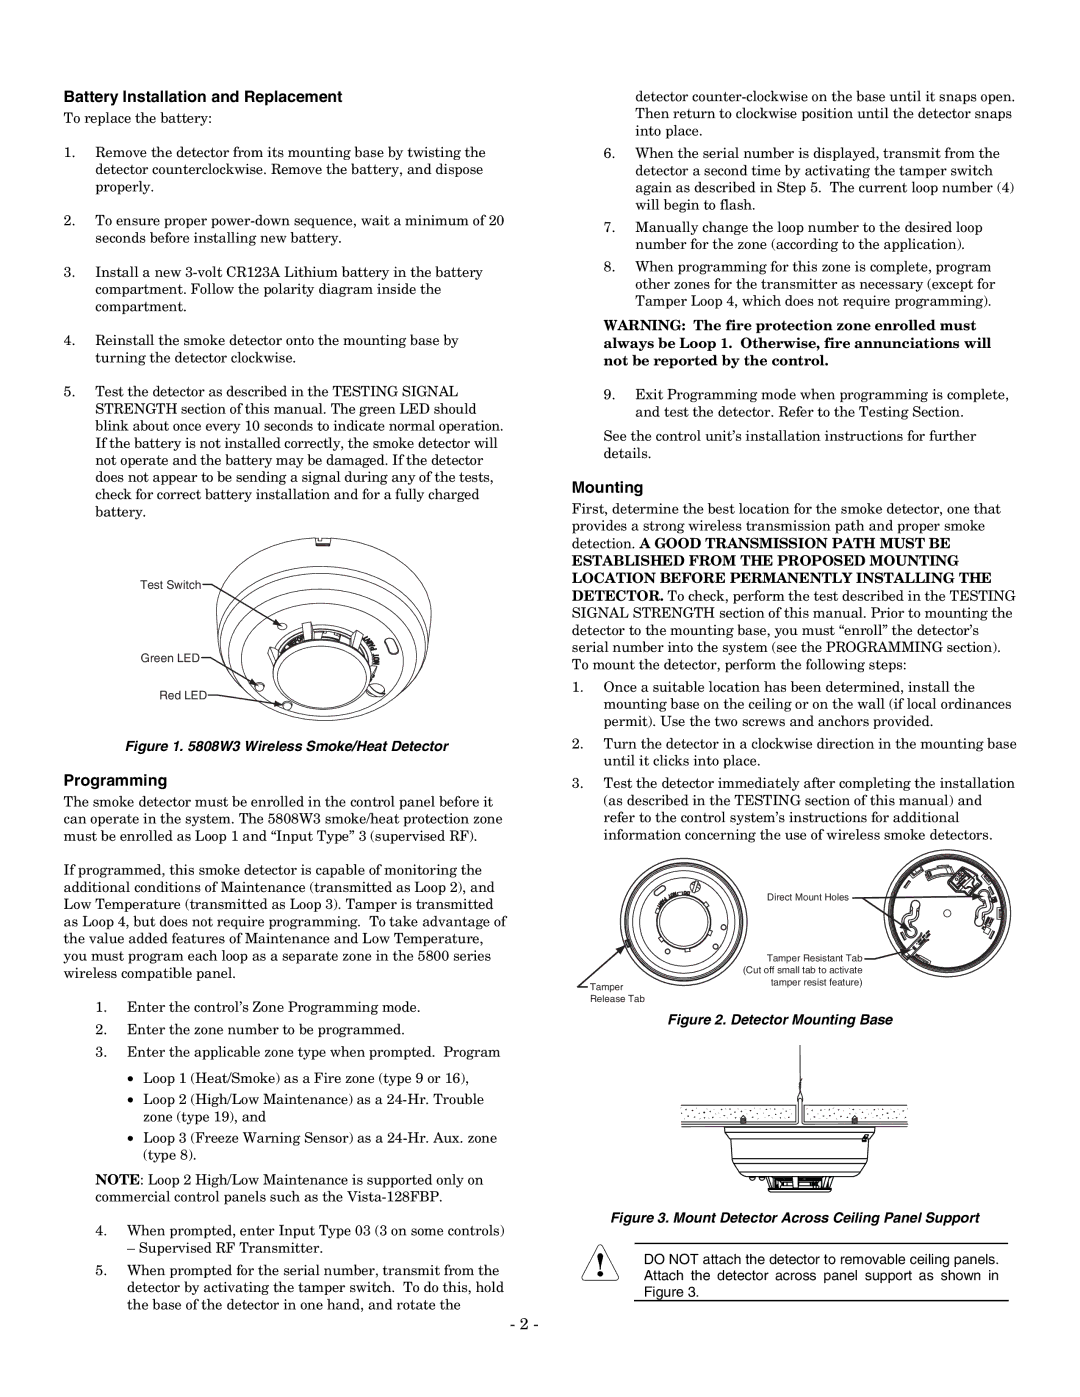
Honeywell 5808W3 setup guide Battery Installation and Replacement, Programming, Mounting

Models: 5808W3

1 4
Download 4 pages 17.29 Kb
Page 2
Image 2
Battery Installation and Replacement

Battery Installation and Replacement

To replace the battery:

1.Remove the detector from its mounting base by twisting the detector counterclockwise. Remove the battery, and dispose properly.

2.To ensure proper power-down sequence, wait a minimum of 20 seconds before installing new battery.

3.Install a new 3-volt CR123A Lithium battery in the battery compartment. Follow the polarity diagram inside the compartment.

4.Reinstall the smoke detector onto the mounting base by turning the detector clockwise.

5.Test the detector as described in the TESTING SIGNAL STRENGTH section of this manual. The green LED should blink about once every 10 seconds to indicate normal operation. If the battery is not installed correctly, the smoke detector will not operate and the battery may be damaged. If the detector does not appear to be sending a signal during any of the tests, check for correct battery installation and for a fully charged battery.

Test Switch

Green LEDFigure 1. 5808W3 Wireless Smoke/Heat Detector

Red LEDProgramming

Figure 1. 5808W3 Wireless Smoke/Heat Detector

Programming

The smoke detector must be enrolled in the control panel before it can operate in the system. The 5808W3 smoke/heat protection zone must be enrolled as Loop 1 and “Input Type” 3 (supervised RF).

If programmed, this smoke detector is capable of monitoring the additional conditions of Maintenance (transmitted as Loop 2), and Low Temperature (transmitted as Loop 3). Tamper is transmitted as Loop 4, but does not require programming. To take advantage of the value added features of Maintenance and Low Temperature, you must program each loop as a separate zone in the 5800 series wireless compatible panel.

detector counter-clockwise on the base until it snaps open. Then return to clockwise position until the detector snaps into place.

6.When the serial number is displayed, transmit from the detector a second time by activating the tamper switch again as described in Step 5. The current loop number (4) will begin to flash.

7.Manually change the loop number to the desired loop number for the zone (according to the application).

8.When programming for this zone is complete, program other zones for the transmitter as necessary (except for Tamper Loop 4, which does not require programming).

WARNING: The fire protection zone enrolled must always be Loop 1. Otherwise, fire annunciations will not be reported by the control.

9.Exit Programming mode when programming is complete, and test the detector. Refer to the Testing Section.

See the control unit’s installation instructions for further details.

Mounting

First, determine the best location for the smoke detector, one that provides a strong wireless transmission path and proper smoke detection. A GOOD TRANSMISSION PATH MUST BE

ESTABLISHED FROM THE PROPOSED MOUNTING LOCATION BEFORE PERMANENTLY INSTALLING THE

DETECTOR. To check, perform the test described in the TESTING SIGNAL STRENGTH section of this manual. Prior to mounting the detector to the mounting base, you must “enroll” the detector’s serial number into the system (see the PROGRAMMING section). To mount the detector, perform the following steps:

1.Once a suitable location has been determined, install the mounting base on the ceiling or on the wall (if local ordinances permit). Use the two screws and anchors provided.

2.Turn the detector in a clockwise direction in the mounting base until it clicks into place.

3.Test the detector immediately after completing the installation (as described in the TESTING section of this manual) and refer to the control system’s instructions for additional information concerning the use of wireless smoke detectors.

Direct Mount Holes Mounting

Tamper Resistant TabFigure 2. Detector Mounting Base (Cut off small tab to activate

1. Enter the control’s Zone Programming mode.

Tamper Release Tab

tamper resist feature)

2.

Enter the zone number to be programmed.

3.

Enter the applicable zone type when prompted. Program


Loop 1

(Heat/Smoke) as a Fire zone (type 9 or 16),


Loop 2

(High/Low Maintenance) as a 24-Hr. Trouble


zone (type 19), and


Loop 3

(Freeze Warning Sensor) as a 24-Hr. Aux. zone


(type 8).

NOTE: Loop 2 High/Low Maintenance is supported only on commercial control panels such as the Vista-128FBP.

4.When prompted, enter Input Type 03 (3 on some controls)

– Supervised RF Transmitter.

5.When prompted for the serial number, transmit from the detector by activating the tamper switch. To do this, hold the base of the detector in one hand, and rotate the

- 2 -

Figure 2. Detector Mounting Base

!Figure 3. Mount Detector Across Ceiling Panel Support

DO NOT attach the detector to removable ceiling panels. Attach the detector across panel support as shown in Figure 3.

Page 2
Image 2
Honeywell setup guide Battery Installation and Replacement, Programming, Mounting, 5808W3 Wireless Smoke/Heat Detector