
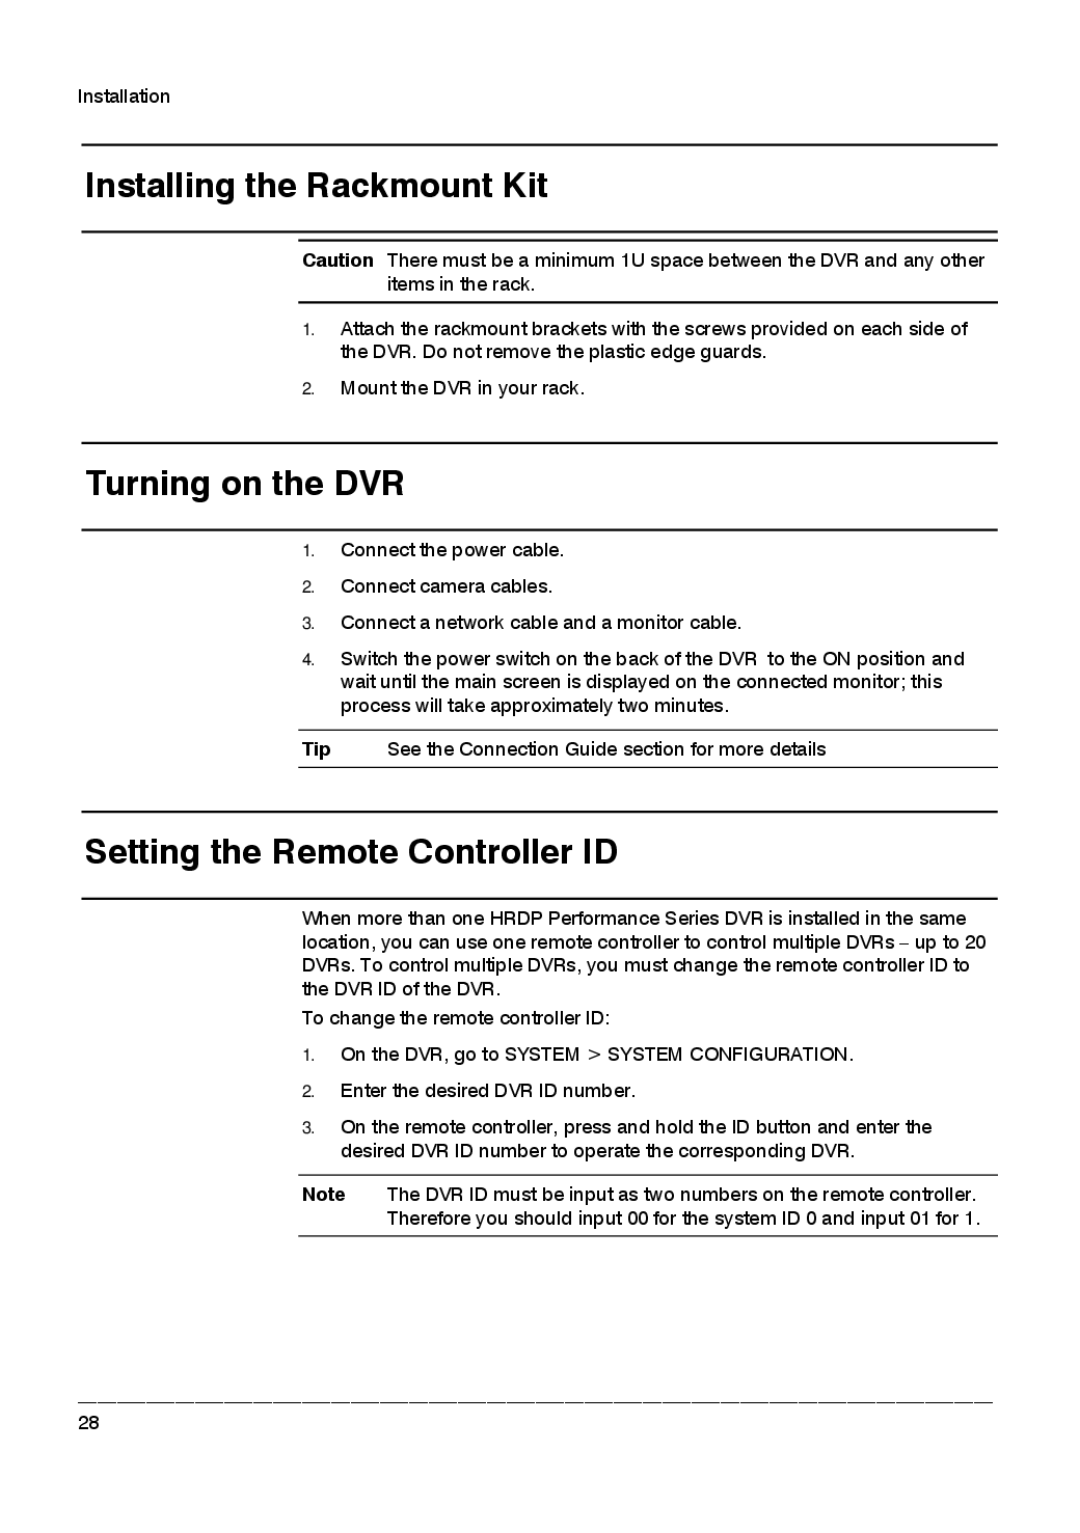
HRDPX specifications
Honeywell HRDPX is a state-of-the-art data acquisition and control system designed to enhance operational efficiency within various industries. This cutting-edge solution is characterized by its versatility, reliability, and robust performance, making it an ideal choice for applications that demand high precision and responsiveness.One of the main features of the HRDPX is its modular architecture, which allows for easy configuration and scalability. Users can tailor the system to meet specific requirements by adding or removing components as needed. This flexibility is particularly beneficial for organizations that anticipate changes in their operational needs or seek to expand their functional capabilities over time.
Equipped with advanced data processing capabilities, the HRDPX can handle a vast amount of data from multiple sensors and devices. This system utilizes Honeywell's proprietary algorithms, which facilitate real-time data analysis and visualization, providing operators with actionable insights. The ability to process data quickly ensures that decision-makers can respond promptly to changing conditions, optimizing operational performance.
The HRDPX system is compatible with various communication protocols, ensuring seamless integration with existing infrastructure. This interoperability minimizes downtime during the transition to the new system and allows for the incorporation of legacy equipment, protecting prior investments. Furthermore, the system is designed to work with both wired and wireless networks, enhancing its adaptability in different environments.
Security is a critical aspect of the HRDPX system. Honeywell incorporates advanced cybersecurity measures to protect sensitive data and ensure the integrity of operations. Features such as encryption, user authentication, and access controls provide robust protection against unauthorized access and potential threats.
In terms of user interaction, the HRDPX boasts an intuitive interface that simplifies operation and monitoring. This user-friendly design facilitates training and reduces the learning curve associated with new technology. Additionally, the system supports remote access, allowing operators to monitor and control processes from anywhere, improving responsiveness and situational awareness.
In conclusion, Honeywell HRDPX stands out as a versatile and powerful data acquisition and control solution. With its modular design, advanced processing capabilities, extensive compatibility, and robust security features, it is engineered to meet the demands of modern industrial environments while enhancing efficiency and operational excellence.