right the way.
Mounting
•Make sure that the rain gauge bucket is level – check if the ball bearing inside the bucket is at the midpoint of the leveler.
•Place the protective screen over the top to protect the rain gauge from the debris.
•Mount the rain gauge in place using mounting hardware provided.
•Make sure that the rain gauge is in open area where precipitation falls directly into the gauge’s bucket, ideally
Placement tips
•The rain gauge should be placed in an open area away from the walls, fences, trees and other coverings which may reduce the amount of rain falling into the bucket. Additionally, trees and rooftops may be sources of pollen and debris.
•To avoid the rain shadow effects, place the rain gauge horizontally, on the distance corresponding to two to four times the height of any nearby obstruction.
•It is important that excess rain can flow freely away from the rain gauge.
Operation
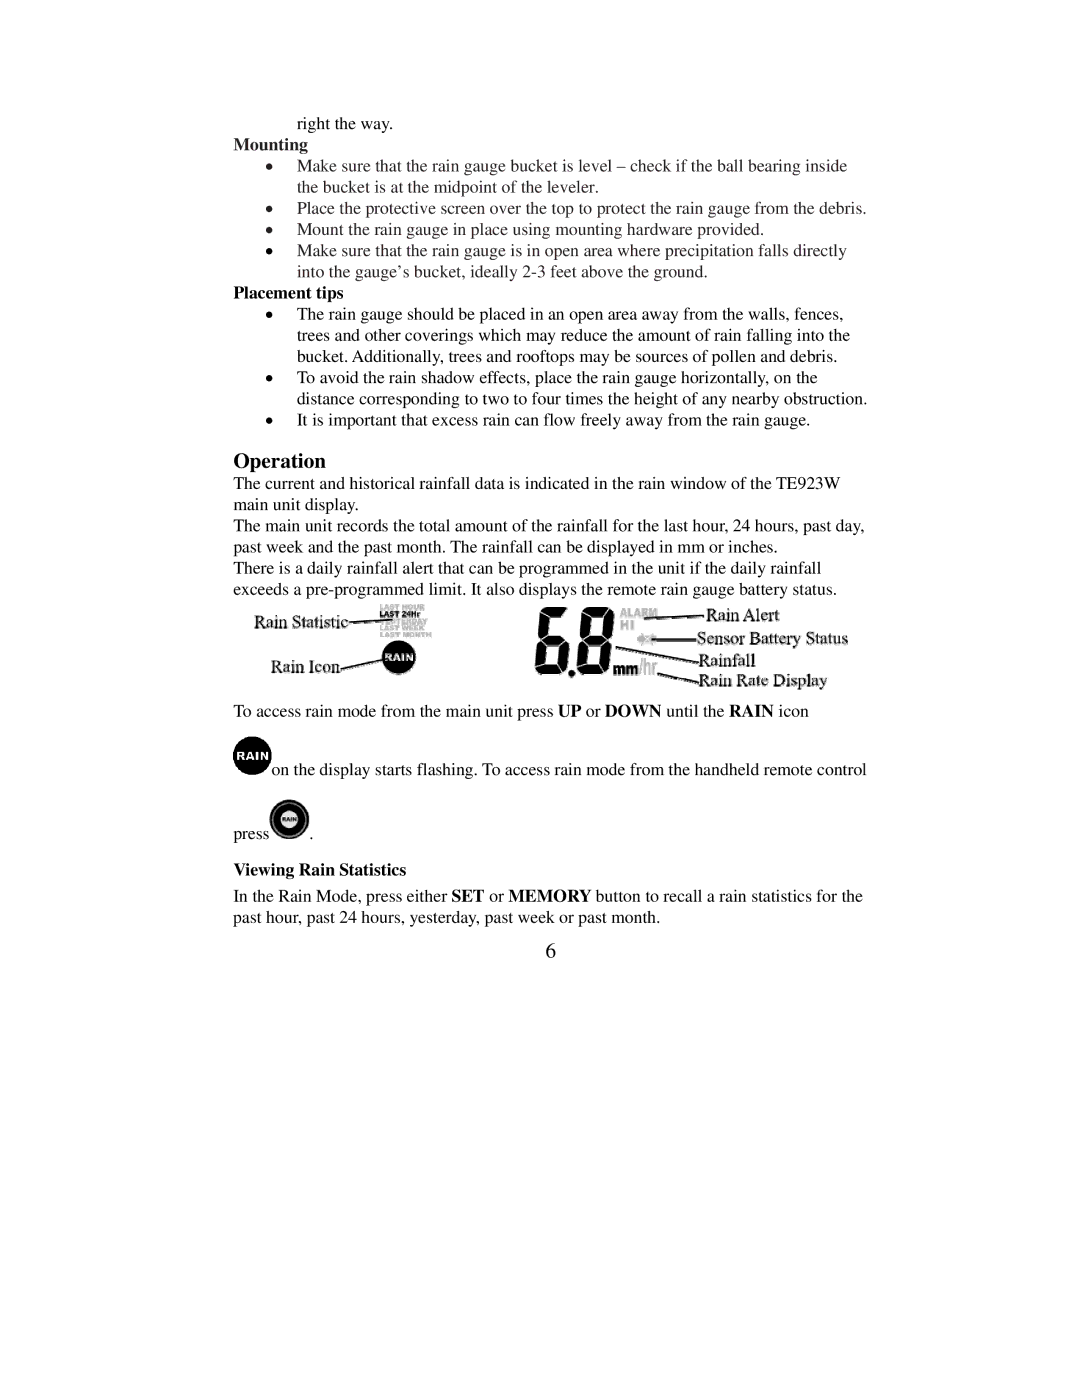
The current and historical rainfall data is indicated in the rain window of the TE923W main unit display.
The main unit records the total amount of the rainfall for the last hour, 24 hours, past day, past week and the past month. The rainfall can be displayed in mm or inches.
There is a daily rainfall alert that can be programmed in the unit if the daily rainfall exceeds a
To access rain mode from the main unit press UP or DOWN until the RAIN icon
![]() on the display starts flashing. To access rain mode from the handheld remote control
on the display starts flashing. To access rain mode from the handheld remote control
press![]() .
.
Viewing Rain Statistics
In the Rain Mode, press either SET or MEMORY button to recall a rain statistics for the past hour, past 24 hours, yesterday, past week or past month.
6
