Clock/Minute Minder Operation

GB

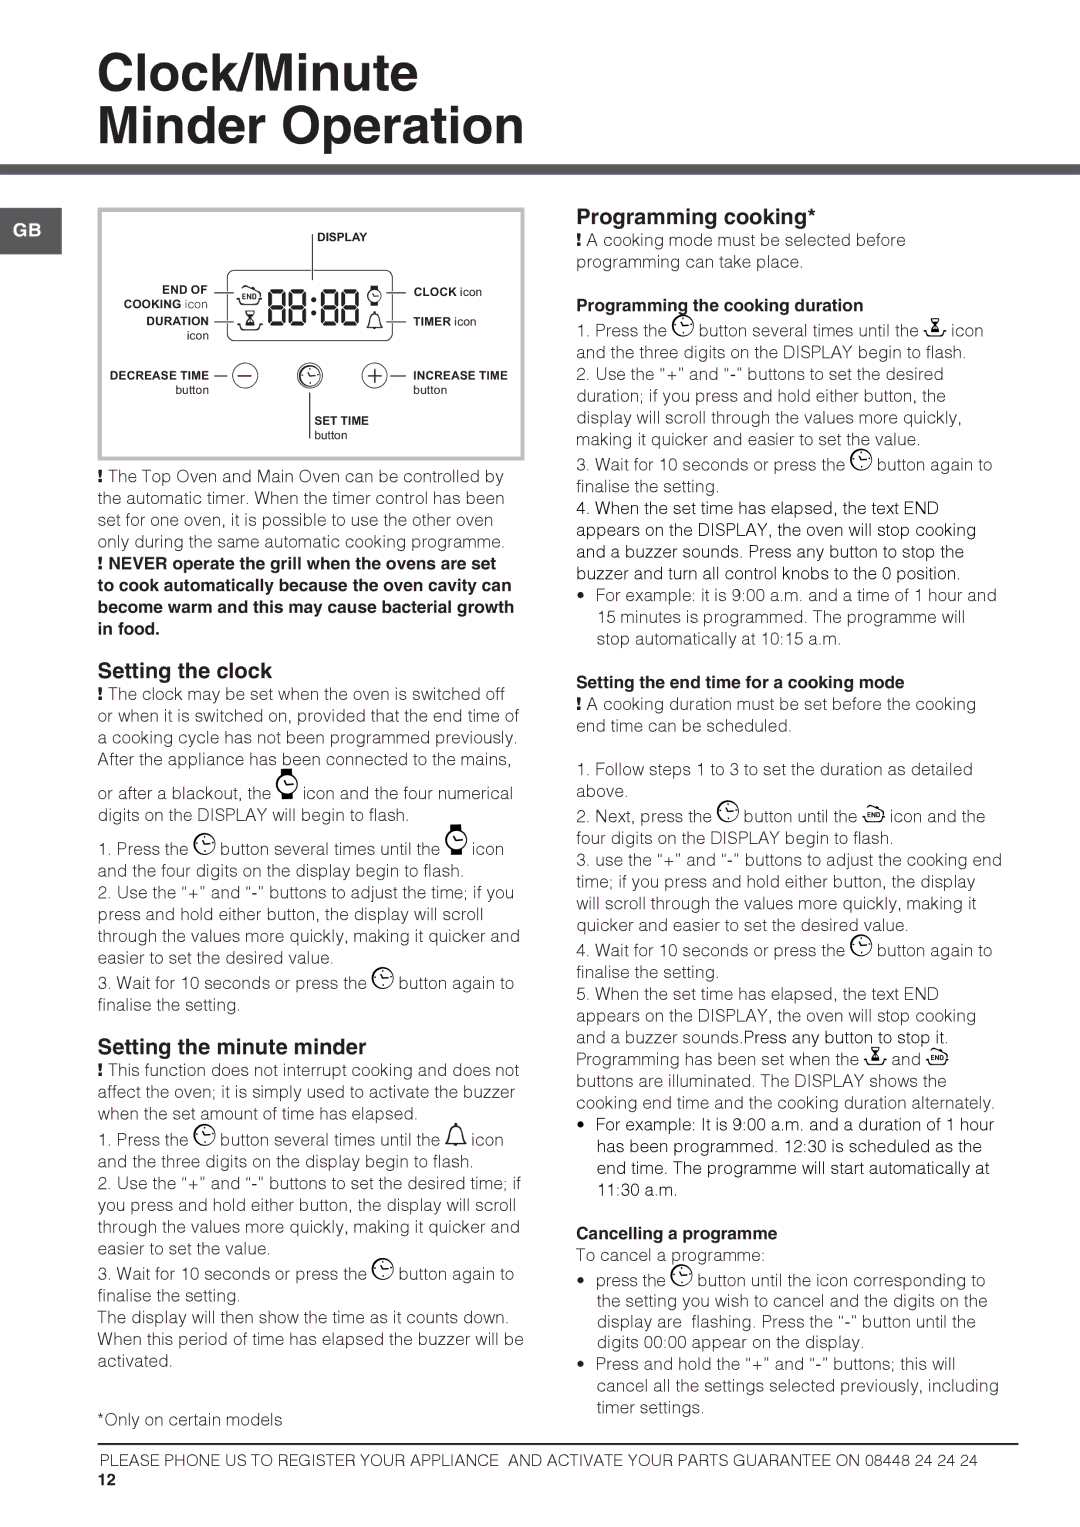
END OF


DISPLAY


CLOCK icon


•• ••


COOKING icon


DURATION


TIMER icon


icon


DECREASE TIME


INCREASE TIME


button


button

SET TIME

button

!The Top Oven and Main Oven can be controlled by the automatic timer. When the timer control has been set for one oven, it is possible to use the other oven only during the same automatic cooking programme.

!NEVER operate the grill when the ovens are set to cook automatically because the oven cavity can become warm and this may cause bacterial growth in food.

Setting the clock

!The clock may be set when the oven is switched off or when it is switched on, provided that the end time of a cooking cycle has not been programmed previously. After the appliance has been connected to the mains,

or after a blackout, the icon and the four numerical digits on the DISPLAY will begin to flash.

1.Press the button several times until the icon and the four digits on the display begin to flash.

2.Use the “+” and “-” buttons to adjust the time; if you press and hold either button, the display will scroll through the values more quickly, making it quicker and easier to set the desired value.

3.Wait for 10 seconds or press the button again to finalise the setting.

Setting the minute minder

!This function does not interrupt cooking and does not affect the oven; it is simply used to activate the buzzer when the set amount of time has elapsed.

1.Press the button several times until the icon and the three digits on the display begin to flash.

2.Use the “+” and “-” buttons to set the desired time; if you press and hold either button, the display will scroll through the values more quickly, making it quicker and easier to set the value.

3.Wait for 10 seconds or press the button again to finalise the setting.

The display will then show the time as it counts down. When this period of time has elapsed the buzzer will be activated.

*Only on certain models

Programming cooking*

!A cooking mode must be selected before programming can take place.

Programming the cooking duration

1.Press the button several times until the icon and the three digits on the DISPLAY begin to flash.

2.Use the “+” and “-” buttons to set the desired duration; if you press and hold either button, the display will scroll through the values more quickly, making it quicker and easier to set the value.

3.Wait for 10 seconds or press the button again to finalise the setting.

4.When the set time has elapsed, the text END appears on the DISPLAY, the oven will stop cooking and a buzzer sounds. Press any button to stop the buzzer and turn all control knobs to the 0 position.

• For example: it is 9:00 a.m. and a time of 1 hour and 15 minutes is programmed. The programme will stop automatically at 10:15 a.m.

Setting the end time for a cooking mode

!A cooking duration must be set before the cooking end time can be scheduled.

1.Follow steps 1 to 3 to set the duration as detailed above.

2.Next, press the button until the icon and the four digits on the DISPLAY begin to flash.

3.use the “+” and “-” buttons to adjust the cooking end time; if you press and hold either button, the display will scroll through the values more quickly, making it quicker and easier to set the desired value.

4.Wait for 10 seconds or press the button again to finalise the setting.

5.When the set time has elapsed, the text END appears on the DISPLAY, the oven will stop cooking

and a buzzer sounds.Press any button to stop it. Programming has been set when the and buttons are illuminated. The DISPLAY shows the cooking end time and the cooking duration alternately.

• For example: It is 9:00 a.m. and a duration of 1 hour has been programmed. 12:30 is scheduled as the end time. The programme will start automatically at 11:30 a.m.

Cancelling a programme

To cancel a programme:

press the button until the icon corresponding to the setting you wish to cancel and the digits on the display are flashing. Press the “-” button until the digits 00:00 appear on the display.

Press and hold the “+” and “-” buttons; this will cancel all the settings selected previously, including timer settings.

PLEASE PHONE US TO REGISTER YOUR APPLIANCE AND ACTIVATE YOUR PARTS GUARANTEE ON 08448 24 24 24

12

Page 12
Image 12
Hotpoint HAG60S, DSG60S Clock/Minute Minder Operation, Setting the clock, Setting the minute minder, Programming cooking

62DGW, 62DGG, 60HGP, HAG60S, HAG60G specifications

The Hotpoint 62DGW is a high-performance double oven cooker designed to meet the demands of modern kitchens while providing exceptional cooking versatility. With its sleek design and innovative features, this appliance is a popular choice among home cooks and culinary enthusiasts alike.

One of the standout features of the Hotpoint 62DGW is its dual fuel cooking system. This means it combines the precision of gas cooking on the hob with the even heat distribution provided by electric ovens. The hob is equipped with four burners, each delivering varying levels of heat intensity to accommodate different cooking styles. From rapid boiling to simmering sauces, the flexibility the burners offer is a significant advantage in the kitchen.

The double oven configuration is another key element of the Hotpoint 62DGW. With a main oven capacity of 62 liters and a secondary oven capacity of 33 liters, it provides ample space for multi-course meals or large gatherings. The main oven features a fan-assisted design, ensuring that heat circulates evenly, resulting in perfectly cooked dishes every time. This is ideal for baking, where consistency is crucial.

This cooker also incorporates a range of modern technologies aimed at enhancing efficiency and cooking performance. One of the notable technologies is the defrost function, which allows users to safely thaw food within the oven. Additionally, the Hotpoint 62DGW includes a grill function offering another cooking method for creating deliciously crispy dishes.

The easy-to-clean enamel interior is another practical feature of this model. It minimizes food residue buildup, making maintenance straightforward and reducing the time spent on cleaning. Furthermore, the appliance is built with safety in mind, featuring a flame failure device that automatically cuts off the gas supply if the flame goes out, providing peace of mind during cooking.

Aesthetically, the Hotpoint 62DGW features a striking white finish combined with chrome accents, which adds a contemporary touch to any kitchen decor. Its control knobs and LED display are intuitively designed, allowing for straightforward operation, making it accessible to cooks of all skill levels.

With its combination of advanced cooking technologies, abundant capacity, and user-friendly features, the Hotpoint 62DGW is an ideal choice for anyone looking to enhance their culinary capabilities while enjoying the benefits of a stylish and efficient kitchen appliance.