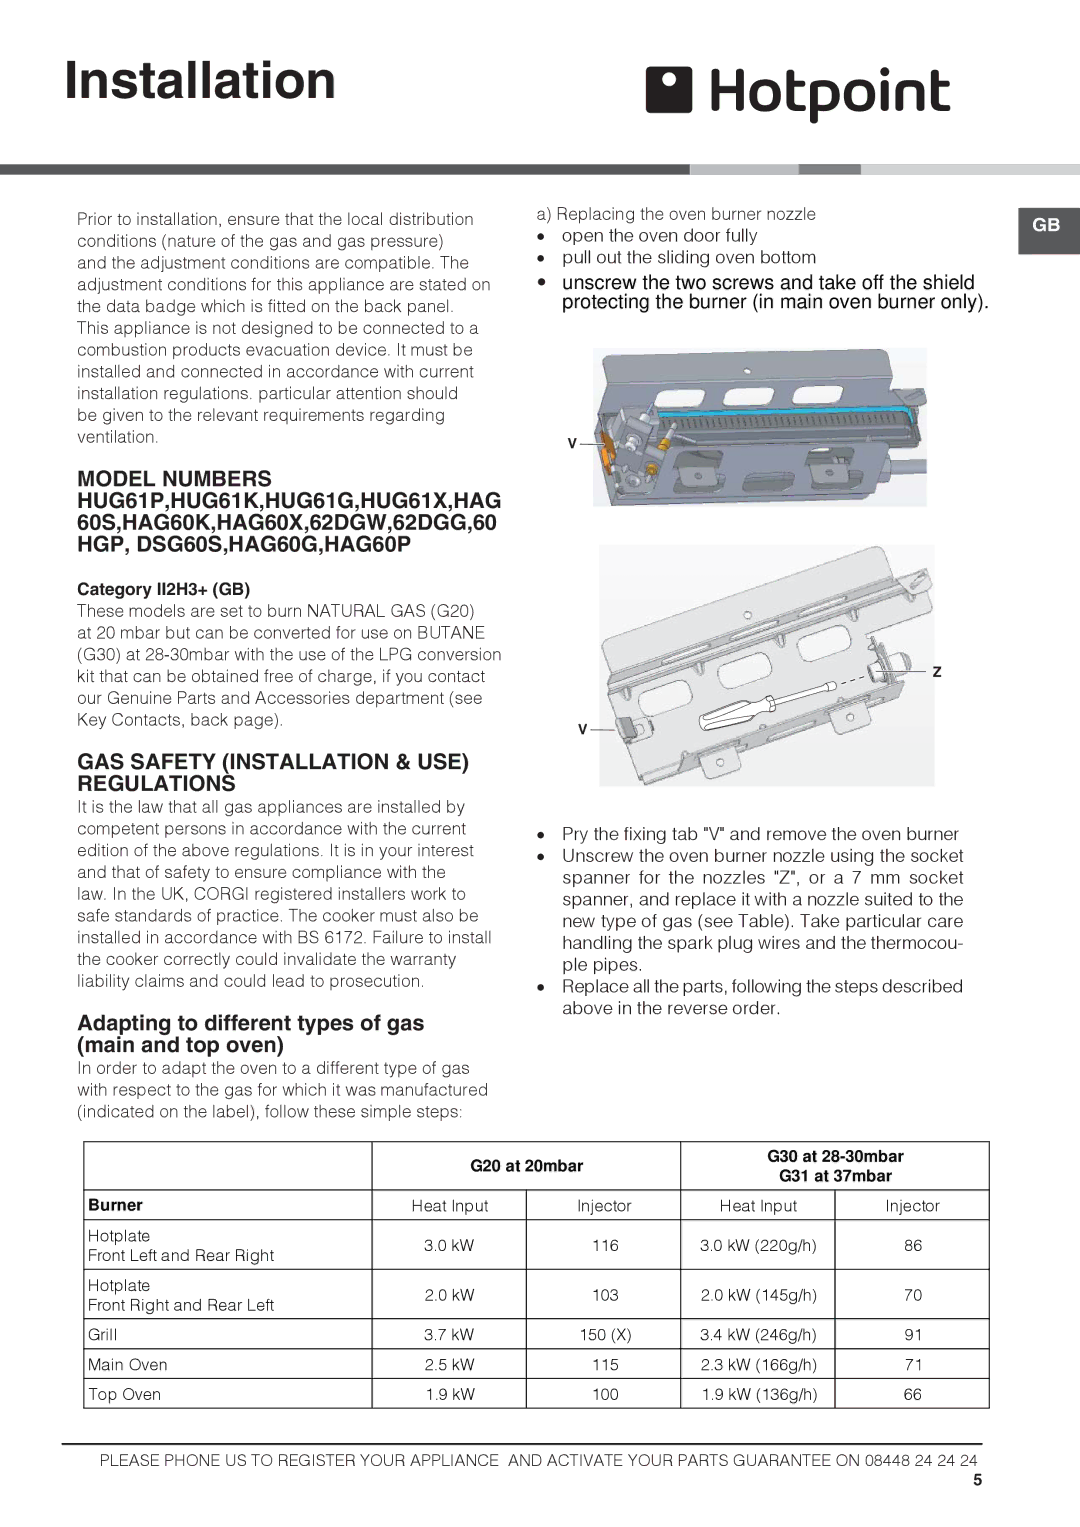
62DGW, 62DGG, 60HGP, HAG60S, HAG60G specifications
The Hotpoint 62DGW is a high-performance double oven cooker designed to meet the demands of modern kitchens while providing exceptional cooking versatility. With its sleek design and innovative features, this appliance is a popular choice among home cooks and culinary enthusiasts alike.One of the standout features of the Hotpoint 62DGW is its dual fuel cooking system. This means it combines the precision of gas cooking on the hob with the even heat distribution provided by electric ovens. The hob is equipped with four burners, each delivering varying levels of heat intensity to accommodate different cooking styles. From rapid boiling to simmering sauces, the flexibility the burners offer is a significant advantage in the kitchen.
The double oven configuration is another key element of the Hotpoint 62DGW. With a main oven capacity of 62 liters and a secondary oven capacity of 33 liters, it provides ample space for multi-course meals or large gatherings. The main oven features a fan-assisted design, ensuring that heat circulates evenly, resulting in perfectly cooked dishes every time. This is ideal for baking, where consistency is crucial.
This cooker also incorporates a range of modern technologies aimed at enhancing efficiency and cooking performance. One of the notable technologies is the defrost function, which allows users to safely thaw food within the oven. Additionally, the Hotpoint 62DGW includes a grill function offering another cooking method for creating deliciously crispy dishes.
The easy-to-clean enamel interior is another practical feature of this model. It minimizes food residue buildup, making maintenance straightforward and reducing the time spent on cleaning. Furthermore, the appliance is built with safety in mind, featuring a flame failure device that automatically cuts off the gas supply if the flame goes out, providing peace of mind during cooking.
Aesthetically, the Hotpoint 62DGW features a striking white finish combined with chrome accents, which adds a contemporary touch to any kitchen decor. Its control knobs and LED display are intuitively designed, allowing for straightforward operation, making it accessible to cooks of all skill levels.
With its combination of advanced cooking technologies, abundant capacity, and user-friendly features, the Hotpoint 62DGW is an ideal choice for anyone looking to enhance their culinary capabilities while enjoying the benefits of a stylish and efficient kitchen appliance.

