Addendum to D Class Enterprise Servers System Installation Guide
Installation
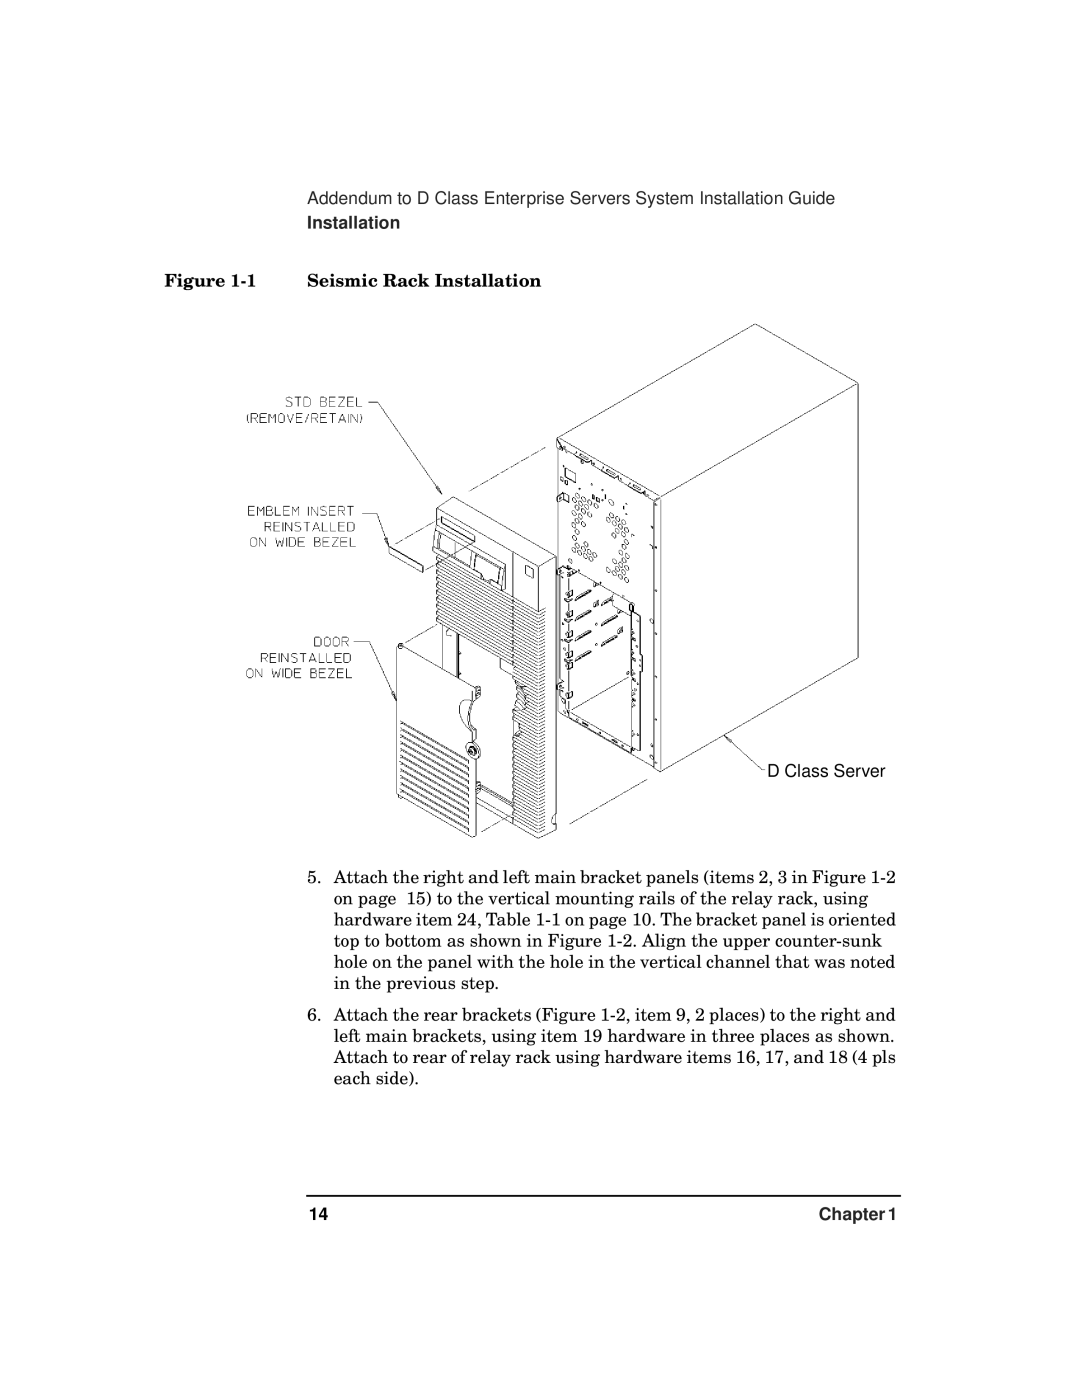
Figure 1-1 Seismic Rack Installation
D Class Server
5.Attach the right and left main bracket panels (items 2, 3 in Figure 1-2 on page 15) to the vertical mounting rails of the relay rack, using hardware item 24, Table 1-1 on page 10. The bracket panel is oriented top to bottom as shown in Figure 1-2. Align the upper counter-sunk hole on the panel with the hole in the vertical channel that was noted in the previous step.
6.Attach the rear brackets (Figure 1-2, item 9, 2 places) to the right and left main brackets, using item 19 hardware in three places as shown. Attach to rear of relay rack using hardware items 16, 17, and 18 (4 pls each side).

