NOTE: It can take up to 10 minutes for the component to display good status.
•Observe the disk status indicators (Table 1 (page 3)). The green indicator should be on or flashing.
•Verify the following using HP P6000 Command View:
◦Navigate back to the component and verify the operational state. It should be ![]() (Good).
(Good).
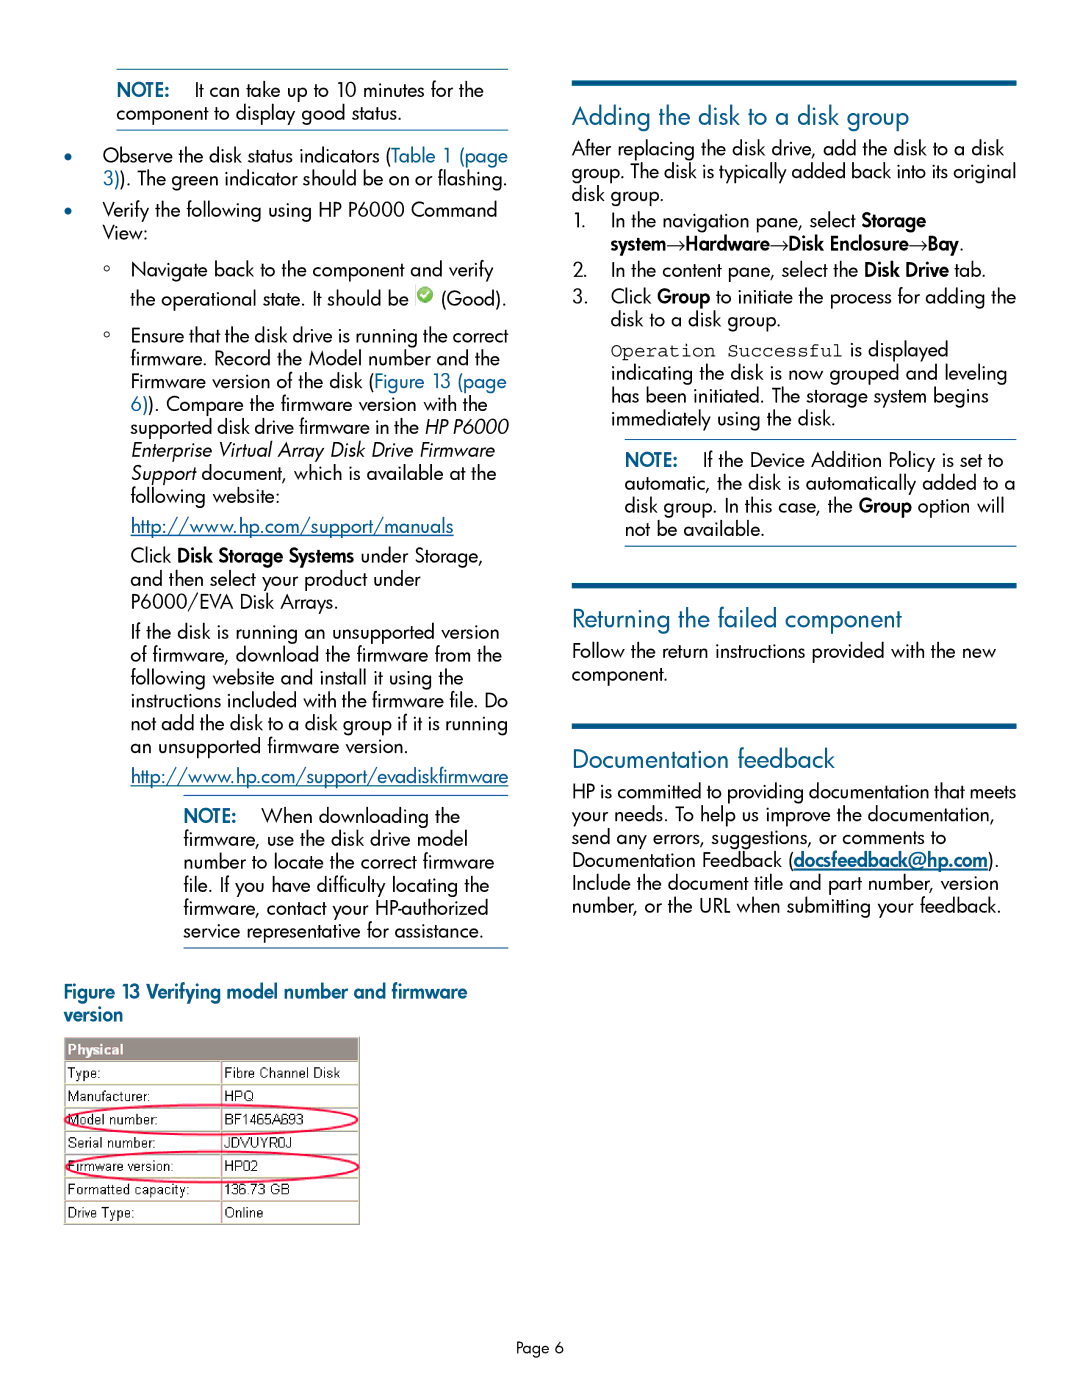
◦Ensure that the disk drive is running the correct firmware. Record the Model number and the Firmware version of the disk (Figure 13 (page 6)). Compare the firmware version with the supported disk drive firmware in the HP P6000 Enterprise Virtual Array Disk Drive Firmware Support document, which is available at the following website:
http://www.hp.com/support/manuals
Click Disk Storage Systems under Storage, and then select your product under P6000/EVA Disk Arrays.
If the disk is running an unsupported version of firmware, download the firmware from the following website and install it using the instructions included with the firmware file. Do not add the disk to a disk group if it is running an unsupported firmware version.
http://www.hp.com/support/evadiskfirmware
NOTE: When downloading the firmware, use the disk drive model number to locate the correct firmware file. If you have difficulty locating the firmware, contact your
Figure 13 Verifying model number and firmware version
Adding the disk to a disk group
After replacing the disk drive, add the disk to a disk group. The disk is typically added back into its original disk group.
1.In the navigation pane, select Storage system→Hardware→Disk Enclosure→Bay.
2.In the content pane, select the Disk Drive tab.
3.Click Group to initiate the process for adding the disk to a disk group.
Operation Successful is displayed indicating the disk is now grouped and leveling has been initiated. The storage system begins immediately using the disk.
NOTE: If the Device Addition Policy is set to automatic, the disk is automatically added to a disk group. In this case, the Group option will not be available.
Returning the failed component
Follow the return instructions provided with the new component.
Documentation feedback
HP is committed to providing documentation that meets your needs. To help us improve the documentation, send any errors, suggestions, or comments to Documentation Feedback (docsfeedback@hp.com). Include the document title and part number, version number, or the URL when submitting your feedback.
Page 6
