Trim
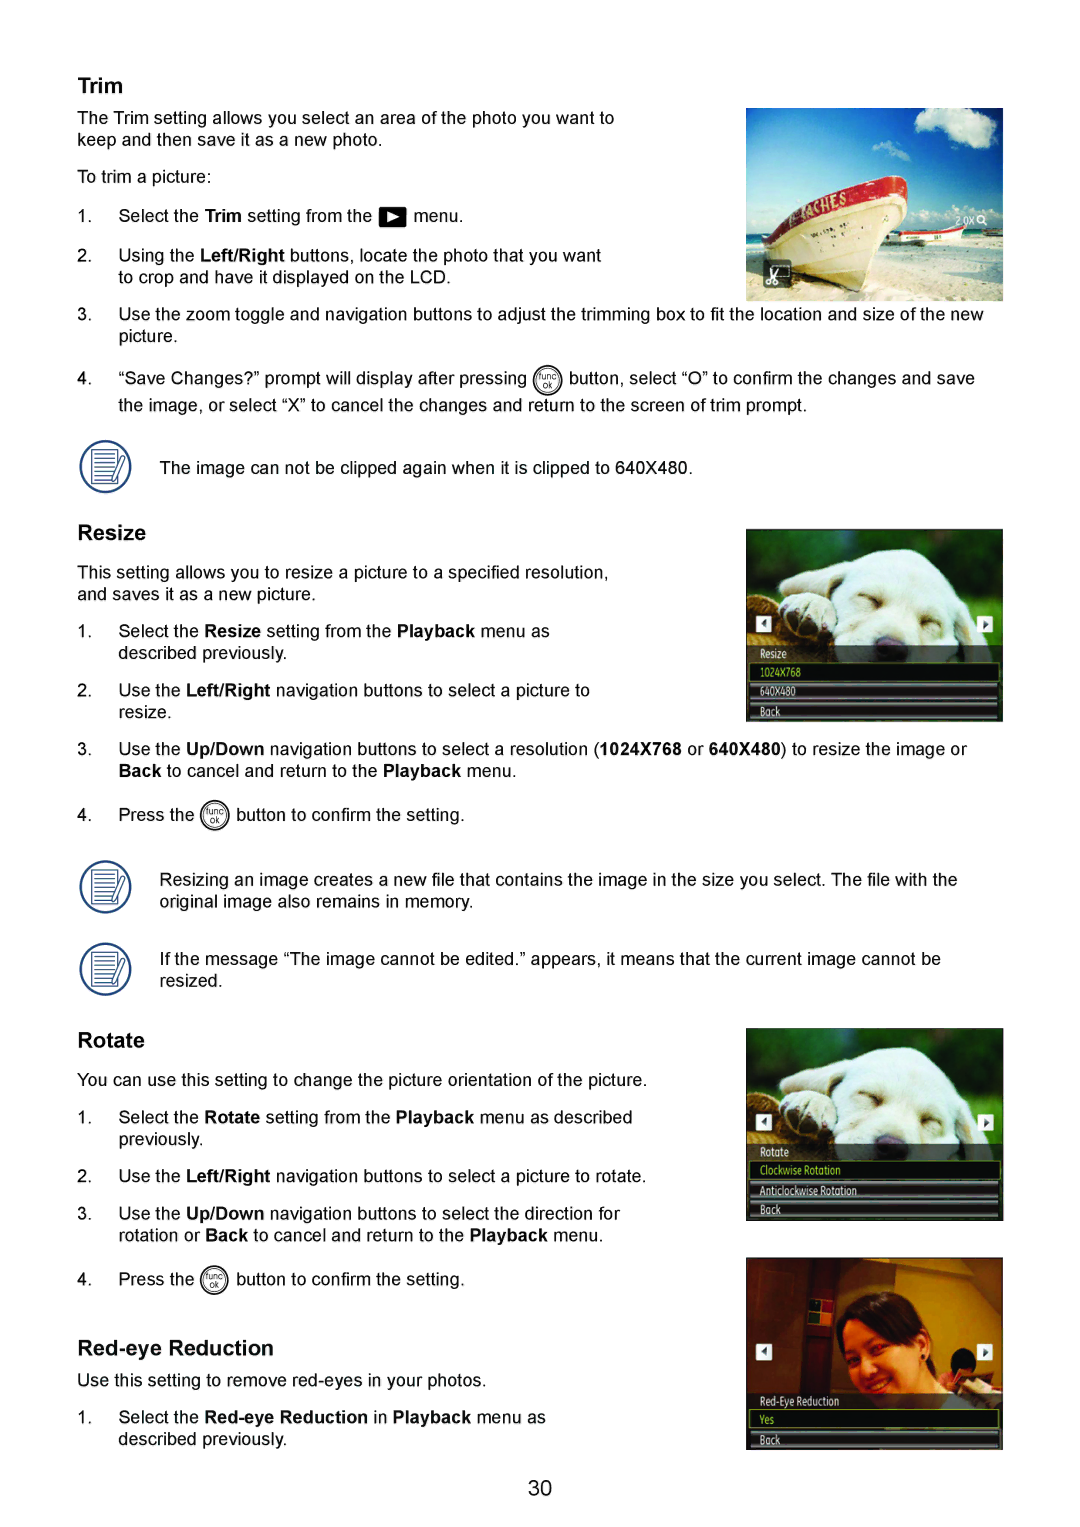
The Trim setting allows you select an area of the photo you want to keep and then save it as a new photo.
To trim a picture:
1.Select the Trim setting from the ![]() menu.
menu.
2.Using the Left/Right buttons, locate the photo that you want to crop and have it displayed on the LCD.
3.Use the zoom toggle and navigation buttons to adjust the trimming box to fit the location and size of the new picture.
4.“Save Changes?” prompt will display after pressing ![]() button, select “O” to confirm the changes and save the image, or select “X” to cancel the changes and return to the screen of trim prompt.
button, select “O” to confirm the changes and save the image, or select “X” to cancel the changes and return to the screen of trim prompt.
The image can not be clipped again when it is clipped to 640X480.
Resize
This setting allows you to resize a picture to a specified resolution, and saves it as a new picture.
1.Select the Resize setting from the Playback menu as described previously.
2.Use the Left/Right navigation buttons to select a picture to resize.
3.Use the Up/Down navigation buttons to select a resolution (1024X768 or 640X480) to resize the image or
Back to cancel and return to the Playback menu.
4.Press the ![]() button to confirm the setting.
button to confirm the setting.
Resizing an image creates a new file that contains the image in the size you select. The file with the original image also remains in memory.
If the message “The image cannot be edited.” appears, it means that the current image cannot be resized.
Rotate
You can use this setting to change the picture orientation of the picture.
1.Select the Rotate setting from the Playback menu as described previously.
2.Use the Left/Right navigation buttons to select a picture to rotate.
3.Use the Up/Down navigation buttons to select the direction for rotation or Back to cancel and return to the Playback menu.
4.Press the ![]() button to confirm the setting.
button to confirm the setting.
Red-eye Reduction
Use this setting to remove
1.Select the
30
