Step 2. Install the software
Caution If you are installing the software onto a Windows computer, do not connect the USB cable to the computer yet. Install the scanning software before connecting the USB cable. If you are installing the software into a Macintosh computer, you can connect the USB cable either before or after installing the software.
1.Insert the HP Photosmart CD that came with the scanner into the computer CD drive.
For Windows installations: Wait for the installation dialog box to display. If the installation dialog box does not display after a few moments, see Scanner installation troubleshooting on page 12.
For Macintosh installations:
2.Click Install software to install the scanning software. Follow the onscreen instructions to complete the scanning software installation.
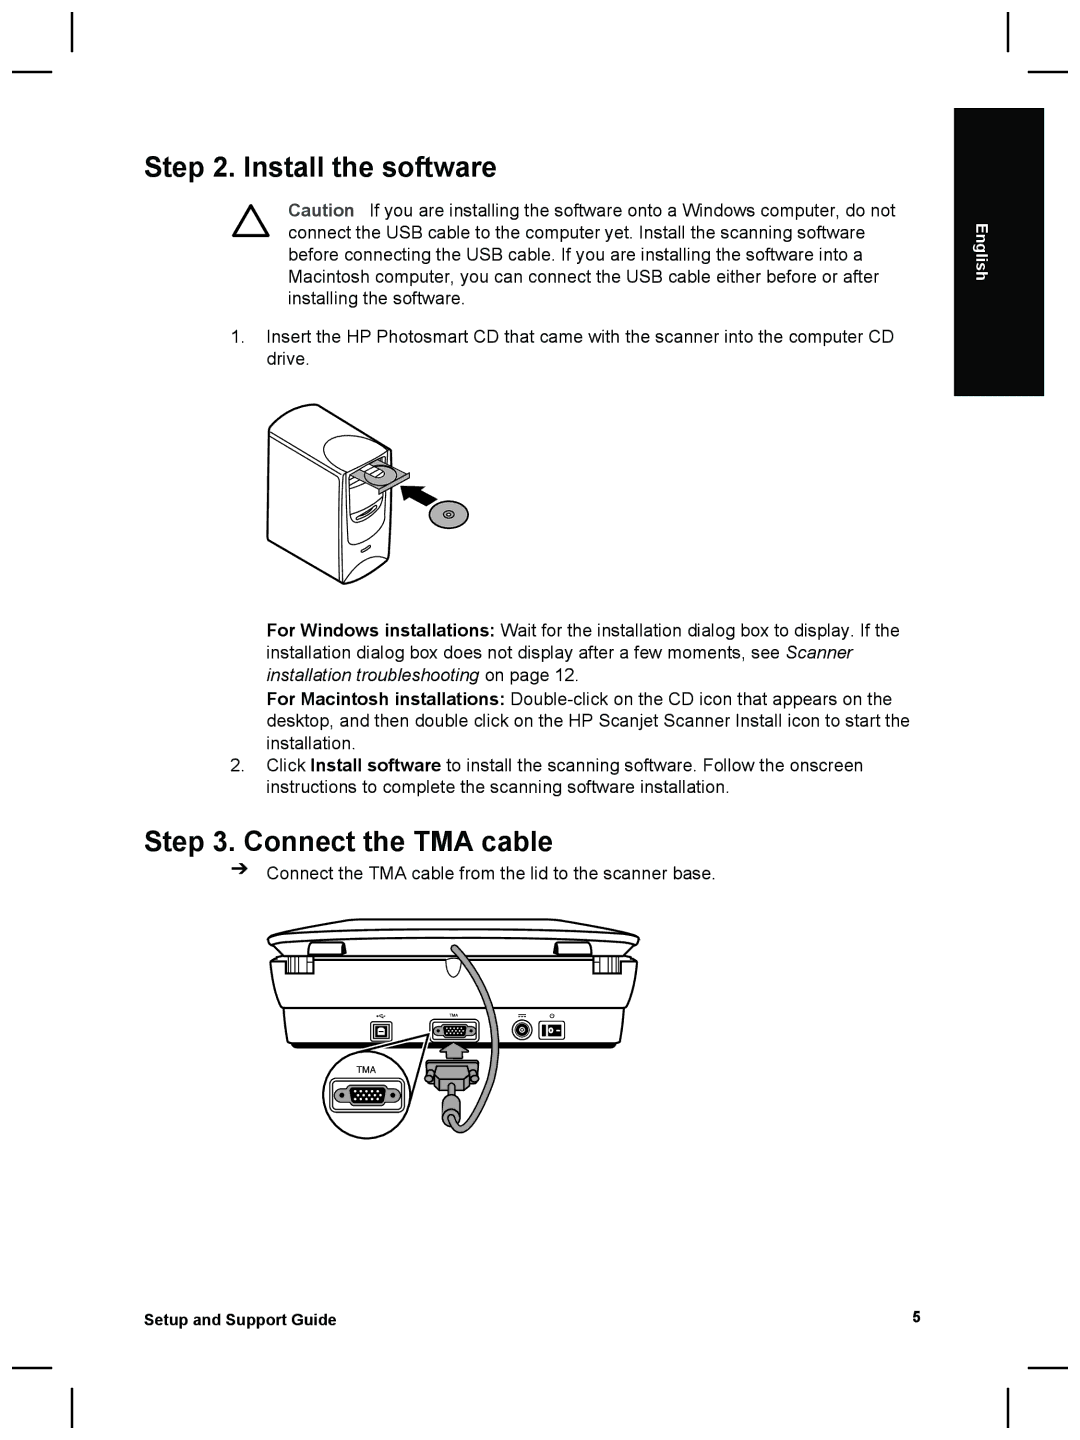
Step 3. Connect the TMA cable
➔Connect the TMA cable from the lid to the scanner base.
English
Setup and Support Guide | 5 |