Chapter 7
Sending images to online destinations
After you have set up online destinations in the camera, you can mark images to be sent to these custom destinations the next time you connect your camera to your computer.
1.While in the ![]()
![]()
![]() Photosmart Express Menu, use
Photosmart Express Menu, use ![]() to highlight
to highlight ![]() Share, then press
Share, then press ![]() .
.
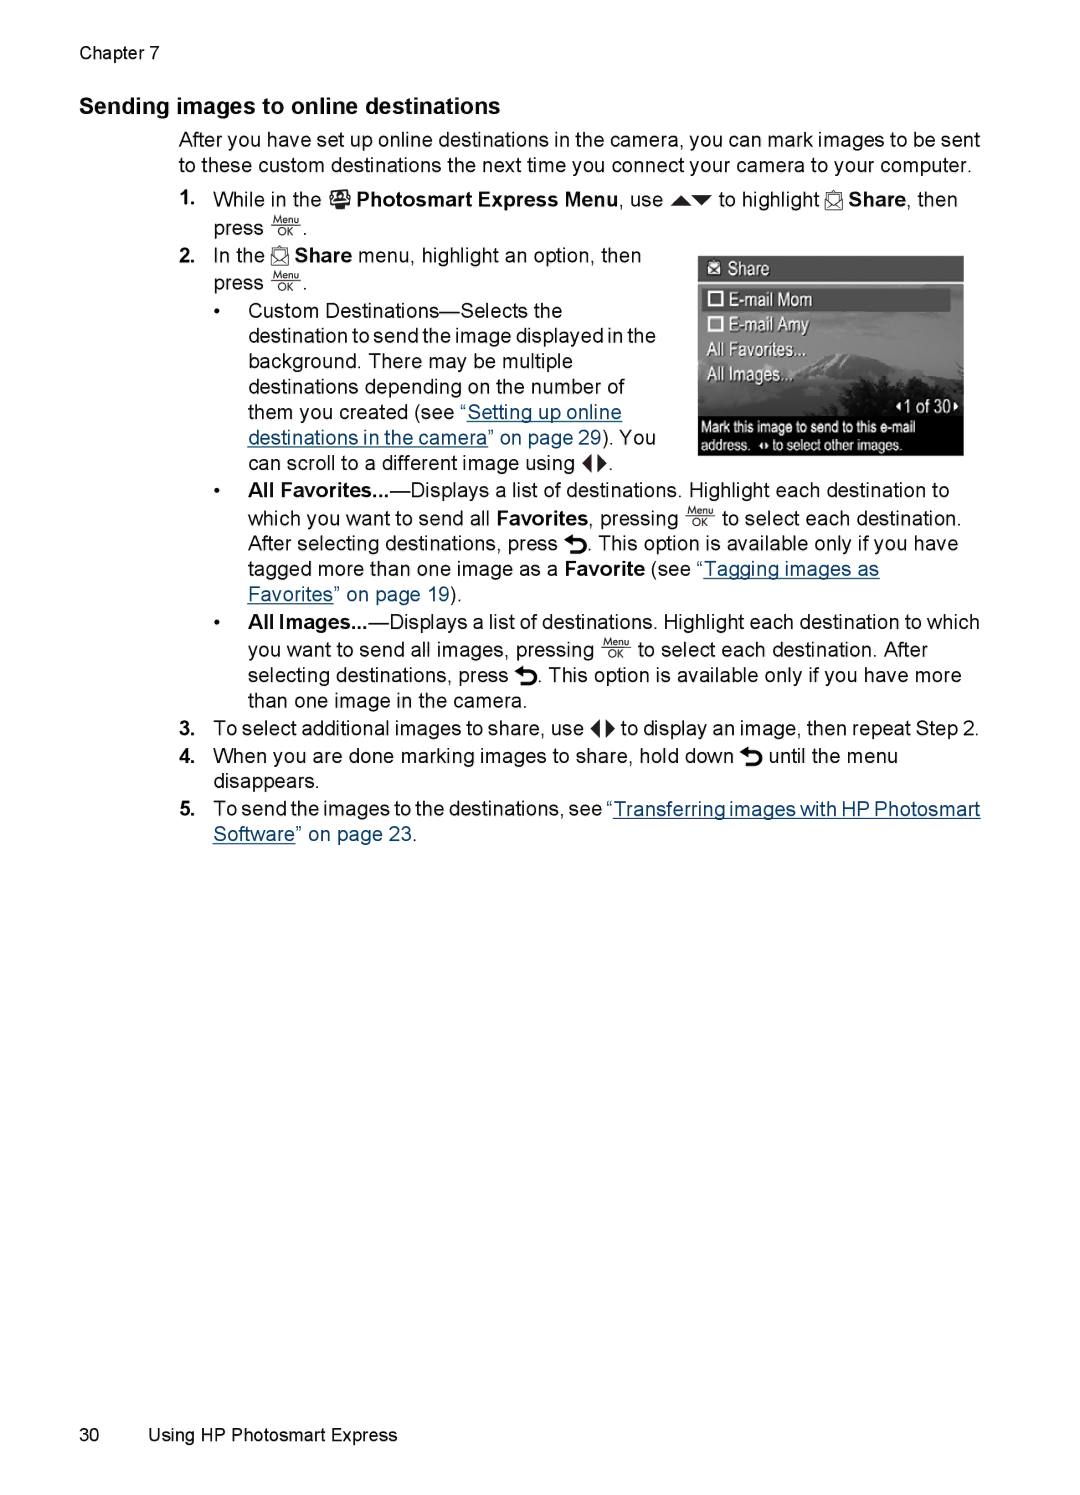
2.In the ![]() Share menu, highlight an option, then press
Share menu, highlight an option, then press ![]() .
.
•Custom ![]()
![]() .
.
•All
which you want to send all Favorites, pressing ![]() to select each destination. After selecting destinations, press
to select each destination. After selecting destinations, press ![]() . This option is available only if you have tagged more than one image as a Favorite (see “Tagging images as Favorites” on page 19).
. This option is available only if you have tagged more than one image as a Favorite (see “Tagging images as Favorites” on page 19).
•All ![]() to select each destination. After selecting destinations, press
to select each destination. After selecting destinations, press ![]() . This option is available only if you have more than one image in the camera.
. This option is available only if you have more than one image in the camera.
3.To select additional images to share, use ![]()
![]() to display an image, then repeat Step 2.
to display an image, then repeat Step 2.
4.When you are done marking images to share, hold down ![]() until the menu disappears.
until the menu disappears.
5.To send the images to the destinations, see “Transferring images with HP Photosmart Software” on page 23.
30 Using HP Photosmart Express