Ultra320 A7173A specifications
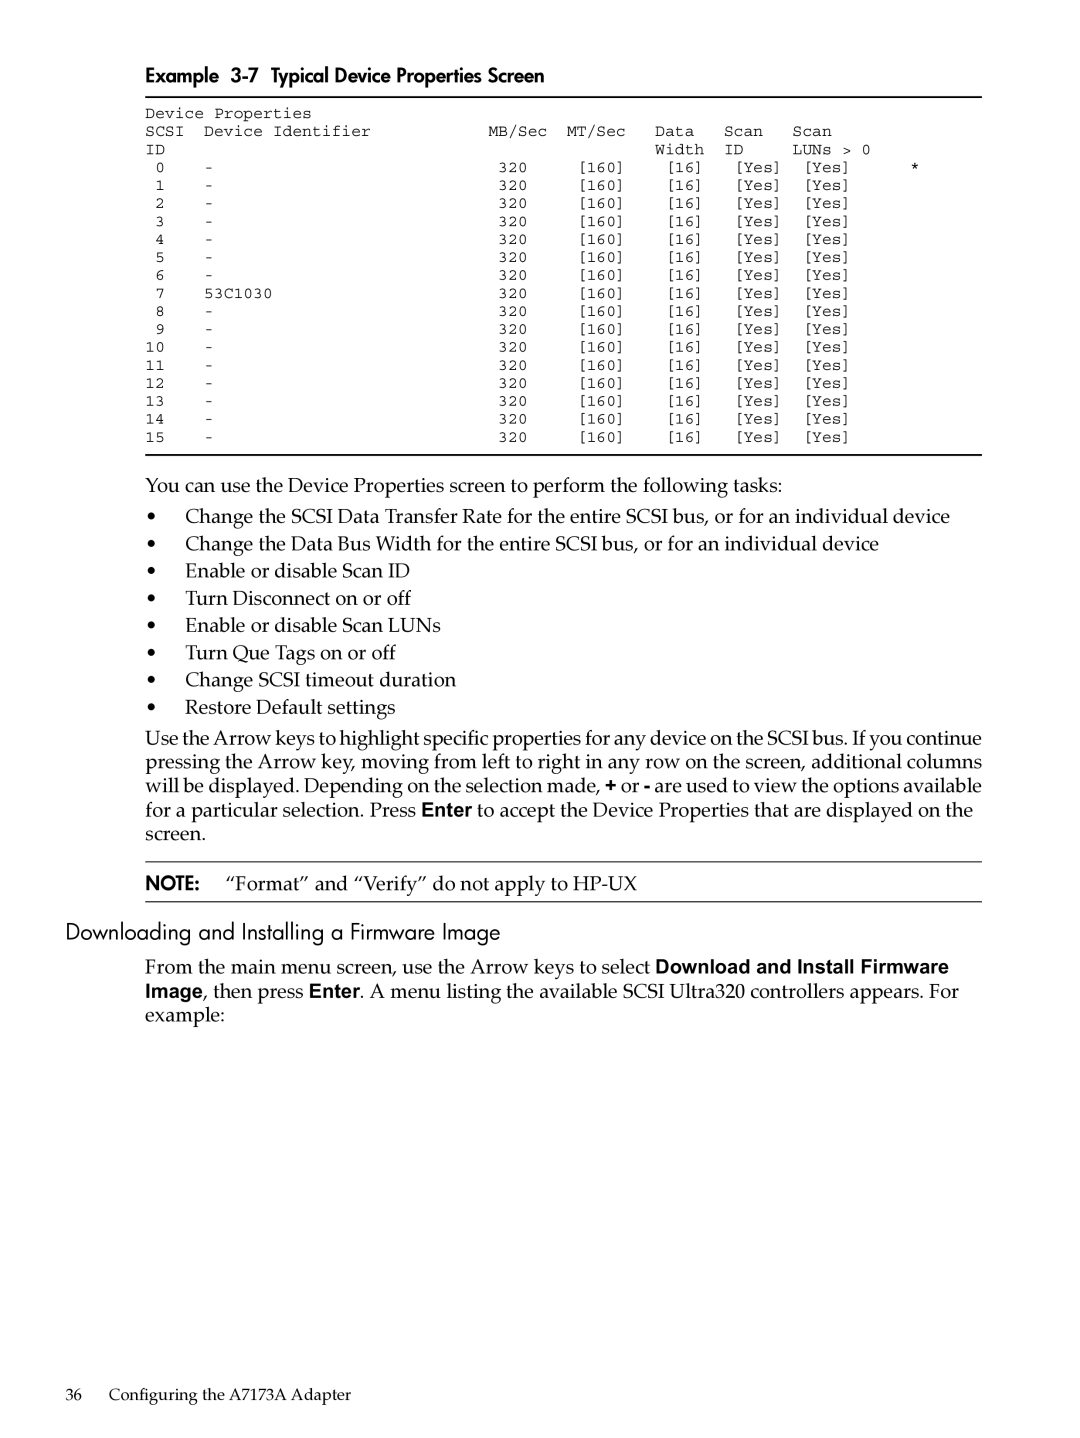
The HP Ultra320 A7173A is a high-performance Storage Area Network (SAN) component, widely recognized for its reliability and efficiency in data storage solutions. Designed to support the demands of enterprise-level applications, this SCSI (Small Computer System Interface) controller excels in providing fast and reliable data transfer, making it a preferred choice for businesses that require robust storage solutions.One of the standout features of the A7173A is its ultra-fast data transfer rate. It is capable of achieving speeds of up to 320 MB/s, which is made possible through the Ultra320 SCSI technology. This speed enhancement is crucial for applications requiring quick access to large volumes of data, thus improving overall system performance. The controller maintains compatibility with previous SCSI standards, allowing for interoperability in diverse environments and ensuring that organizations can leverage their existing infrastructure.
The A7173A is built on advanced technologies that enhance its performance and reliability. These include intelligent data buffering and error correction mechanisms, which minimize the likelihood of data loss and improve the integrity of information during transfers. Additionally, the controller features multiple device connections, accommodating up to 15 devices on a single chain. This scalability offers flexibility in expanding storage solutions based on organizational needs.
Another significant characteristic of the HP Ultra320 A7173A is its support for a wide range of operating systems. The controller is versatile, allowing it to integrate seamlessly with numerous enterprise platforms. This broad compatibility ensures that IT departments can deploy the A7173A within their existing environments without major adjustments or additional costs.
Moreover, the A7173A comes with comprehensive management features, enabling administrators to monitor and optimize storage performance effectively. These features help in anticipating issues before they escalate, thereby minimizing downtime and facilitating smoother operations.
In essence, the HP Ultra320 A7173A is a comprehensive SAN solution that offers exceptional speed, reliability, and scalability. Its advanced technologies and versatile compatibility make it an ideal component for organizations looking to optimize their data storage infrastructure while ensuring robust performance across diverse applications. Investing in the A7173A can lead to marked improvements in data management, ultimately contributing to business efficiency and continuity.

