142 specifications
The Husqvarna 142 is a powerful and versatile chainsaw designed for homeowners and outdoor enthusiasts who require a reliable tool for various cutting tasks. This model combines performance, efficiency, and ease of use, making it an excellent choice for those who need to tackle firewood cutting, tree pruning, or other general yard work.One of the main features of the Husqvarna 142 is its lightweight design. Weighing only around 10.8 lbs, it is easy to maneuver, ensuring less fatigue during extended use. This makes it particularly appealing for those who may not have the physical strength required for heavier models. Despite its light weight, the Husqvarna 142 does not compromise on power. It is equipped with a 2.0 horsepower, 40cc two-stroke engine, providing ample cutting capability for most household tasks.
The chainsaw comes with Husqvarna’s unique Air Injection technology, which is designed to enhance engine performance by utilizing centrifugal force to separate larger dust and debris particles before they reach the air filter. This system helps to keep the air filter clean for longer periods, reducing maintenance needs and ensuring efficient operation over time. Additionally, the engine features a fuel-saving X-Torq system, which reduces fuel consumption and emissions without sacrificing performance. This makes the Husqvarna 142 not only cost-effective but also environmentally friendly.
Comfort and safety are prioritized in the design of the Husqvarna 142. The chainsaw is equipped with an anti-vibration system that minimizes user fatigue and discomfort, allowing for more extended periods of use. The protective handguard helps prevent injuries, and the chain brake feature stops the chain quickly in the event of kickback, ensuring safe operation.
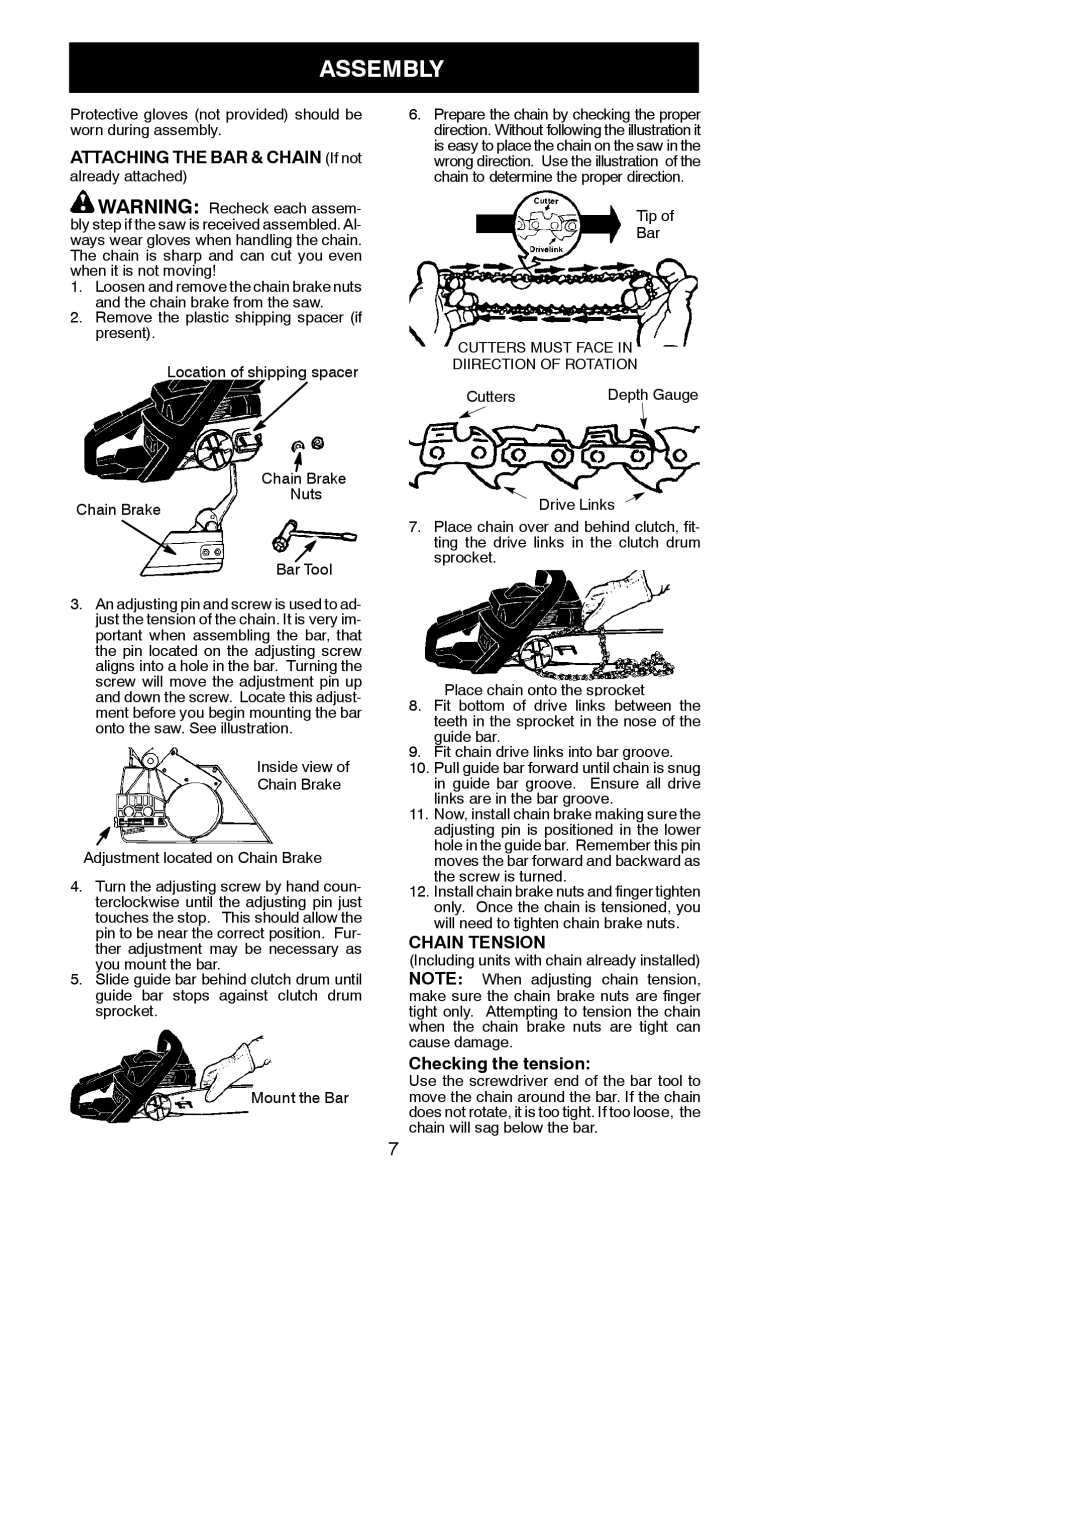
Another noteworthy characteristic of the Husqvarna 142 is its easy-to-use tensioning system for adjusting the chain. The side-mounted chain tensioner allows for quick and tool-free adjustments, ensuring the chain remains properly tensioned for optimal performance.
In summary, the Husqvarna 142 is a well-rounded chainsaw that offers a combination of power, efficiency, and user-friendly features. Its lightweight design, advanced technologies, and safety features make it an excellent choice for homeowners looking to manage their outdoor spaces efficiently and effectively. Whether you are cutting firewood, trimming branches, or clearing debris, the Husqvarna 142 delivers reliable performance to meet your needs.

