SERVICE AND ADJUSTMENTS

TO ADJUST STEERING WHEEL ALIGN- MENT

If steering wheel crossbars are not horizontal (left to right) when wheels are positioned straight forward, remove steer- ing wheel and reassemble per instructions in the Assembly section of this manual.

FRONT WHEEL TOE-IN/CAMBER

The front wheel toe-in and camber are not adjustable on your tractor. If damage has occurred to affect the front wheel toe-in or camber, contact your nearest authorized service center/department.

TO REMOVE WHEEL FOR REPAIRS

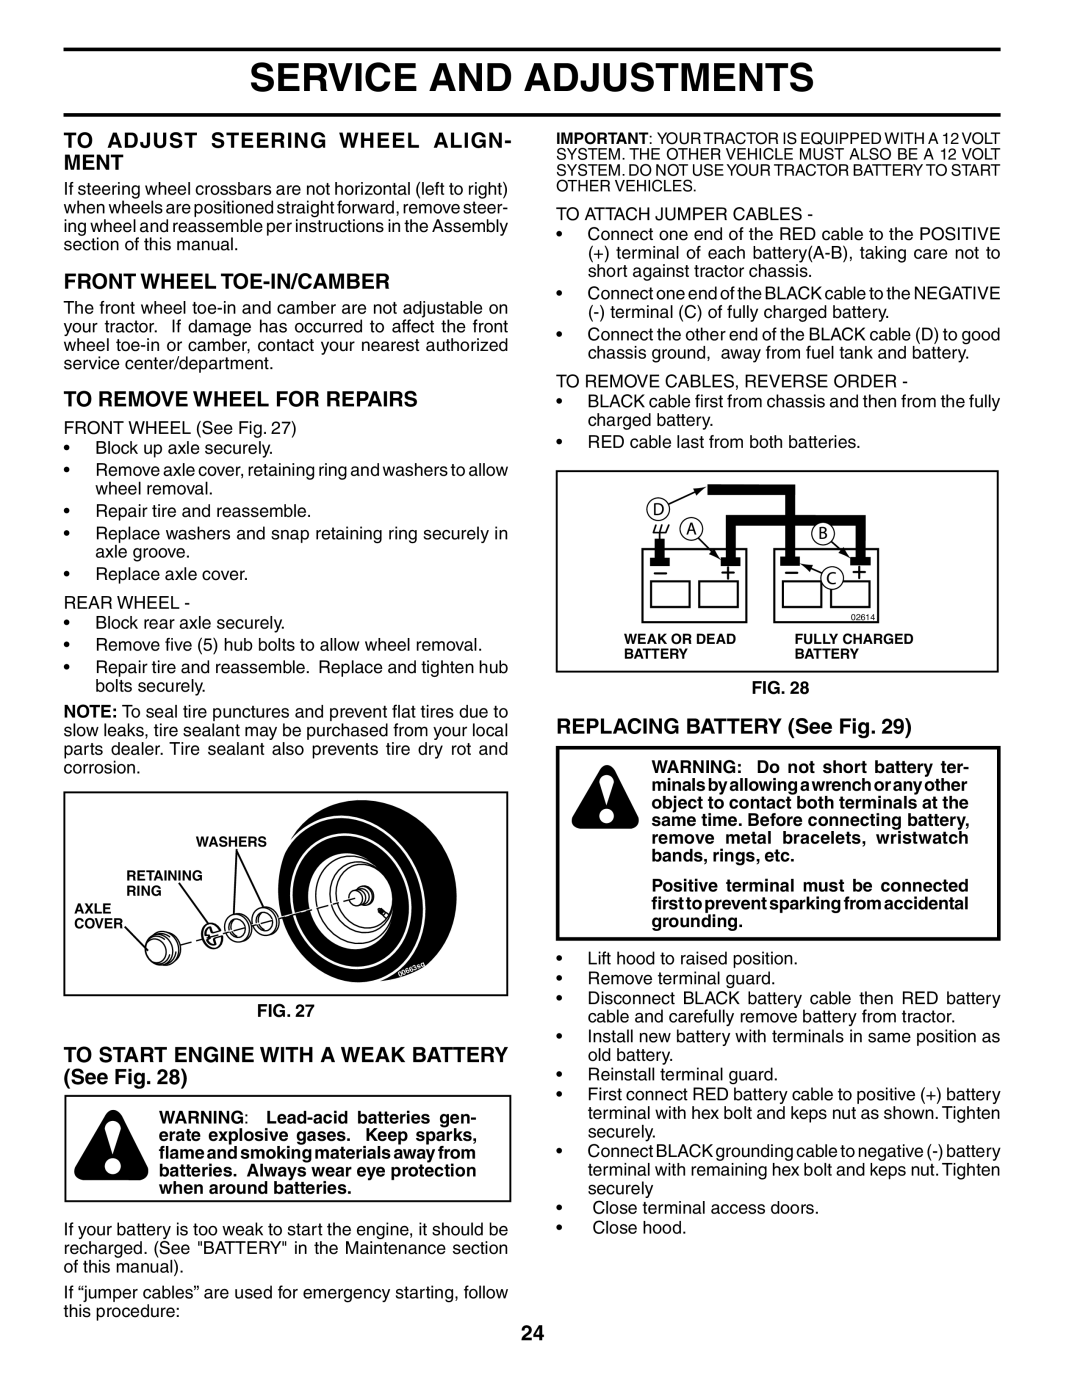
FRONT WHEEL (See Fig. 27)

Block up axle securely.

Remove axle cover, retaining ring and washers to allow wheel removal.

Repair tire and reassemble.

Replace washers and snap retaining ring securely in axle groove.

Replace axle cover.

REAR WHEEL -

Block rear axle securely.

Remove five (5) hub bolts to allow wheel removal.

Repair tire and reassemble. Replace and tighten hub bolts securely.

NOTE: To seal tire punctures and prevent flat tires due to slow leaks, tire sealant may be purchased from your local parts dealer. Tire sealant also prevents tire dry rot and corrosion.

WASHERS

RETAINING

RING

AXLE

COVER


q

s

3


0066


FIG. 27

TO START ENGINE WITH A WEAK BATTERY (See Fig. 28)

WARNING: Lead-acid batteries gen- erate explosive gases. Keep sparks, flame and smoking materials away from batteries. Always wear eye protection when around batteries.

If your battery is too weak to start the engine, it should be recharged. (See "BATTERY" in the Maintenance section of this manual).

If “jumper cables” are used for emergency starting, follow this procedure:

IMPORTANT: YOUR TRACTOR IS EQUIPPED WITH A 12 VOLT SYSTEM. THE OTHER VEHICLE MUST ALSO BE A 12 VOLT SYSTEM. DO NOT USE YOUR TRACTOR BATTERY TO START OTHER VEHICLES.

TO ATTACH JUMPER CABLES -

Connect one end of the RED cable to the POSITIVE

(+)terminal of each battery(A-B), taking care not to short against tractor chassis.

Connect one end of the BLACK cable to the NEGATIVE (-) terminal (C) of fully charged battery.

Connect the other end of the BLACK cable (D) to good chassis ground, away from fuel tank and battery.

TO REMOVE CABLES, REVERSE ORDER -

BLACK cable first from chassis and then from the fully charged battery.

RED cable last from both batteries.

02614

WEAK OR DEAD

FULLY CHARGED

BATTERY

BATTERY

FIG. 28

REPLACING BATTERY (See Fig. 29)

WARNING: Do not short battery ter- minals by allowing a wrench or any other object to contact both terminals at the same time. Before connecting battery, remove metal bracelets, wristwatch bands, rings, etc.

Positive terminal must be connected first to prevent sparking from accidental grounding.

Lift hood to raised position.

Remove terminal guard.

Disconnect BLACK battery cable then RED battery cable and carefully remove battery from tractor.

Install new battery with terminals in same position as old battery.

Reinstall terminal guard.

First connect RED battery cable to positive (+) battery terminal with hex bolt and keps nut as shown. Tighten securely.

Connect BLACK grounding cable to negative (-) battery terminal with remaining hex bolt and keps nut. Tighten securely

Close terminal access doors.

Close hood.

24

Page 24
Image 24
Husqvarna GTH2554XP To Adjust Steering Wheel ALIGN- Ment, Front Wheel TOE-IN/CAMBER, To Remove Wheel for Repairs

GTH2554XP specifications

The Husqvarna GTH2554XP is a robust and versatile riding lawn mower designed for homeowners who seek efficiency and power in their lawn care routine. This mower is equipped with a powerful 24 HP Briggs & Stratton engine that delivers excellent performance, ensuring that it can tackle even the most challenging terrains with ease. The engine is paired with a hydrostatic transmission, which allows for smooth and effortless speed adjustments without the need for manual gear shifting.

One of the standout features of the GTH2554XP is its cutting deck. The 54-inch cutting deck is designed to provide a wide cutting path, reducing the time required to mow larger areas. The deck is made from high-quality stamped steel, ensuring durability and longevity. Additionally, it comes with a cutting height adjustment feature that allows users to choose from multiple height settings, ensuring a precise cut tailored to their lawn’s needs.

The mower is also designed with comfort in mind. Its ergonomic steering wheel and adjustable seat allow the operator to maintain a comfortable posture during extended mowing sessions. The high-back seat provides excellent lumbar support, making it suitable for long hours of work. Furthermore, the mower features cruise control, enabling users to maintain a steady speed without having to keep their foot on the pedal, thus reducing fatigue.

Another impressive aspect of the Husqvarna GTH2554XP is its innovative technology integration. It is compatible with various attachment options, including mulching kits and baggers, making it a versatile choice for lawn care. The mower’s compact design makes it maneuverable around tight corners and flower beds, providing an efficient mowing experience.

Safety is also a priority with the Husqvarna GTH2554XP; it is equipped with a motion detector that automatically shuts off the engine if the operator leaves the seat. This feature adds an extra layer of safety, especially in households with children or pets.

Overall, the Husqvarna GTH2554XP combines power, comfort, and advanced features to deliver an exceptional mowing experience. Its robust build, efficient engine, and innovative technology make it an ideal choice for homeowners who value quality and performance in their lawn maintenance equipment. Whether tackling a small yard or a larger property, the GTH2554XP stands out as a reliable and efficient solution.