75 |
46 |
SETTING UP TO SPRAY - CONTINUED
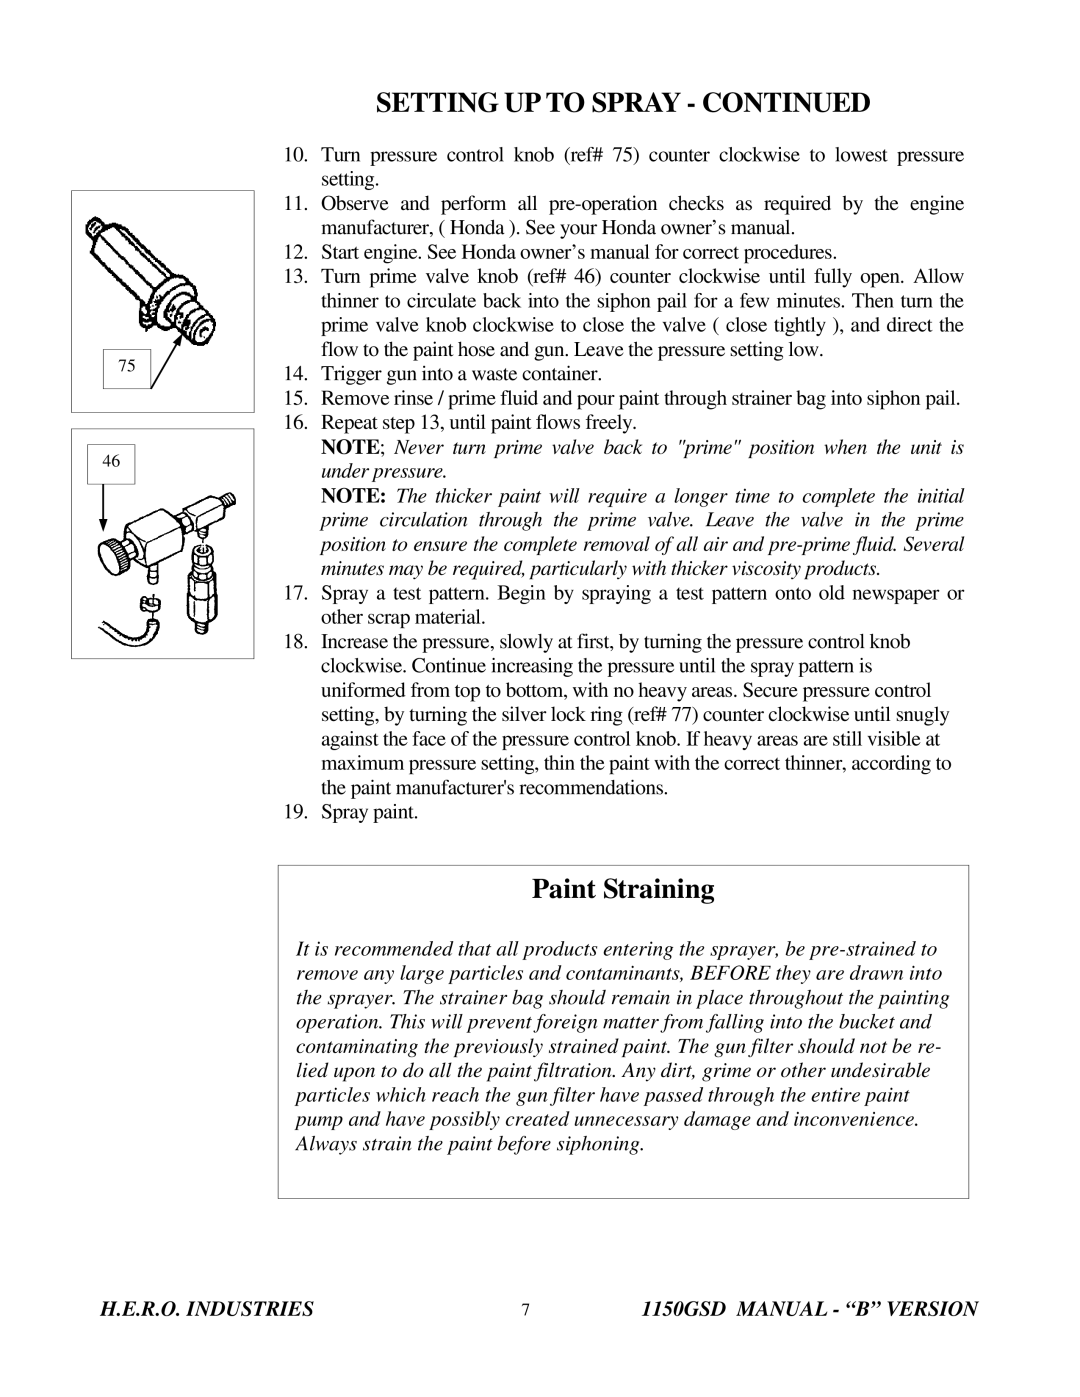
10.Turn pressure control knob (ref# 75) counter clockwise to lowest pressure setting.
11.Observe and perform all
12.Start engine. See Honda owner’s manual for correct procedures.
13.Turn prime valve knob (ref# 46) counter clockwise until fully open. Allow thinner to circulate back into the siphon pail for a few minutes. Then turn the prime valve knob clockwise to close the valve ( close tightly ), and direct the flow to the paint hose and gun. Leave the pressure setting low.
14.Trigger gun into a waste container.
15.Remove rinse / prime fluid and pour paint through strainer bag into siphon pail.
16.Repeat step 13, until paint flows freely.
NOTE; Never turn prime valve back to "prime" position when the unit is under pressure.
NOTE: The thicker paint will require a longer time to complete the initial prime circulation through the prime valve. Leave the valve in the prime position to ensure the complete removal of all air and
17.Spray a test pattern. Begin by spraying a test pattern onto old newspaper or other scrap material.
18.Increase the pressure, slowly at first, by turning the pressure control knob clockwise. Continue increasing the pressure until the spray pattern is uniformed from top to bottom, with no heavy areas. Secure pressure control setting, by turning the silver lock ring (ref# 77) counter clockwise until snugly against the face of the pressure control knob. If heavy areas are still visible at maximum pressure setting, thin the paint with the correct thinner, according to the paint manufacturer's recommendations.
19.Spray paint.
Paint Straining
It is recommended that all products entering the sprayer, be
H.E.R.O. INDUSTRIES | 7 | 1150GSD MANUAL - “B” VERSION |
