Mounting the Unit to a Wall
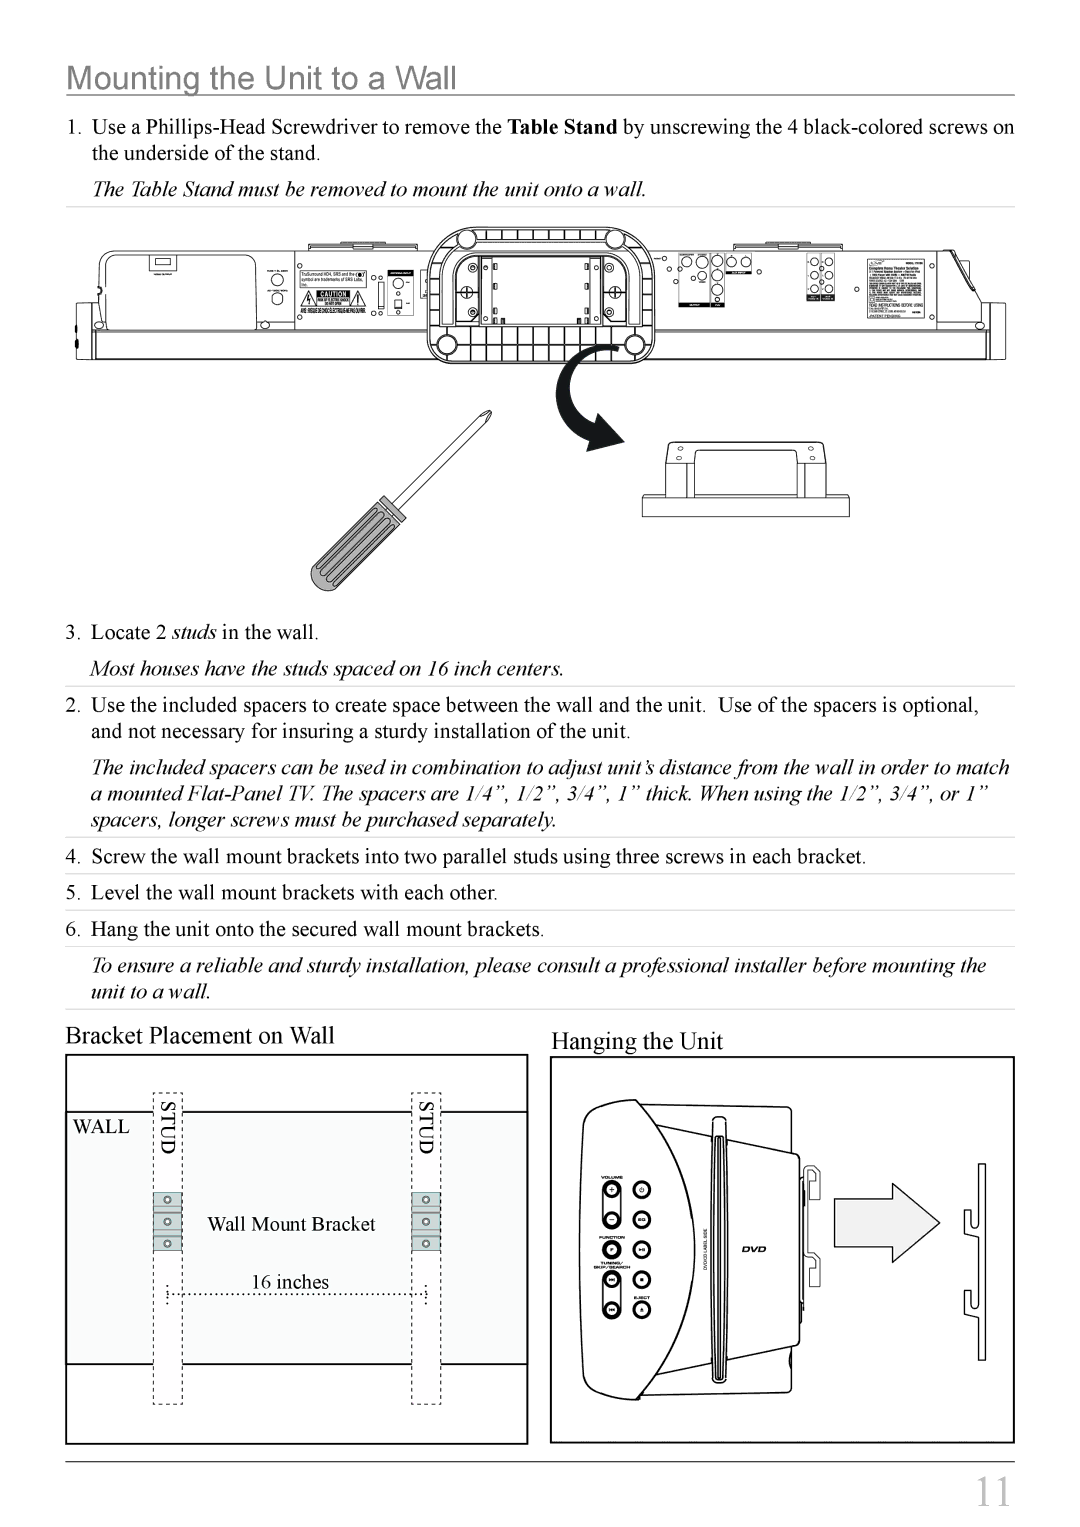
1.Use a
The Table Stand must be removed to mount the unit onto a wall.
3.Locate 2 studs in the wall.
Most houses have the studs spaced on 16 inch centers.
2.Use the included spacers to create space between the wall and the unit. Use of the spacers is optional, and not necessary for insuring a sturdy installation of the unit.
The included spacers can be used in combination to adjust unit’s distance from the wall in order to match a mounted
4.Screw the wall mount brackets into two parallel studs using three screws in each bracket.
5.Level the wall mount brackets with each other.
6.Hang the unit onto the secured wall mount brackets.
To ensure a reliable and sturdy installation, please consult a professional installer before mounting the unit to a wall.
Bracket Placement on Wall | Hanging the Unit |
WALL
STUD | STUD |
Wall Mount Bracket
16 inches