OPERATIONAL INSTRUCTIONS
Setting the Clock
Setting the time using the Time Sync function
The easiest way to set the clock on the iMM9400/9500 is to synchronize it with the atomic clock function on your iPhone or iPod. This unit is equipped with a Time Sync function which automatically sets the time by synchronizing it with your iPhone or iPod, when it is placed in the dock.
·With the power turned ON and the power connected, the Time Sync function is automatically enabled as indicated by “TIME SYNC” on the display.
·When your iPhone or iPod is placed in the dock, the unit will begin authentication.
·During authentication, the unit will update the time according to your iPhone or iPod.
To turn off the Time Sync Function, follow these instructions:
·Press TIME SYNC/TIME SET to turn OFF/ON the Time Sync function. If the Time Sync function is turned off, the unit will not sync the time from your iPhone or iPod.
Notes: The unit takes about 2 minutes (max) to synchronize the time from iPhone or iPod while “TIME SYNC” flashes on LCD. Time Sync is complete will when “TIME SYNC” shows steadily on the display.
When the Time Sync function is ON, the iMM9400/9500 will always synchronize the time when your iPhone or iPod is docked. To disable this function, turn off the Time Sync function once the correct time has been set.
Setting the time manually
When you first plug in the unit, the display shows:
Note: To set the clock to the current time, proceed as follows:
1.Press and hold TIME SYNC/TIME SET for three seconds. The hour flashes.
2.Enter the hour by pressing ![]() or
or ![]() .
.
3.Confirm the entry by pressingSELECT. The minutes will flash.
4.Enter the minutes by pressing ![]() or
or ![]() and confirm withSELECT.
and confirm withSELECT.
The time will always show in the display while in any mode (Tuner, CD, iPod, SD Card, USB and AUX). The time is also displayed when the unit is turned off.
Press TIME SYNC/TIME SET repeatedly, the display will show, “TIME SYNC ON” or “TIME SYNC OFF.”
OPERATIONAL INSTRUCTIONS
Timer
Setting the timer
You can set automatic
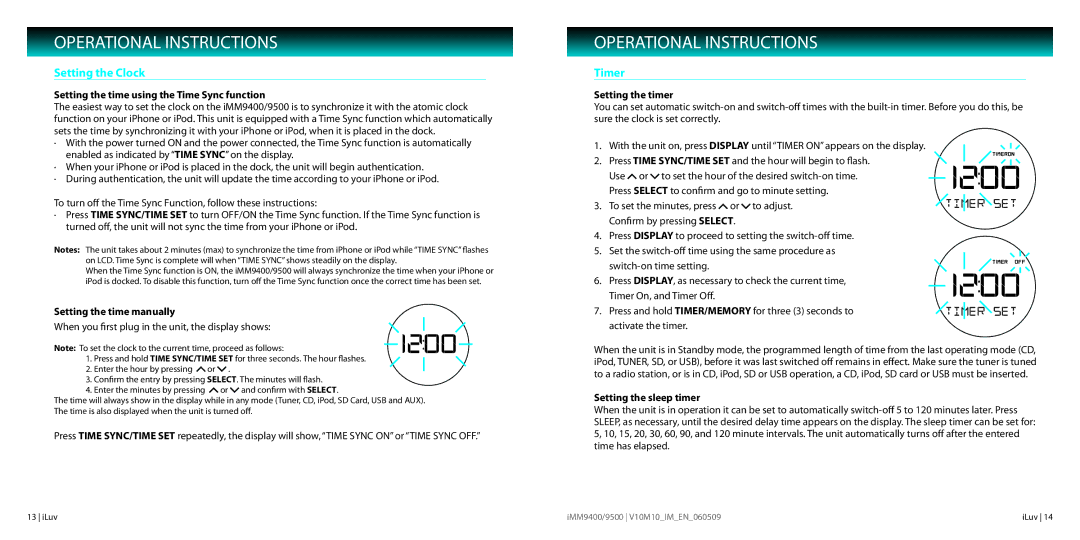
1. With the unit on, press DISPLAY until “TIMER ON” appears on the display.
2. Press TIME SYNC/TIME SET and the hour will begin to flash. Use ![]() or
or ![]() to set the hour of the desired
to set the hour of the desired
3. To set the minutes, press ![]() or
or ![]() to adjust. Confirm by pressingSELECT.
to adjust. Confirm by pressingSELECT.
4. Press DISPLAY to proceed to setting the
5. Set the
6. Press DISPLAY, as necessary to check the current time, Timer On, and Timer Off.
7. Press and hold TIMER/MEMORY for three (3) seconds to activate the timer.
When the unit is in Standby mode, the programmed length of time from the last operating mode (CD, iPod, TUNER, SD, or USB), before it was last switched off remains in effect. Make sure the tuner is tuned to a radio station, or is in CD, iPod, SD or USB operation, a CD, iPod, SD card or USB must be inserted.
Setting the sleep timer
When the unit is in operation it can be set to automatically
13 iLuv | iMM9400/9500 V10M10_IM_EN_060509 | iLuv 14 |