KP9 F11 S/G S specifications
The Indesit KP9 F11 S/G S is a versatile and efficient kitchen appliance designed to make cooking a seamless and enjoyable experience. This model embodies Indesit's commitment to innovation, ease of use, and functional design.At the heart of the KP9 F11 S/G S is its spacious oven with a capacity that accommodates large meals and facilitates multi-tier cooking. This feature is particularly useful for family gatherings or special occasions where multiple dishes need to be prepared simultaneously. The appliance is equipped with a fan-assisted convection system, ensuring even heat distribution throughout the oven. This technology allows for consistent baking and roasting results, reducing the need for rotating dishes during cooking.
One of the standout features of the Indesit KP9 F11 S/G S is its integrated grill function. This allows users to achieve that desirable crispy finish on dishes such as meats, vegetables, and casseroles. The grill operates independently or can be used in conjunction with the oven, offering versatile cooking options. Additionally, the appliance boasts a range of pre-set cooking programs, providing guidance for a variety of dishes, which takes the guesswork out of meal preparation.
The controls of the Indesit KP9 F11 S/G S are intuitively designed, with a clear display for easy navigation. The appliance features easy-to-use knobs and push-button controls that enable users to quickly adjust temperature settings and cooking modes. This user-friendly interface makes it accessible for cooks of all skill levels, from beginners to seasoned chefs.
Energy efficiency is another highlight of this model. The Indesit KP9 F11 S/G S boasts impressive energy ratings, reducing electricity consumption without compromising performance. This eco-friendly approach helps users save on energy bills while minimizing their environmental impact.
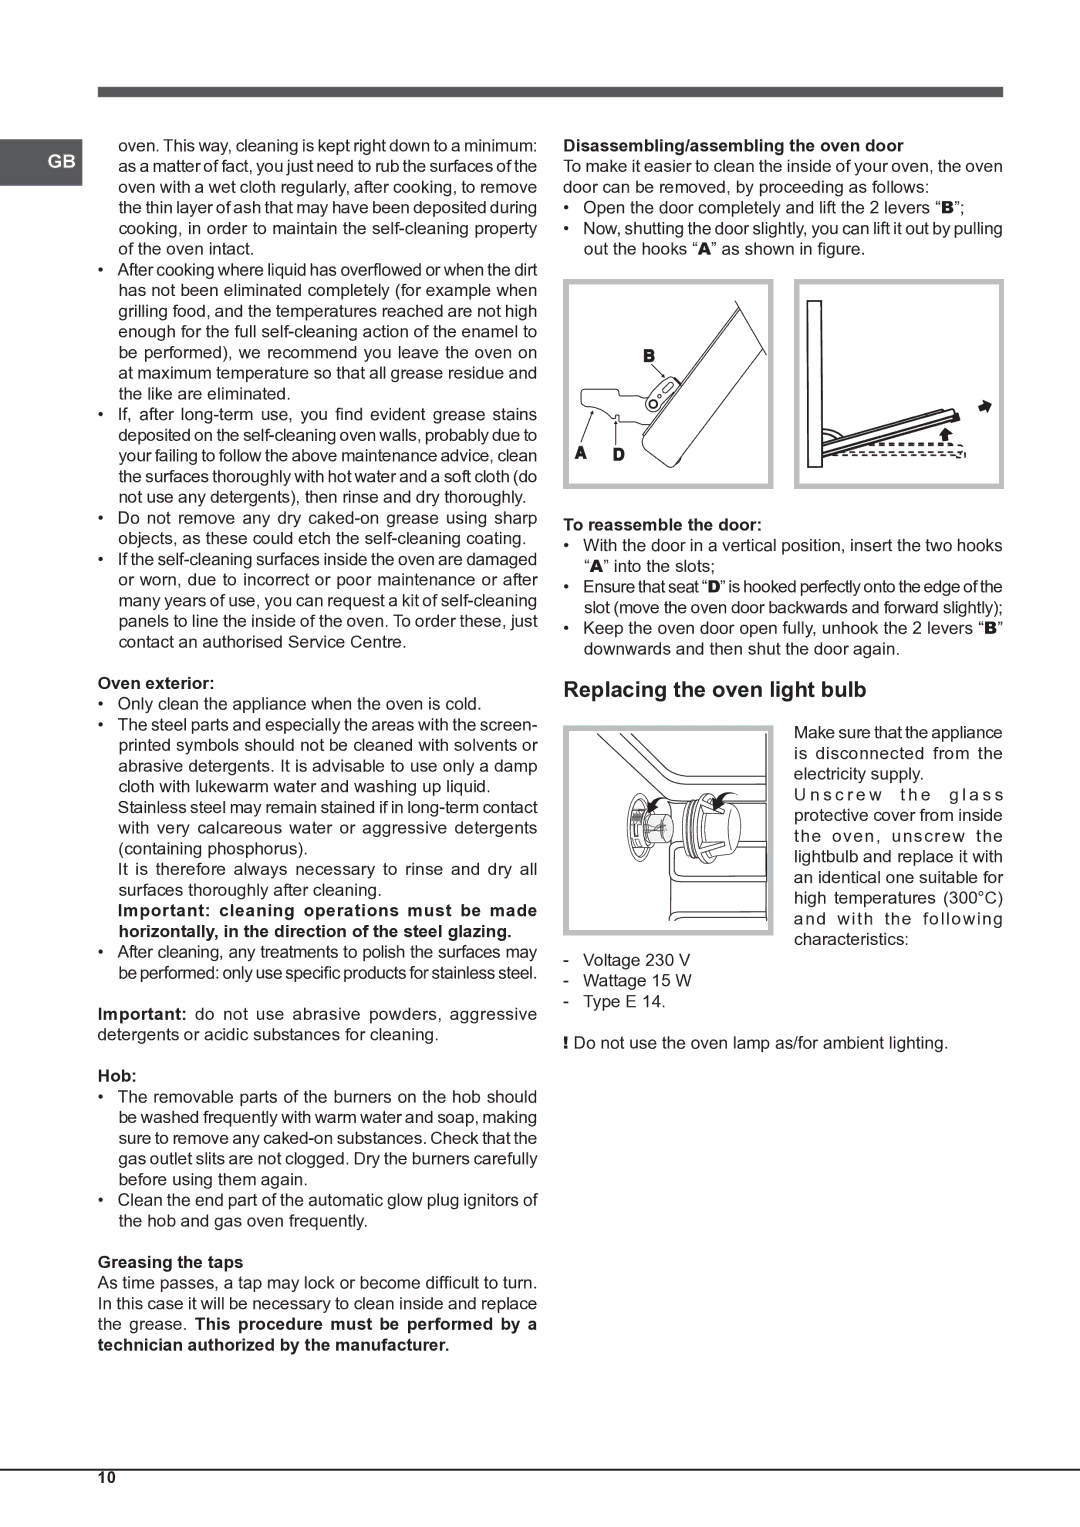
Cleaning and maintenance are simplified with the oven's easy-to-clean enamel interior. This feature prevents food residues from sticking, making it easier to wipe down after use. Additionally, the removable glass door ensures that users can maintain a clear view of their culinary creations while also making cleaning more manageable.
Overall, the Indesit KP9 F11 S/G S combines functionality, efficiency, and style. Its advanced features and thoughtful design make it a valuable addition to any modern kitchen, catering to a wide range of cooking needs and preferences. Whether you're an adventurous cook or a busy parent, this appliance is designed to meet your culinary demands while delivering delicious results.

