Using the TV’s Menu System
0 Go Back
1 Closed Captioning
2 Screen Format
3 Time Menu
4 Color Scheme
5Translucency
6Menu Language
7Power Indicator
8Lamp Power
Main Menu | Preferences |
Normal | Use this screen or the FORMAT |
button on the remote to change | |
| how the picture is displayed. |
| To the left are examples of the |
| effect of different Screen |
Cinerama | Format modes on a 4:3 signal. |
Each input can have a different setting for Screen Format and
StretchAutomatic Format Switching (AFS). Enabling AFS shows
the picture in a suitable format, otherwise, the default Screen Format that you selected is used.
![]() Zoom
Zoom
Use Automatic Format Switching
Screen format determines the format and size of the picture on the display screen. Press OK to continue.
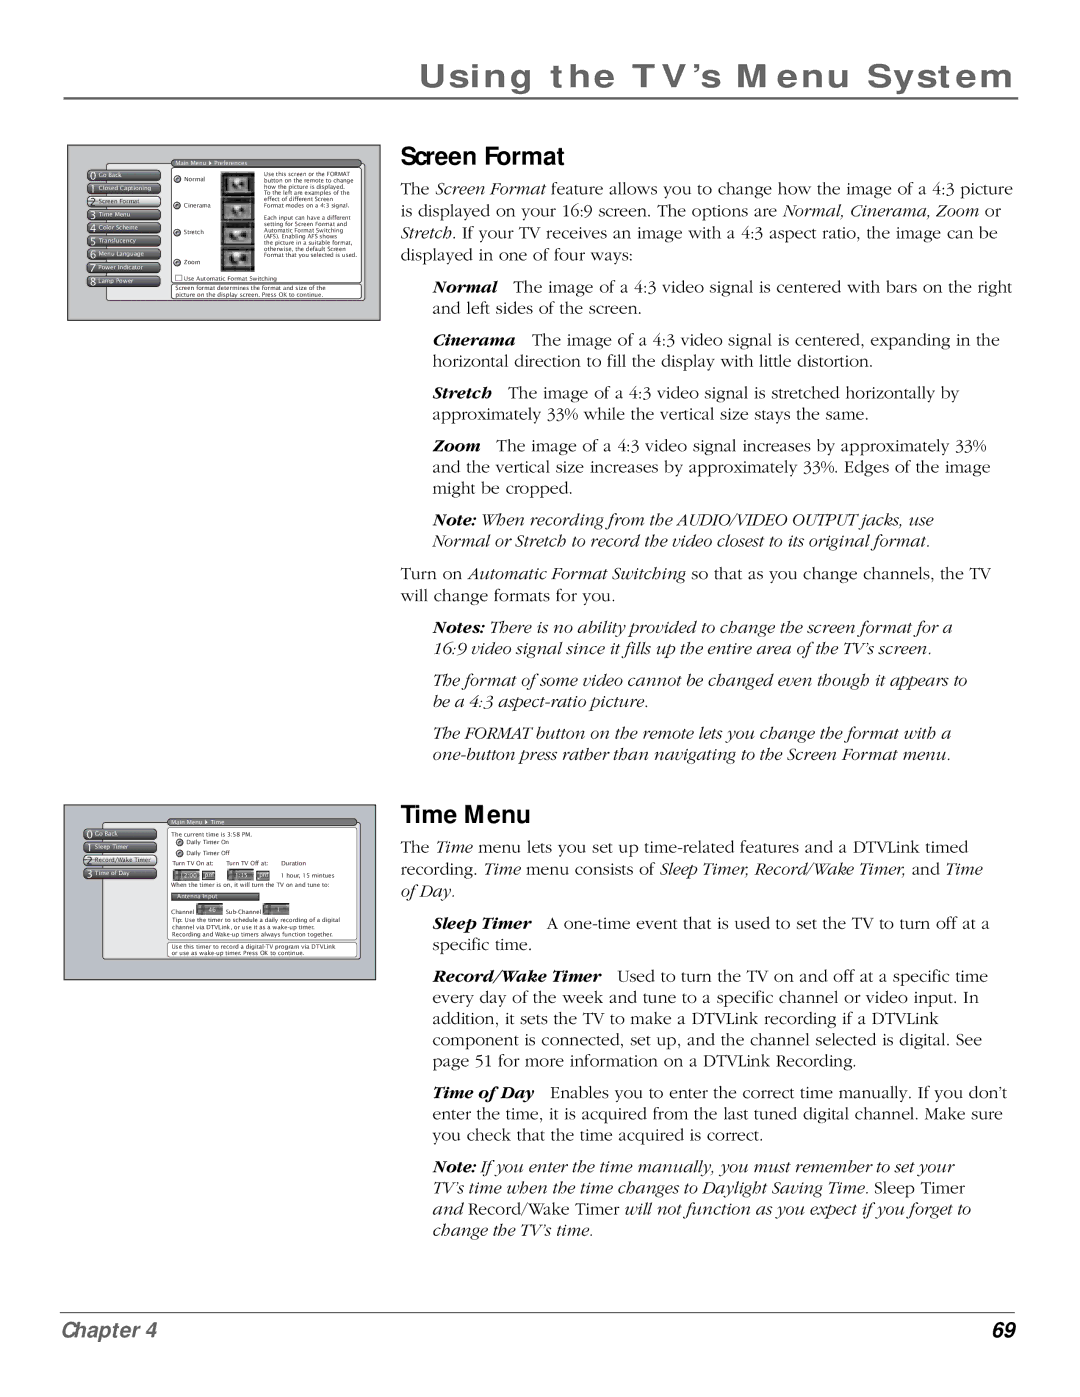
Screen Format
The Screen Format feature allows you to change how the image of a 4:3 picture is displayed on your 16:9 screen. The options are Normal, Cinerama, Zoom or Stretch. If your TV receives an image with a 4:3 aspect ratio, the image can be displayed in one of four ways:
Normal The image of a 4:3 video signal is centered with bars on the right and left sides of the screen.
Cinerama The image of a 4:3 video signal is centered, expanding in the horizontal direction to fill the display with little distortion.
Stretch The image of a 4:3 video signal is stretched horizontally by approximately 33% while the vertical size stays the same.
Zoom The image of a 4:3 video signal increases by approximately 33% and the vertical size increases by approximately 33%. Edges of the image might be cropped.
Note: When recording from the AUDIO/VIDEO OUTPUT jacks, use Normal or Stretch to record the video closest to its original format.
Turn on Automatic Format Switching so that as you change channels, the TV will change formats for you.
Notes: There is no ability provided to change the screen format for a 16:9 video signal since it fills up the entire area of the TV’s screen.
The format of some video cannot be changed even though it appears to be a 4:3
The FORMAT button on the remote lets you change the format with a
0 Go Back
1 Sleep Timer
2 Record/Wake Timer
3 Time of Day
Main Menu ![]() Time
Time
The current time is 3:58 PM.
![]() Daily Timer On
Daily Timer On
![]() Daily Timer Off
Daily Timer Off
Turn TV On at: | Turn TV Off at: | Duration |
12:00 pm | 1:15 pm | 1 hour, 15 mintues |
When the timer is on, it will turn the TV on and tune to:
Antenna Input
Channel 46
Tip: Use the timer to schedule a daily recording of a digital channel via DTVLink, or use it as a
Use this timer to record a
Time Menu
The Time menu lets you set up
Sleep Timer A
Record/Wake Timer Used to turn the TV on and off at a specific time every day of the week and tune to a specific channel or video input. In addition, it sets the TV to make a DTVLink recording if a DTVLink component is connected, set up, and the channel selected is digital. See page 51 for more information on a DTVLink Recording.
Time of Day Enables you to enter the correct time manually. If you don’t enter the time, it is acquired from the last tuned digital channel. Make sure you check that the time acquired is correct.
Note: If you enter the time manually, you must remember to set your TV’s time when the time changes to Daylight Saving Time. Sleep Timer and Record/Wake Timer will not function as you expect if you forget to change the TV’s time.
Chapter 4 | 69 |