
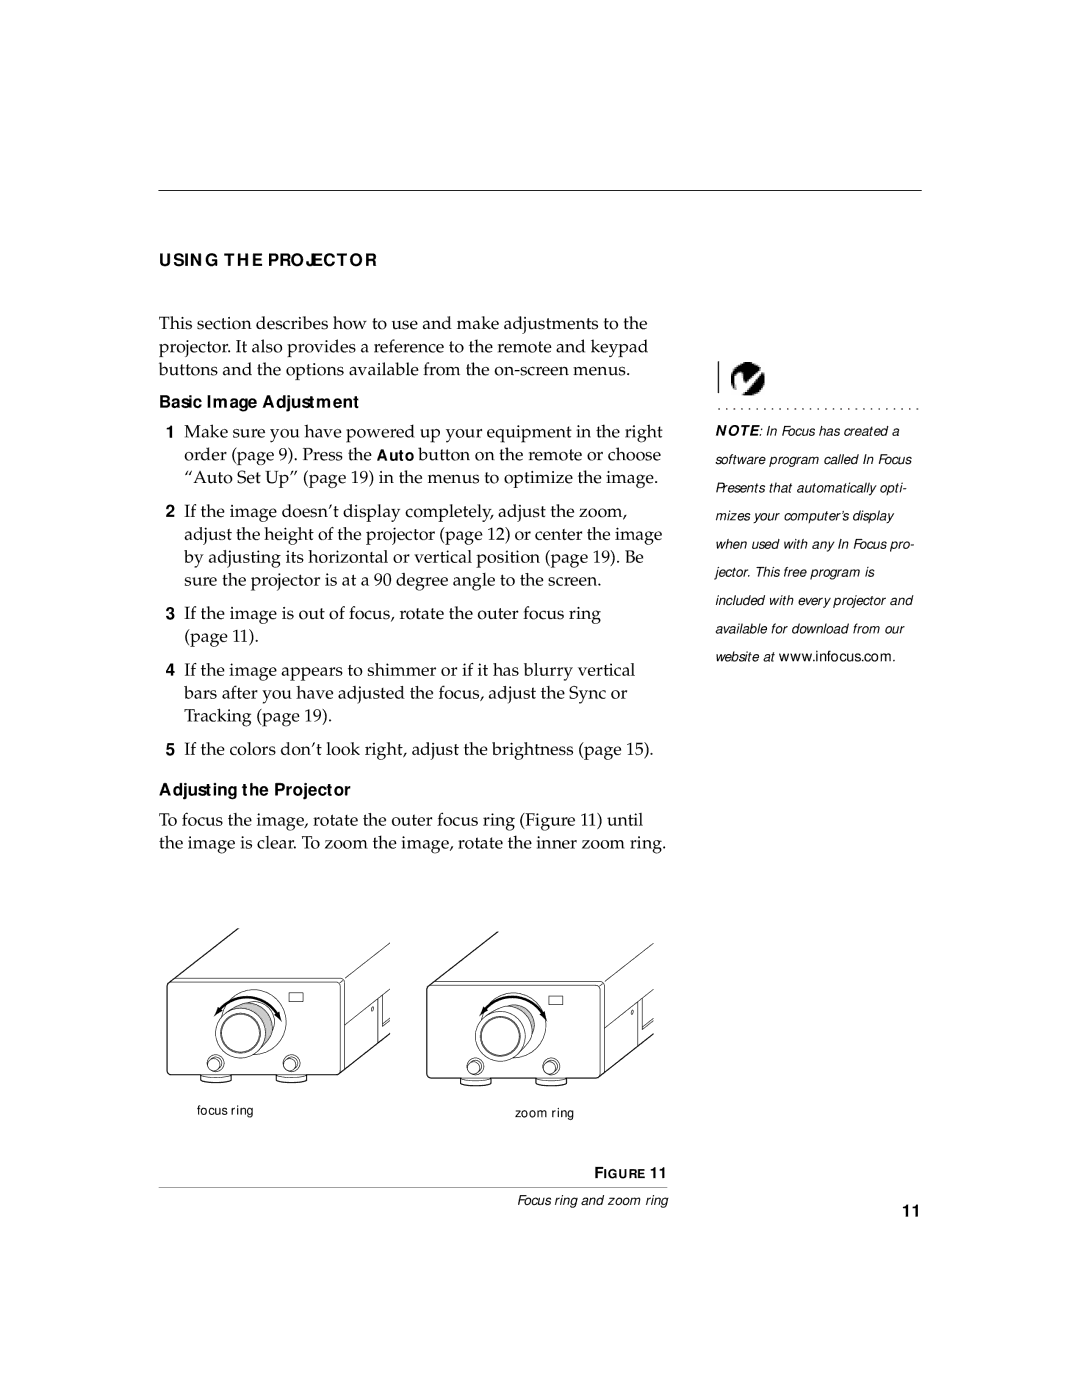
LP 740 specifications
The InFocus LP 740 is a highly regarded projector that has made a significant impact in various settings, from educational institutions to corporate environments. Known for its reliability and impressive performance, the LP 740 brings a multitude of features and technologies that cater to the diverse needs of users.One of the standout features of the InFocus LP 740 is its brightness level. With a remarkable brightness rating of 3,200 ANSI lumens, this projector ensures clear and vibrant images even in well-lit rooms. This makes it an ideal choice for presentations in classrooms or conference halls where ambient light can often compromise image quality.
The LP 740 boasts a native resolution of XGA (1024 x 768 pixels), delivering sharp and detailed images that enhance the overall viewing experience. This native resolution is especially beneficial for displaying text, graphics, and detailed presentations, ensuring that every detail is visible and legible.
In terms of connectivity, the InFocus LP 740 offers a variety of options, including VGA, composite video, and S-Video inputs. This versatility allows users to connect the projector to a wide range of devices, from laptops and desktops to DVD players and other multimedia sources. The inclusion of an audio output also enables users to pair the projector with external speakers for enhanced sound quality.
Another notable technology featured in the LP 740 is its DLP (Digital Light Processing) technology. DLP projectors are known for their superior color accuracy and consistency, providing a more immersive visual experience. The LP 740 delivers vibrant colors and deep blacks, making it well-suited for both business presentations and cinematic displays.
The projector also incorporates advanced cooling technology, which ensures it operates quietly, reducing distractions during presentations. Furthermore, it features a low maintenance design, including a long-lasting lamp life of up to 3,000 hours, which minimizes the need for frequent replacements.
Portability is another key characteristic of the InFocus LP 740. Weighing in at a convenient size, it can be easily transported, making it suitable for individuals who frequently move between different locations for meetings or lectures.
Overall, the InFocus LP 740 combines robust performance with practical features, making it a versatile choice for professionals and educators alike. Its high brightness, advanced DLP technology, and variety of connectivity options make it a reliable solution for a wide array of projection needs. Whether in a boardroom or a classroom, the LP 740 continues to impress with its quality and reliability.