Evolution Excel specifications
The InSinkErator Evolution Excel is an advanced food waste disposer that brings innovation and efficiency to the kitchen. Designed for those who prioritize hygiene, convenience, and environmental responsibility, this model stands out with its remarkable features and cutting-edge technology.At the heart of the Evolution Excel is its powerful 1.0-horsepower motor, which ensures that even the toughest food scraps are ground down quickly and efficiently. This professional-grade performance allows users to dispose of a variety of food waste, including fibrous vegetables, fruit pits, and even small bones, with ease.
One standout feature of the Evolution Excel is its three-stage grinding technology. This system utilizes multi-layered grinding components that enable the disposer to break down waste into finer particles. As a result, the waste can be processed quicker, reducing the risk of clogs in the plumbing system. This advanced grinding design not only enhances performance but also helps to minimize noise levels during operation, making it one of the quietest disposers on the market.
Noise reduction is further enhanced by the SoundSeal technology integrated into the Evolution Excel. This system features advanced insulation that dampens sound during operation, allowing users to run the disposer without disturbing the household. This is especially beneficial in busy kitchens where conversation is ongoing.
Another notable characteristic is the built-in stall saver. This feature automatically resets the motor if it becomes overloaded, preventing jamming and ensuring the longevity of the unit. This user-friendly design allows homeowners to tackle food waste without the fear of mechanical failure.
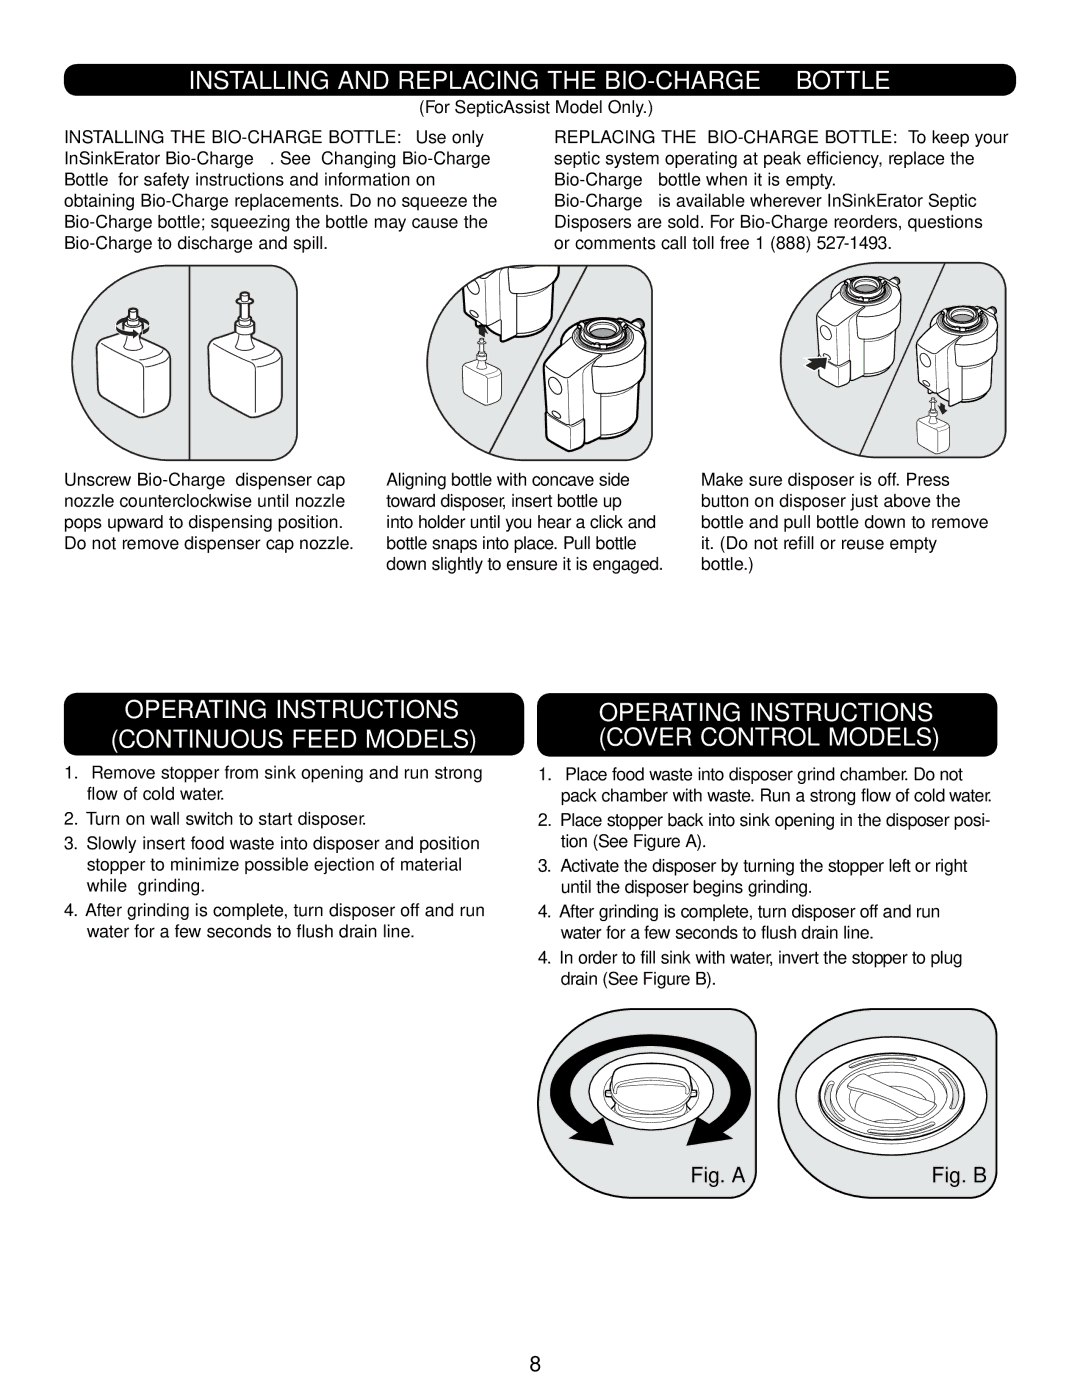
The Evolution Excel also comes equipped with an easy-to-use interface, including a convenient power switch, making operation simple for anyone in the kitchen. This disposer supports a continuous feed disposal method, which means users can add food waste while the motor is running, allowing for efficient and uninterrupted waste disposal.
Additionally, the Evolution Excel is made from environmentally-friendly materials and is designed to work seamlessly with septic systems. Its capability to reduce the volume of waste sent to landfills contributes significantly to sustainability efforts, making it an ideal choice for eco-conscious consumers.
In conclusion, the InSinkErator Evolution Excel is a top-tier food waste disposer that combines powerful performance, innovative technology, and user-friendly features. Ideal for modern kitchens, it promotes efficiency, minimizes noise, and fosters environmentally responsible waste management, making it a valuable addition to any home.

