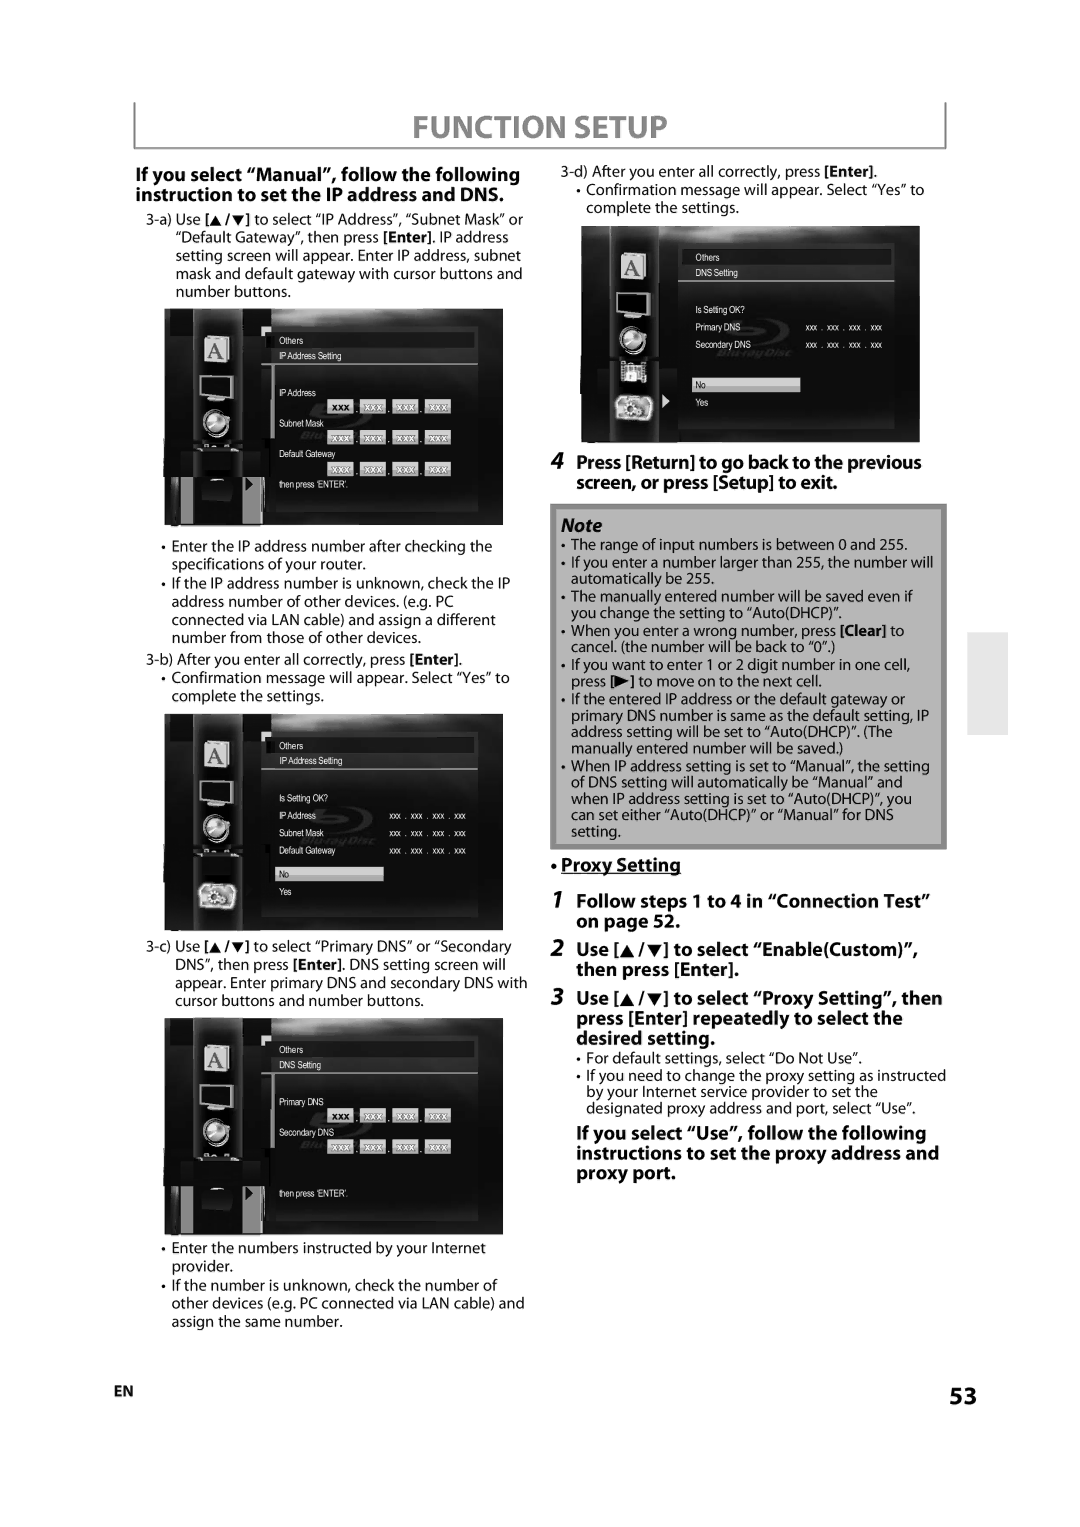
E5SF1UD, 1VMN29753, DBS-30.2 specifications
The Integra DBS-30.2 is a high-performance audio device designed for audiophiles and home theater enthusiasts seeking superior sound quality and versatile connectivity options. This receiver is engineered to deliver an immersive listening experience, standing out in its category due to its array of advanced features and technologies.One of its main features is the robust amplification system, which ensures that every sound is reproduced with clarity and precision. The DBS-30.2 boasts a powerful amplifier section that is capable of producing high output power across a range of frequencies, allowing users to enjoy dynamic audio whether they are watching movies or listening to music. The receiver is designed to handle demanding speaker loads while maintaining high levels of fidelity.
The receiver includes support for various surround sound formats, including Dolby Atmos and DTS:X. These technologies enable the creation of a three-dimensional sound environment, allowing listeners to immerse themselves in the audio experience as if they were part of the action. With these formats, the DBS-30.2 can decode and play back multi-channel audio, enhancing the overall experience of both films and music.
In terms of connectivity, the Integra DBS-30.2 is equipped with a wide variety of input and output options. HDMI inputs allow for seamless connection to modern video sources, while legacy connections ensure compatibility with older devices. Additionally, it features built-in Wi-Fi and Bluetooth capabilities, facilitating easy streaming of music from mobile devices and other wireless sources.
The user interface is intuitive, featuring an on-screen display that simplifies navigation through the receiver's vast array of settings and options. Furthermore, the receiver is designed with calibration technology that automatically adjusts sound settings based on the room's acoustics, optimizing performance for different listening environments.
The build quality of the Integra DBS-30.2 is also noteworthy, employing premium materials and craftsmanship that enhance not only durability but also aesthetic appeal. The sleek design allows it to integrate seamlessly into home entertainment systems.
In summary, the Integra DBS-30.2 is an exceptional audio receiver that combines advanced technologies and features, making it a worthwhile addition for anyone passionate about high-quality sound and home theater systems. Whether for casual listening or a full home cinema experience, this device stands as a powerful tool in the pursuit of audio excellence.

