LV Intel Pentium III/ ULV Celeron PC/104+ CPU Module
User’s Manual
PCM-3370
Acknowledgements
Copyright
http//support.advantech.com
Packing List
Additional Information and Assistance
Safety Instructions
Wichtige Sicherheishinweise
replaced. Replace only with the same or equiv
Danger of explosion if battery is incorrectly
alent type recommended by the manufacturer
Dispose of used batteries according to the man
viii
PCM-3370 User’s Manual
Chapter
Installation
General Information
Content
Award BIOS Setup
Software Configuration
Chapter
Chapter
Programming the Watchdog Timer
AGP 4X Setup
PCM-3370F Jumper Settings
PCI Bus Ethernet Interface
System Assignments
Appendix C
CHAPTER
General Information
1.1 Introduction
Chapter 1 General Information
1.2 Features
Standard SBC functions
1.3 Specifications
Solid state disk
VGA/LCD interface
Connection On-board RJ-45 connector Built-in boot ROM
Mechanical and environmental
Max. power requirements5V@2.4A for Intel Celeron ULV 400 @ 128M
Operating temperature 0 ~ 60 C 32 ~ 140 F
Figure 1.1 Board Dimensions Component Side
1.4 Board Dimensions
PCM-3370 User’s Manual
Chapter1
Figure 1.2 Board Dimensions Solder Side
PCM-3370 User’s Manual
CHAPTER
Installation
Table 2.1 connectors and jumpers
Chapter 2 Installation
2.1 Jumpers
PCM-3370 User’s Manual
PCI VIO SELECT
Watchdog Timer
COM1 RI Input Select
COM2 RI Input Select
Figure 2.1 Locating Connectors and Jumpers
2.2 Locating jumpers and connectors
PCM-3370 User’s Manual
Figure 2.2 Locating Connectors Solder Side
2.3 Setting Jumpers
2.4 CPU
Table 2.2 JP2 Watchdog Timer
bag when they are not in the chassis
2.4.1 CMOS clear JP1
2.4.2 PCI VIO Select JP3
2.4.3 COM1 and COM2 RI Input Select JP4, JP5
2.5 SDRAM installation
Table 2.4 COM1 and COM2 RI Input Select JP4, JP5
Table 2.5 COM1 and COM2 RI Input Select JP4, JP5
2.7 LPT1 primary parallel port connector CN14
2.6 Primary 2.5 IDE connector CN12
2.8 Keyboard/mouse connectors CN17
2.6.1 Connecting the hard drive
2.9.1 Main power connector CN15
2.9 Power connectors CN15, CN18
2.9.2 ATX standby power input connector CN18
2.12.1 CRT display connector CN8
2.14 Watchdog timer configuration
2.13 Ethernet configuration
2.12.3 Invert Power Connector CN2
2.13.1 Ethernet connector CN5
2.16 Reset Connector CN1
2.15 USB connector CN26,CN27
2.17 IR Connector CN3
2.18 FAN Connector CN4
PCM-3370F has a 2-pin boxheader real time clock connector
2.18.3 RTC Connector CN22
Chapter2
PCM-3370 User’s Manual
Sections include Introduction VGA display software configuration
Software Configuration
LCD display configuration Connections for four standard LCDs
Ethernet interface configuration
3.2 VGA display firmware configuration
Chapter 3 Software Configuration
3.1 Introduction
Ensure that you do not run AWDFLASH.EXE
Figure 3.1 VGA setup screen
Table 3.1 Sharp LM64183P LCD CN35
3.3 Connections for four standard LCDs
Table 3.2 PCM-3370 connection for PLANAR EL LCD CN35
PCM-3370 User’s Manual
Table 3.2 PCM-3370 connection for PLANAR EL LCD CN35
Table 3.3 Toshiba LTM10C209A LCD CN35
Connections to Toshiba LTM10C209A 640 x 480 TFT color LCD
Chapter3
Table 3.3 Toshiba LTM10C209A LCD CN35
Table 3.4 PCM-3370 connection for Kyocera KCB6446BSTT-X5 LCD CN35
Connections to Kyocera KCB6446BSTT-X5 640 x 480 DSTN color LCD
PCM-3370 User’s Manual
Chapter3
Table 3.4 PCM-3370 connection for Kyocera KCB6446BSTT-X5 LCD CN35
3.4 Ethernet software configuration
This chapter describes how to set BIOS configuration data
Award BIOS Setup
CHAPTER
4.1.1 System configuration verification
Chapter 4 Award BIOS Setup
4.1 System test and initialization
4.2.1 Entering setup
4.2 Award BIOS setup
4.2.2 Standard CMOS setup
Figure 4.1 Setup Program Initial Screen
PCM-3370 User’s Manual
Figure 4.2 CMOS Setup Screen
Figure 4.3 BIOS Features Setup Screen
4.2.3 BIOS features setup
Chapter4
Figure 4.4 ChipsetFeatures Setup Screen
4.2.4 Chipset features setup
PCM-3370 User’s Manual
Figure 4.5 
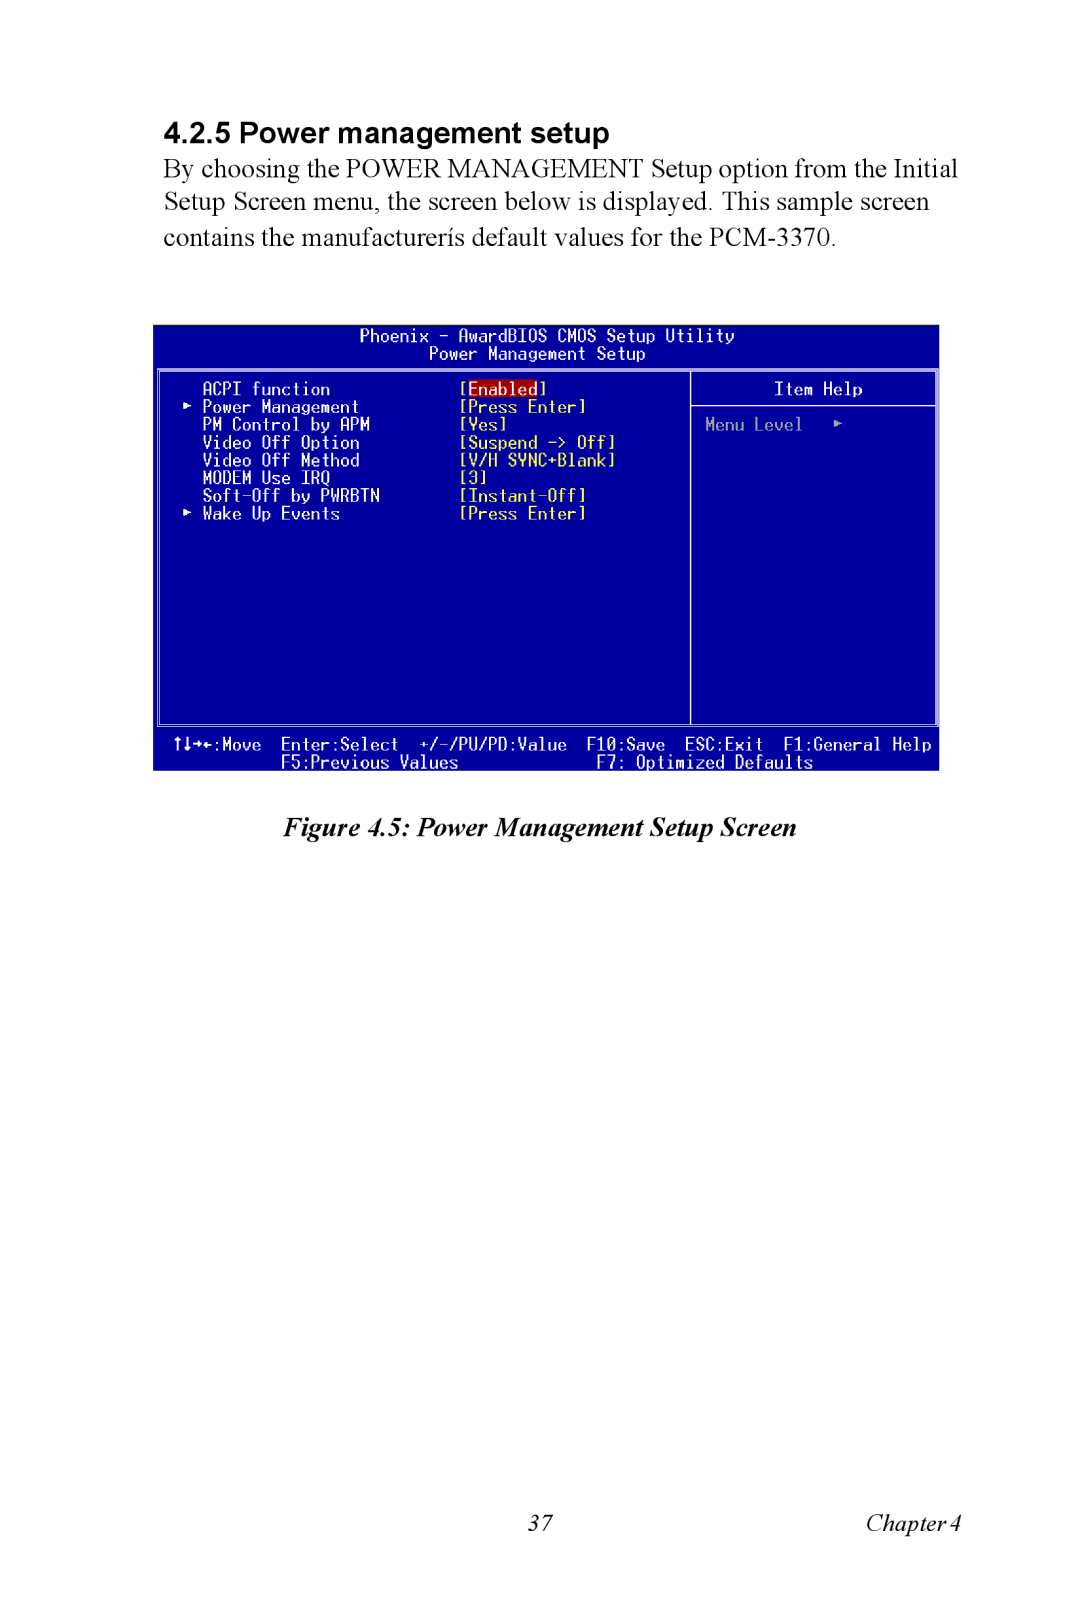
Power Management Setup Screen
4.2.5 Power management setup
Chapter4
Figure 4.6 PCI configuration setup screen
4.2.6 PnP/PCI configuration setup
PCM-3370 User’s Manual
4.2.7 Integrated peripherals
Figure 4.7 Integrated peripherals setup screen
Chapter4
4.2.9 Set Password
4.2.8 Load Optimized Defaults BIOS
Figure 4.8 Load Optimized Default BIOS screen
Figure 4.9 Save and Exit Setup Screen
4.2.10 Save & exit setup
4.2.11 Quit without saving
Figure 4.10 Quit Setup Screen
PCM-3370 User’s Manual
CHAPTER
AGP 4X Setup
5.1 Introduction
Chapter 5 AGP 4X Setup
5.1.1 Chipset
5.1.2 Display memory
5.1.4 Dual/Simultaneous Display
Figure 5.1 Selecting Display Settings
5.2.1 Installation for Windows
5.2 Installation of the SVGA Driver
1. The windows illustrations in this chapter are
intended as examples only. Please follow the
3. Press the Have Disk button
2. Choose the Adapter tab, then press the Change... button
Chapter5
4. Type in the path
D\vga\VT8606\Win9xMe
5. Select the highlighted item, and click the OK button
PCM-3370 User’s Manual
Chapter5
7. Press “Yes” to reboot
PCM-3370 User’s Manual
5.2.2 Installation for Windows 98/Me
Chapter5
2. Select “Adapter,” then “Change.”
4. Press the “Have disk...” button
3. Press “Next,” then “Display a list....”
PCM-3370 User’s Manual
5. Insert the CD into the CD-ROM drive. Type in the path
D\vga\VT8606\Win9xMe Then press “OK”
6. Select the highlighted item, then click “OK.”
Chapter5
PCM-3370 User’s Manual
8. Press “Yes” to reboot
Service Pack X X = 3, 4, 5, 6,... must be
5.2.3 Installation for Windows NT
installed first, before you install the Windows NT
VGA driver
PCM-3370 User’s Manual
2. Choose the Settings tab, and press the Display Type button
Chapter5
3. Press the Change... button
4. Click the Have Disk... button 5. Type the path
D\vga\VT8606\Win NT Press the OK button
PCM-3370 User’s Manual
6. Select the highlighted item, and click the OK button
7. Press Yes to proceed 8. Press OK to reboot
Chapter5
PCM-3370 User’s Manual
5.2.4 Installation for Windows
Chapter5
2. Choose the Video Controller VGA Compatible” button
PCM-3370 User’s Manual
3. Choose the Drive button, press “Update Driver...” button
5. Choose “Display adapters”, press “Next” button
4. Choose Display a list of... , then press “Next” button
Chapter5
7. Type the path D\vga\VT8606\Win2000 press the “OK” button
6. Click the “Have Disk” button
PCM-3370 User’s Manual
8. Press “Finish to reboot
5.2.5 Installation for Windows XP
Chapter5
PCM-3370 User’s Manual
2. Choose “Hardware” and “Device Manager”, press “OK” button
Chapter5
3. Choose “Video Controller VGA Compatible, press “OK” button
5. Choose “Install from a list.....” , press “Next”
4. Choose Driver”, “Update Driver”, press “OK” button
PCM-3370 User’s Manual
7. Choose “Display adapters”, press “Next” button
6. Choose “Don’t search. I will....”, press “Next” button
Chapter5
PCM-3370 User’s Manual
8. Type the path D\vga\VT8606\WinXP then press “OK” button
10. Press “Finish to reboot
5.3 Further Information
VIA website
Chapter5
PCM-3370 User’s Manual
This chapter provides information on Ethernet configuration
PCI Bus Ethernet Inter- face
Introduction Installation of Ethernet driver for MS-DOS Windows
CHAPTER
6.2.1 Installation for MS-DOS and Windows
6.2 Installation of Ethernet Driver
examples only. You must follow the flow chart
Chapter 6 PCI Bus Ethernet Interface
1. a. Select Start/Settings/Control Panel b. Double click Network
6.2.2 Installation for Windows
2. a. Click Add and prepare to install network functions
Chapter6
3. a. Select the Adapter item to add the Ethernet card
4. Click Have Disk to install the driver
5. a. Insert the CD into the D drive b. Fill in D\LAN\8139C\
c. Click OK
D\LAN\8138C\WIN98
The correct file path for Windows 98 is
6. a. Choose the Realtek item b. Click OK
Chapter6
Step 1. Open Device Manager
6.2.3 Installation for Windows
PCM-3370 User’s Manual
Chapter6
Step
PCM-3370 User’s Manual
Step Step
Chapter6
Step Step
PCM-3370 User’s Manual
Step Step
1. a. Select Start/Settings/Control Panel. b. Double click Network
6.2.4 Installation for Windows NT
Step
Chapter6
b. Click the Add button
2. a. Choose the Adapters label
PCM-3370 User’s Manual
5. a. Insert the CD into the D drive b. Fill in D\LAN\8139C\WINNT4
3 a. Press Have Disk 4. a. Type D. b. Press OK
c. Press the OK button
Chapter6
PCM-3370 User’s Manual
6. a. Choose the Realtek item. b. Press the OK button
Chapter6
6.3 Further information
PCM-3370 User’s Manual
Appendix
Programming the Watchdog Timer
A.1 Programming the watchdog timer
Appendix A Programming the Watchdog Timer
Appendix
Jumper Settings
Table B.1 Connectors
Appendix B PCM-3370F Jumper Settings
PCM-3370 User’s Manual
B.2 CN2 Inverter Power Connector
B.1 CN1 Reset Connector
Table B.2 CN1 Reset Connector
Table B.3 CN2 Inverter Power Connector
B.4 CN4 FAN Connector
B.3 CN3 IR Connector
Table B.4 IR Connector
Table B.5 CN4 FAN Connector
Table B.6 CN5 LAN Connector
B.5 CN5 LAN Connector
AppendixB
Pin name
Table B.7 CN6 422/485 Connector
B.6 CN6 422/485 Connector
B.7 CN7 40-Pin LCD Port 24bit
Table B.8 CN7 40-Pin LCD Port 24bit
Table B.9 CN8 CRT Connector
B.8 CN8 CRT Connector
AppendixB
Table B.10 CN9 USB Connector
B.9 CN9 USB Connector
PCM-3370 User’s Manual
B.11 CN11 PC/104+ Connector
B.10 CN10 20-Pin LCD Connector 36-bit
Table B.11 CN10 20-Pin LCD Connector 36-bit
Table B.12 PC/104+ connectors CN18
PCM-3370 User’s Manual
PC/104-Plus connector PCI bus
Table B.13 CN12 44-Pin IDE Connector
B.12 CN12 44-Pin IDE Connector
AppendixB
B.14 CN14 LPT Connector
B.13 CN13 COM2 RS232 Connector
Table B.14 CN13 COM2 RS232 Connector
Table B.15 CN14 LPT Connector
Table B.16 CN15 Power Conector
B.15 CN15 Power Conector
87654321
AppendixB
Table B.17 CN16 COM1 RS232 Connector
B.16 CN16 COM1 RS232 Connector
PCM-3370 User’s Manual
Pin name
B.18 CN18 ATX Power Connector
B.17 CN17 KB/MS Connector
Table B.18 CN17 KB/MS Connector
Table B.19 CN18 ATX Power Connector
B.20 CN20 Negative Power Input
B.19 CN19 Power Switch Connector
Table B.20 CN19 Power Switch Connector
Table B.21 CN20 Negative Power Input
AppendixB
B.24 JP2 Watchdog Timer
B.22 CN22 RTC Connector
Table B.23 CN22 RTC Connector
Table B.25 JP2 Watchdog Timer
Table B.26 JP3 PCI VIO Select
B.25 JP3 PCI VIO Select
B.26 JP4 COM1 RI Input Select
Table B.27 JP4 COM1 RI Input Select
Table B.28 JP5 COM2 RI Input Select
B.27 JP5 COM2 RI Input Select
PCM-3370 User’s Manual
Appendix
System Assignments
C.1 System I/O ports
Appendix C System Assignments
Table C.1 System I/O ports
Addr. range
Table C.2 DMA channel assignments
C.2 DMA channel assignments
AppendixC
Table C.3 Interrupt assignments
C.3 Interrupt assignments
Interrupt#
Interrupt source
C.4 1st MB memory map
Table C.4 1st MB memory map
Addr. range Hex
Device
PCM-3370 User’s Manual