Quick Install
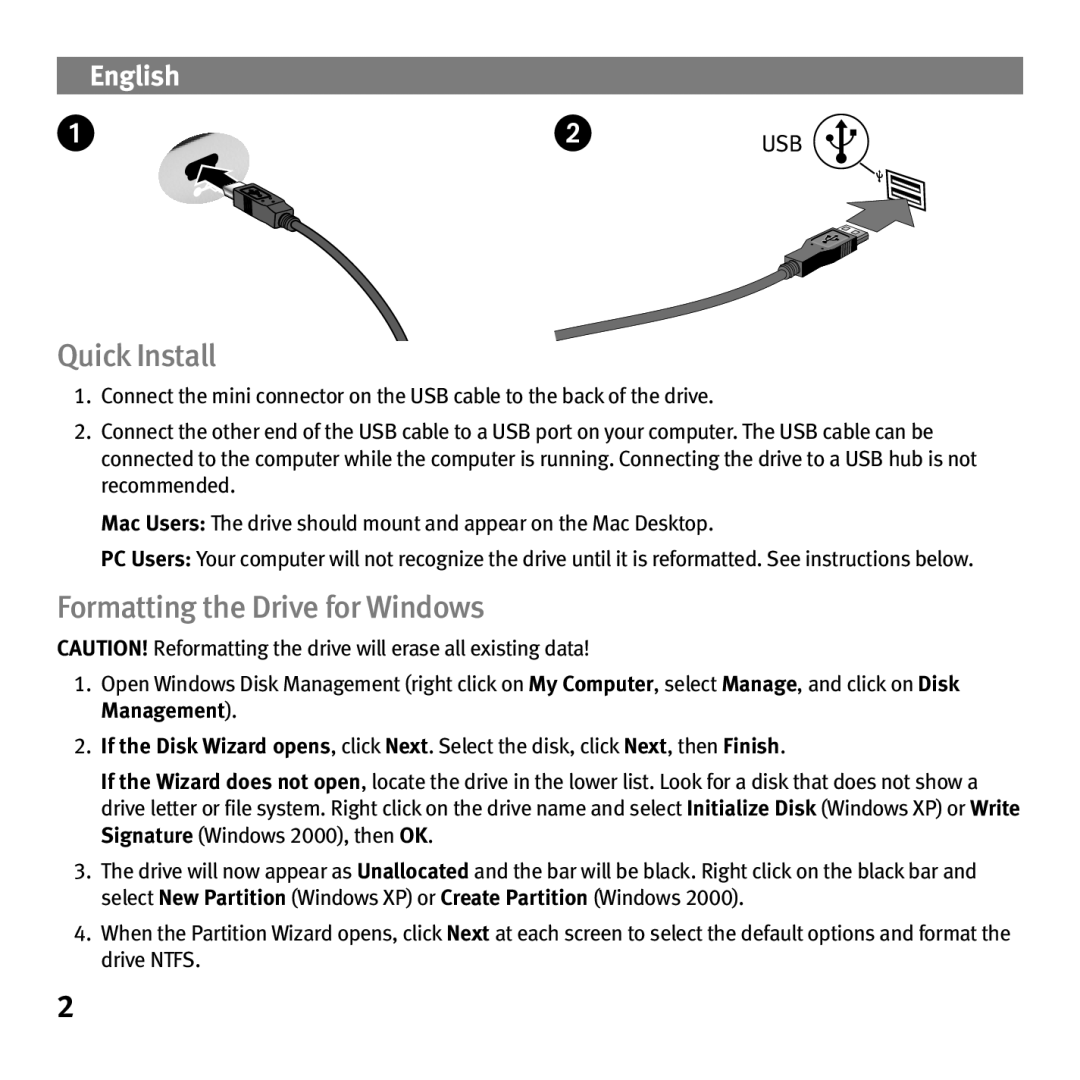
1.Connect the mini connector on the USB cable to the back of the drive.
2.Connect the other end of the USB cable to a USB port on your computer. The USB cable can be connected to the computer while the computer is running. Connecting the drive to a USB hub is not recommended.
Mac Users: The drive should mount and appear on the Mac Desktop.
PC Users: Your computer will not recognize the drive until it is reformatted. See instructions below.
Formatting the Drive for Windows
CAUTION! Reformatting the drive will erase all existing data!
1.Open Windows Disk Management (right click on My Computer, select Manage, and click on Disk Management).
2.If the Disk Wizard opens, click Next. Select the disk, click Next, then Finish.
If the Wizard does not open, locate the drive in the lower list. Look for a disk that does not show a drive letter or file system. Right click on the drive name and select Initialize Disk (Windows XP) or Write Signature (Windows 2000), then OK.
3.The drive will now appear as Unallocated and the bar will be black. Right click on the black bar and select New Partition (Windows XP) or Create Partition (Windows 2000).
4.When the Partition Wizard opens, click Next at each screen to select the default options and format the drive NTFS.
2