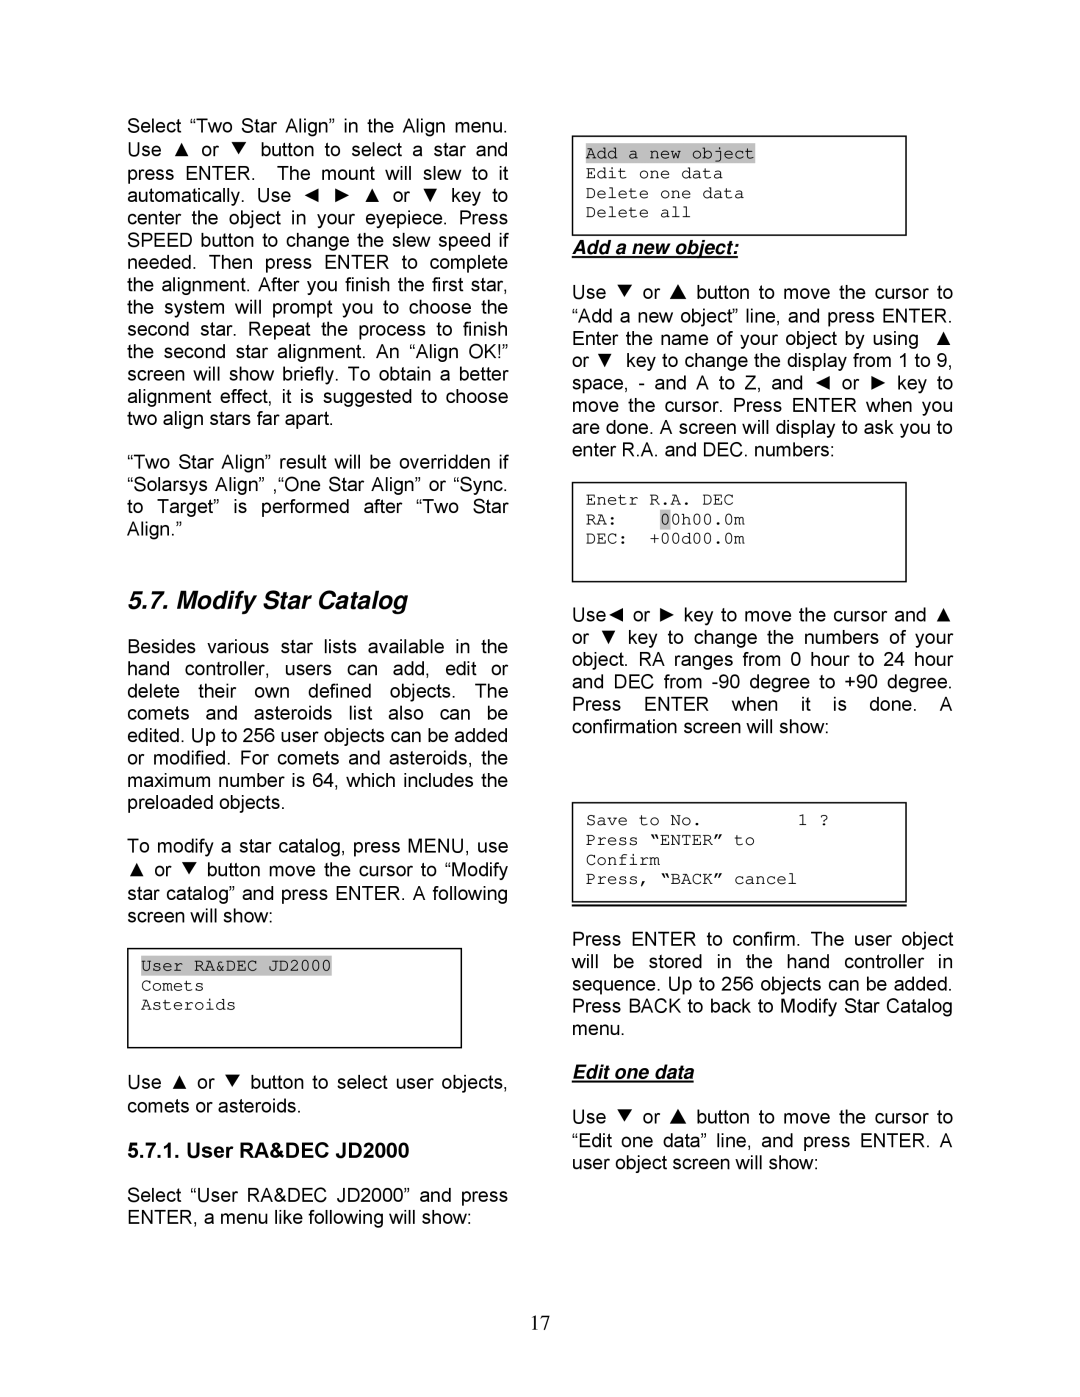
Select “Two Star Align” in the Align menu. Use ▲ or ▼ button to select a star and press ENTER. The mount will slew to it automatically. Use ◄ ► ▲ or ▼ key to center the object in your eyepiece. Press SPEED button to change the slew speed if needed. Then press ENTER to complete the alignment. After you finish the first star, the system will prompt you to choose the second star. Repeat the process to finish the second star alignment. An “Align OK!” screen will show briefly. To obtain a better alignment effect, it is suggested to choose two align stars far apart.
“Two Star Align” result will be overridden if “Solarsys Align” ,“One Star Align” or “Sync. to Target” is performed after “Two Star Align.”
5.7. Modify Star Catalog
Besides various star lists available in the hand controller, users can add, edit or delete their own defined objects. The comets and asteroids list also can be edited. Up to 256 user objects can be added or modified. For comets and asteroids, the maximum number is 64, which includes the preloaded objects.
To modify a star catalog, press MENU, use
▲or ▼ button move the cursor to “Modify star catalog” and press ENTER. A following screen will show:
User RA&DEC JD2000
Comets
Asteroids
Use ▲ or ▼ button to select user objects, comets or asteroids.
5.7.1. User RA&DEC JD2000
Select “User RA&DEC JD2000” and press ENTER, a menu like following will show:
17
Add a new object
Edit one data
Delete one data
Delete all
Add a new object:
Use ▼ or ▲ button to move the cursor to “Add a new object” line, and press ENTER. Enter the name of your object by using ▲ or ▼ key to change the display from 1 to 9, space, - and A to Z, and ◄ or ► key to move the cursor. Press ENTER when you are done. A screen will display to ask you to enter R.A. and DEC. numbers:
Enetr R.A. DEC
RA: 00h00.0m
DEC: +00d00.0m
Use◄ or ► key to move the cursor and ▲ or ▼ key to change the numbers of your object. RA ranges from 0 hour to 24 hour and DEC from
Save to No. | 1 ? |
Press “ENTER” to |
|
Confirm
Press, “BACK” cancel
Press ENTER to confirm. The user object will be stored in the hand controller in sequence. Up to 256 objects can be added. Press BACK to back to Modify Star Catalog menu.
Edit one data
Use ▼ or ▲ button to move the cursor to “Edit one data” line, and press ENTER. A user object screen will show:
