Cancel

The CANCEL button stops any function except the Clock, Timer and Control Lock. When you press the CANCEL button, the display will show the time of day, or the time remaining if the TIMER is being used.

Clock

To Set Clock:

1.Press SETUP.

2.Select CLOCK using the left Quickset pad.

3.Select TIME using the left Quickset pad.

4.Enter the time using the number pads.

5.Press ENTER on the number pads.

6.Select AM or PM in 12-hour mode. (For 24-hour clock, see the following.)

7.To exit the Setup mode, press SETUP.

Entering the Day of the Week:

1.Press SETUP.

2.Select CLOCK using the left Quickset pad.

3.Press the right Quickset pad to scroll until DAY is displayed.

4.Select DAY using the left Quickset pad.

5.Use right Quickset pad to scroll through the days.

6.Select the day desired using the left Quickset pad.

7.To exit the Setup mode, press SETUP.

To Set the Clock for a 12- or 24-Hour Format:

The clock can be set to display time in either a 12-hour or 24-hour format.

1.Press SETUP.

2.Select CLOCK using the left Quickset pad.

3.Use right Quickset pad to scroll to 12/24 HOUR.

4.Press the left Quickset pad to select 12/24 HOUR.

5.Select 12 HR or 24 HR using the right or left Quickset pad.

6.To exit Setup mode, press SETUP.

Activating and Canceling the Clock/Day of Week Display:

1.Press SETUP.

2.Select CLOCK using the left Quickset pad.

3.Press the right Quickset pad to scroll until DISABLE is displayed.

4.Select DISABLE using the left Quickset pad.

5.Select TIME using the left Quickset pad.

6.Select ON or OFF using the right or left Quickset pad to turn the clock display On or Off.

Day of the week:

7.Use right Quickset pad to scroll to DAY.

8.Select DAY using the left Quickset pad.

9.Select ON or OFF using the right or left Quickset pad to turn the Day of the Week display On or Off.

10.To exit the Setup mode, press SETUP.

Timers

Setting the Timers (Timer 1 or Timer 2):

1.Press TIMER 1 or TIMER 2.

2.Press one of the displayed times using the Quickset pads, or press the number pads to enter the desired time.

IMPORTANT: Each press of the displayed time choices adds additional time. For example, pressing “10 MIN” three times provides 30 minutes on the timer (0:30).

3.Press ENTER (located on the number pad).

Changing the Amount of Time Entered Once the Timer Starts:

1.Press TIMER 1 or TIMER 2 once.

2.Press the displayed times on the Quickset pads repeatedly until the desired time is entered.

OR

Press the number pads to enter the new desired time.

3.Press Enter pad.

Canceling the Timer:

1.Press TIMER 1 or TIMER 2 twice.

If Both Timers Are Active:

If the desired Timer is already in the foreground, press once for edit mode and twice to cancel the Timer. If the desired Timer is not in the foreground, follow these steps:

1.Press the desired TIMER pad once. The selected Timer will come to the foreground.

2.Press TIMER a second time to access the edit mode in order to make changes.

3.Pressing TIMER a third time will cancel the Timer.

Changing the Timer Beeps:

The signal beeps for TIMER 1 and TIMER 2 can be changed. The options available are 2 beeps every 30 seconds, 2 beeps every 60 seconds or 1 beep only. The default setting is 1 beep.

1.Press SETUP.

2.Use right Quickset pad to scroll to TONES.

3.Select TONES using the left Quickset pad.

4.Use right Quickset pad to scroll to TIMER TONES.

5.Select TIMER TONES using the left Quickset pad.

6.Use right Quickset pad to scroll to the desired timer beep format (2-30 SEC, 2-60 SEC or 1 BEEP).

7.Select the desired timer beep using the left Quickset pad.

8.Press SETUP to exit Setup mode.

Locking the Oven Control and Oven Door

The lock feature shuts down the control pads (buttons) and locks the oven door to avoid unintended use of the oven.

The lock feature is preset unlocked, but can be locked.

If the oven is currently in use, the controls and oven door cannot be locked.

To Lock the Oven Control and Oven Door:

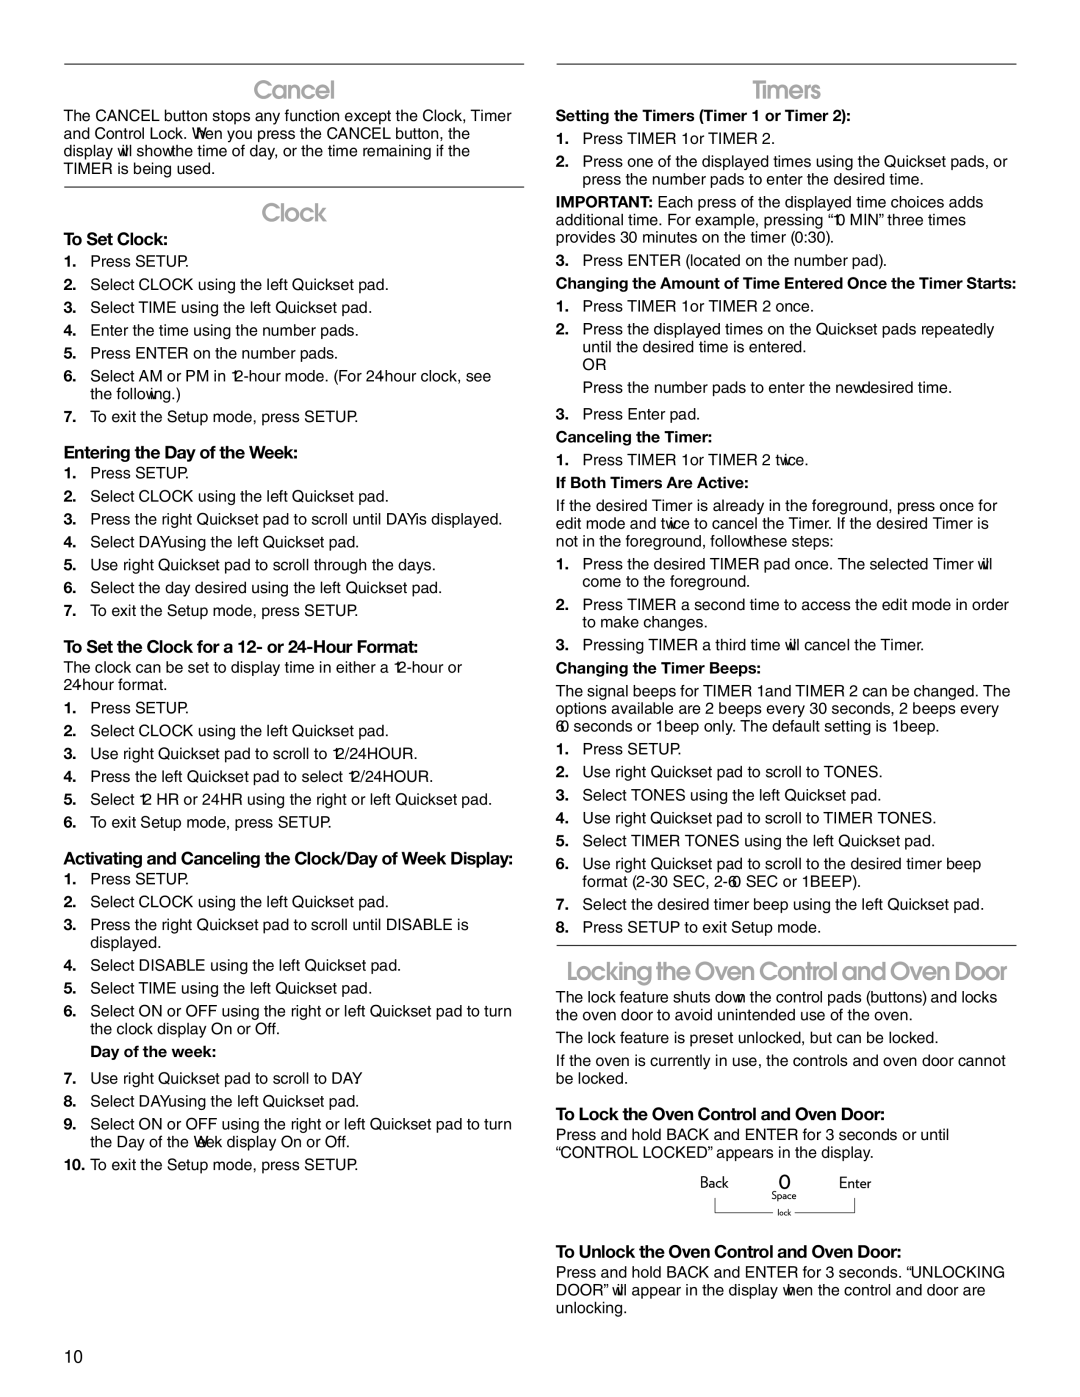
Press and hold BACK and ENTER for 3 seconds or until “CONTROL LOCKED” appears in the display.

To Unlock the Oven Control and Oven Door:

Press and hold BACK and ENTER for 3 seconds. “UNLOCKING DOOR” will appear in the display when the control and door are unlocking.

10

Page 10
Image 10
Jenn-Air JES9750, JES9860 manual Cancel, Clock, Timers, Locking the Oven Control and Oven Door

JES9860, JES9750 specifications

Jenn-Air, a renowned brand in kitchen appliances, offers a selection of innovative and high-performance products designed to elevate the cooking experience. Among their standout models are the Jenn-Air JES9750 and JES9860, known for their sophisticated features, advanced technology, and sleek design.

The Jenn-Air JES9750 is a versatile wall oven that emphasizes convenience and precision cooking. One of its standout features is the true convection technology, which ensures even heat distribution throughout the oven space. This technology results in perfectly baked dishes, making it a favorite among home chefs. Additionally, the JES9750 incorporates a powerful self-cleaning function, which simplifies maintenance by eliminating the need for harsh chemical cleaners.

Moreover, this model includes a temperature probe that allows users to monitor the internal temperature of meats and other dishes without opening the oven door. This feature not only ensures perfect cooking results but also enhances energy efficiency. The oven's sleek touchscreen controls add a modern touch and offer easy navigation through the various cooking modes, including bake, broil, and roast.

Meanwhile, the Jenn-Air JES9860 stands out with its premium features and professional-grade performance. This model also showcases true convection technology, allowing for a high level of cooking precision. It includes Wi-Fi connectivity, enabling users to control their oven remotely using a smartphone app. This innovative feature is perfect for busy households where multitasking is essential.

Additionally, the JES9860 is equipped with steam assist, which helps retain moisture in dishes, perfect for baking bread or cooking delicate proteins. The oven’s spacious interior allows for larger cooking items, making it ideal for festive gatherings and family meals. With its seamless integration of technology, this model also features smart diagnostics, providing users with troubleshooting assistance directly through the app.

Both ovens reflect Jenn-Air’s commitment to quality and performance, making them excellent additions to any kitchen. Their combination of advanced cooking technologies, user-friendly features, and elegant design underscores why Jenn-Air remains a leader in the home appliance market. Whether choosing the JES9750 for its easy maintenance or the JES9860 for its smart capabilities, users can expect exceptional cooking results and a cutting-edge kitchen experience.