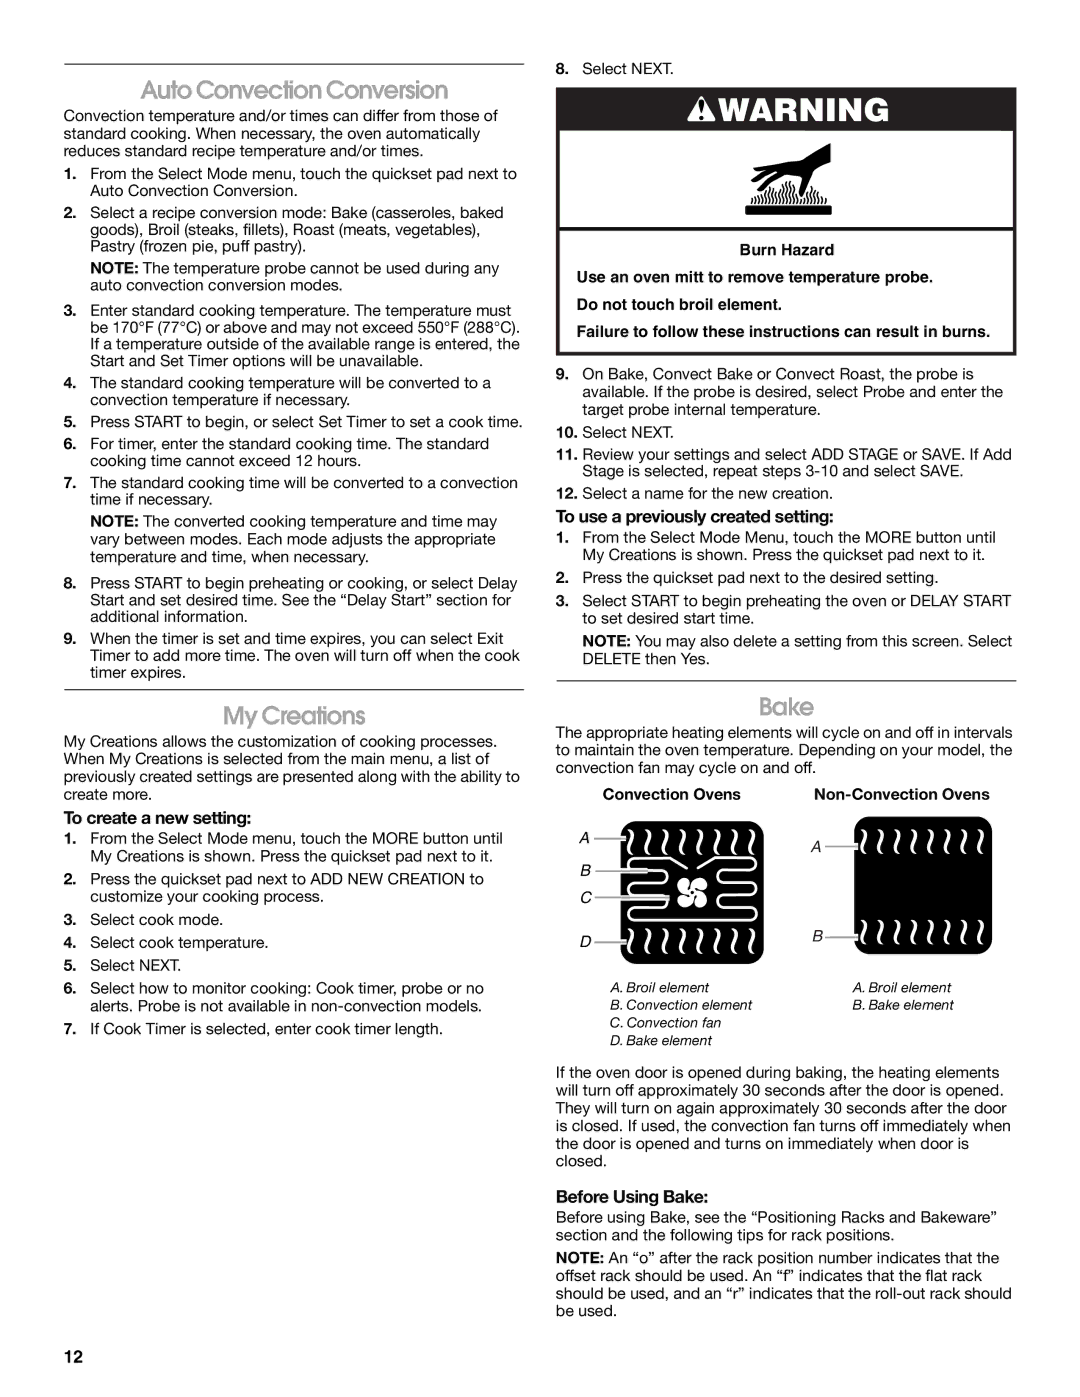
JMW2430, JMW2330, JMW2427, JMW2327 specifications
Jenn-Air appliances, renowned for their luxury and innovative design, offer a range of high-performance wall ovens that elevate the culinary experience. The models JMC2130, JMW2427, JMW2330, JMC2430, and JMW2327 showcase advanced features, cutting-edge technology, and a commitment to quality.The Jenn-Air JMC2130 is a sleek, countertop microwave that combines versatility with a compact design. Its powerful cooking options include convection and microwave capabilities, allowing users to achieve crispy results quickly. The unit features a 1.3 cubic-foot capacity with a 1,000-watt cooking power, making it suitable for a variety of dishes. The Smart Sensor technology ensures even cooking by automatically adjusting the cooking time, while the easy-to-use control panel simplifies operation with pre-programmed settings.
Moving on to the JMW2427, this model is designed for built-in microwave applications. It seamlessly integrates into your kitchen, reinforcing a sophisticated design aesthetic. The 2.4 cubic-foot capacity accommodates larger dishes, and the convection cooking feature allows for browning and crisping, giving your meals a professional touch. Additionally, the model boasts an intuitive touchscreen interface that makes navigating setting adjustments user-friendly.
The JMW2330 offers similar features but takes it a step further with advanced steam cooking capabilities. This innovative technology allows food to maintain moisture and enhances flavor, making it an excellent choice for health-conscious cooks. The 1.9 cubic-foot capacity, along with a variety of power levels and auto-cook options, makes the JMW2330 versatile for everyday meals.
For those desiring a robust performance in a double oven setup, the JMC2430 is a standout model. This double wall oven brings together convection cooking, Smart Oven technology, and precise temperature controls to provide a professional-grade cooking experience right at home. The ample capacity of both ovens allows for simultaneous cooking of multiple dishes, revolutionizing the way you prepare meals for gatherings.
Lastly, the JMW2327 reflects sophisticated style and efficiency. This microwave complements modern kitchen designs while offering powerful cooking performance. With features such as sensor cooking, which detects moisture and automatically adjusts cooking time, this model is tailored for convenience without sacrificing quality.
Overall, these Jenn-Air models exemplify the perfect blend of style, technology, and functionality, making them ideal for culinary enthusiasts looking to enhance their kitchen experience.

