4.Install legs with eight 5/16” screws, lock washers and flat washers (Figure 4), and 6mm hex key.
5.Tighten screws firmly.
Figure 4
6.Install the four levelers (Figure 5). These can be adjusted later.
Figure 5
7.With help from an assistant, raise bed and leg assembly
 Bed and leg assembly is heavy. Use care when lifting.
8.Rotate the levelers (Figure 5) as needed to establish level for the lathe. Tighten the hex nut on each leveler against the leg casting.
9.Install headstock, tool support and tailstock, and both studs (N, Figure 3).
6.5Mounting bed extension (optional accessory)
8mm hex key required.
The 20” bed extension (p/n 719401) is optional and purchased separately. See your JET dealer for information. If you did not purchase the bed extension, proceed to section 6.6.
The bed extension can be mounted to the upper or lower holes of the lathe. Mounting in upper holes increases the spindle length capacity of the lathe. Mounting the extension to the lower holes allows use of the tool support during outboard turning.
1.Slide tailstock away from edge of bed.
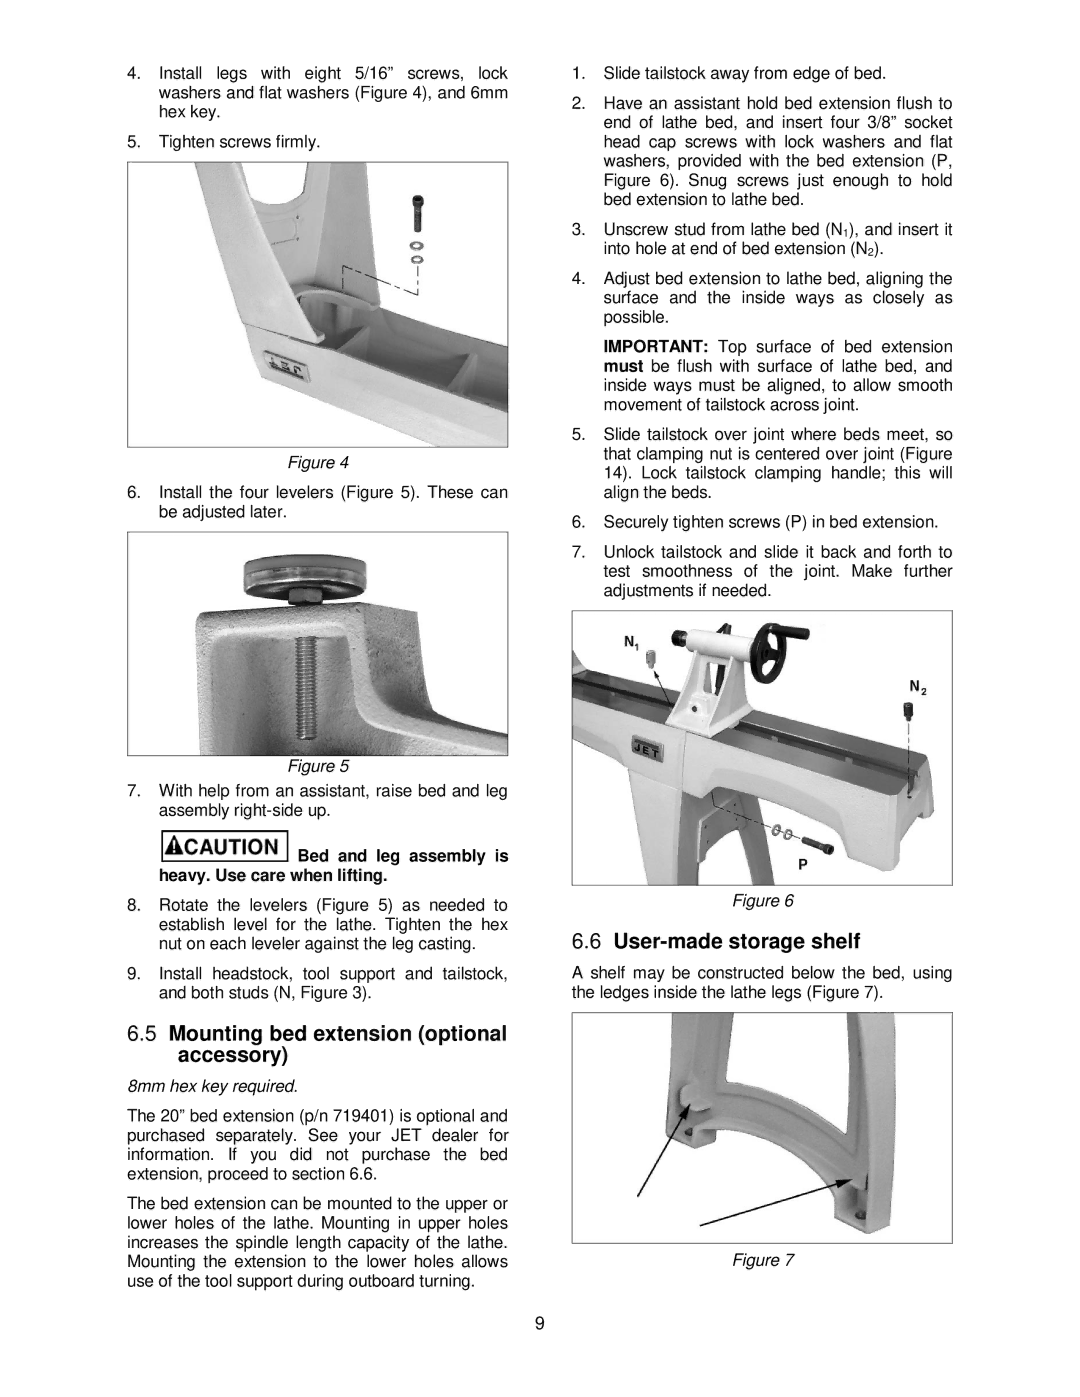
2.Have an assistant hold bed extension flush to end of lathe bed, and insert four 3/8” socket head cap screws with lock washers and flat washers, provided with the bed extension (P, Figure 6). Snug screws just enough to hold bed extension to lathe bed.
3.Unscrew stud from lathe bed (N1), and insert it into hole at end of bed extension (N2).
4.Adjust bed extension to lathe bed, aligning the surface and the inside ways as closely as possible.
IMPORTANT: Top surface of bed extension must be flush with surface of lathe bed, and inside ways must be aligned, to allow smooth movement of tailstock across joint.
5.Slide tailstock over joint where beds meet, so that clamping nut is centered over joint (Figure 14). Lock tailstock clamping handle; this will align the beds.
6.Securely tighten screws (P) in bed extension.
7.Unlock tailstock and slide it back and forth to test smoothness of the joint. Make further adjustments if needed.
Figure 6
6.6User-made storage shelf
A shelf may be constructed below the bed, using the ledges inside the lathe legs (Figure 7).
Figure 7
9