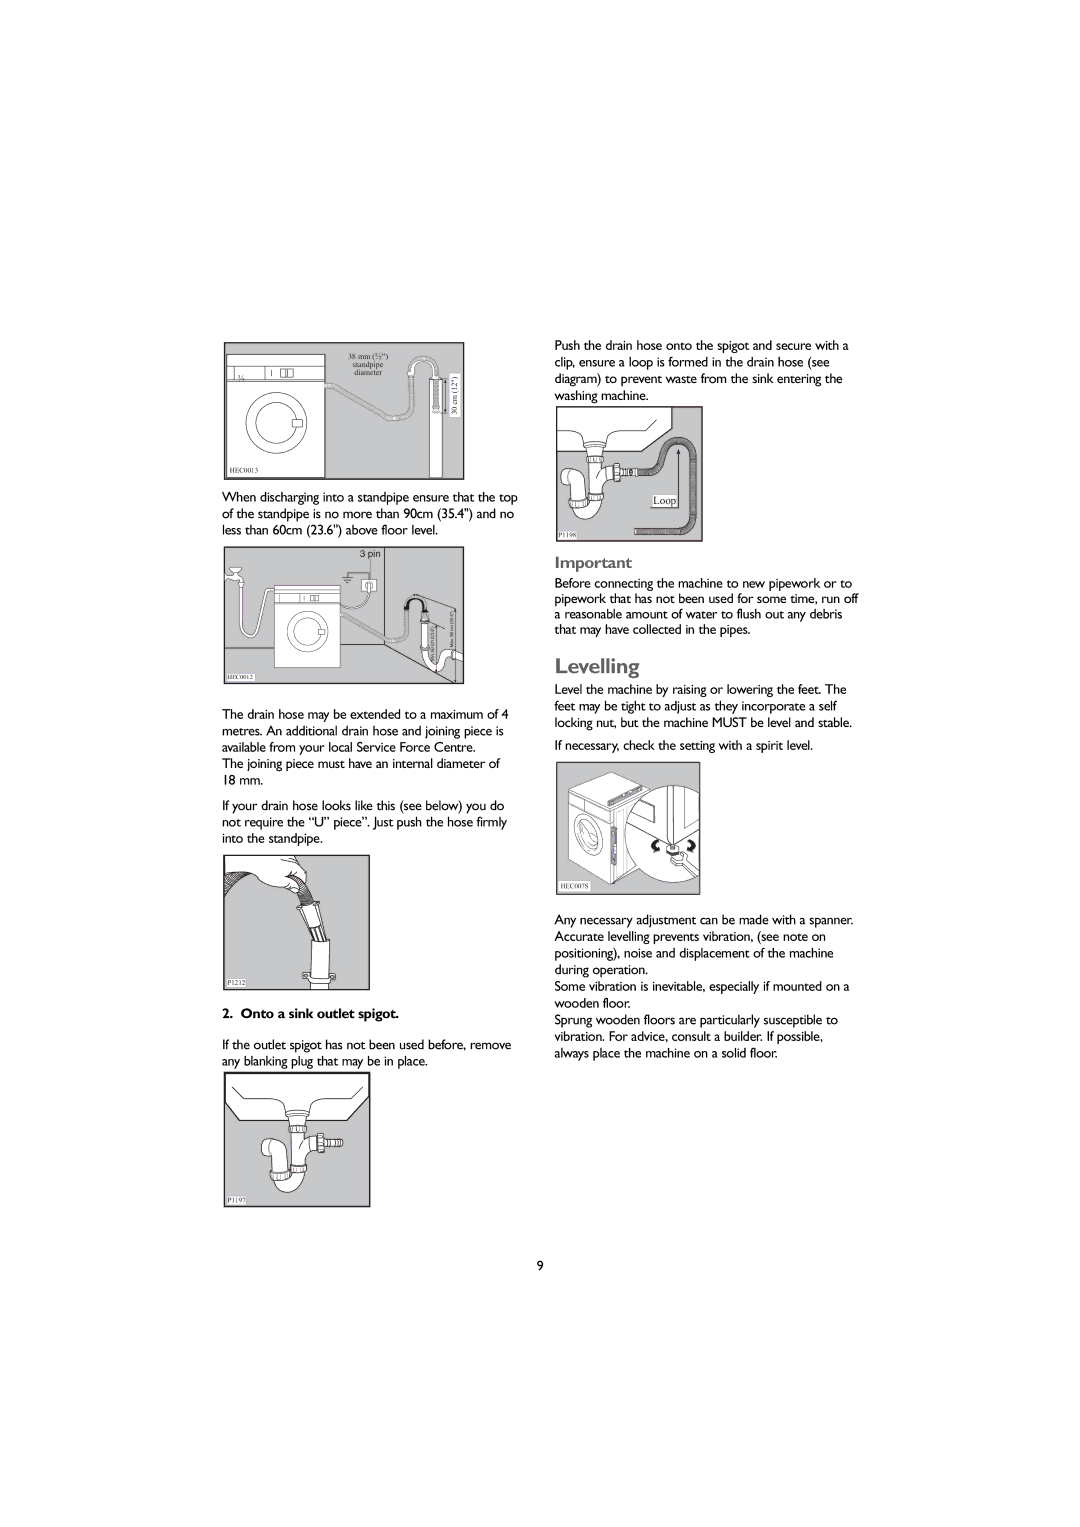
| 38 mm (½”) | |
| standpipe | |
½ | diameter | |
30 cm (12") | ||
|
HEC0013
When discharging into a standpipe ensure that the top of the standpipe is no more than 90cm (35.4'') and no less than 60cm (23.6'') above floor level.
3 pin |
|
60 cm (23.6”) | Max. 90 cm (35.4”) |
Min. |
|
HEC0012 |
|
The drain hose may be extended to a maximum of 4 metres. An additional drain hose and joining piece is available from your local Service Force Centre.
The joining piece must have an internal diameter of 18 mm.
If your drain hose looks like this (see below) you do not require the “U” piece”. Just push the hose firmly into the standpipe.
P1212
2. Onto a sink outlet spigot.
If the outlet spigot has not been used before, remove any blanking plug that may be in place.
P1197 |
Push the drain hose onto the spigot and secure with a clip, ensure a loop is formed in the drain hose (see diagram) to prevent waste from the sink entering the washing machine.
Loop |
P1198 |
Important |
Before connecting the machine to new pipework or to pipework that has not been used for some time, run off a reasonable amount of water to flush out any debris that may have collected in the pipes.
Levelling
Level the machine by raising or lowering the feet. The feet may be tight to adjust as they incorporate a self locking nut, but the machine MUST be level and stable.
If necessary, check the setting with a spirit level.
HEC007S |
Any necessary adjustment can be made with a spanner. Accurate levelling prevents vibration, (see note on positioning), noise and displacement of the machine during operation.
Some vibration is inevitable, especially if mounted on a wooden floor.
Sprung wooden floors are particularly susceptible to vibration. For advice, consult a builder. If possible, always place the machine on a solid floor.
9