ASSEMBLY STEPS
Read through all assembly steps carefully before beginning to assemble the tent. Refer to drawings for clarification. It is recommended that two people assemble this tent together.
A 9/16" socket and ratchet, or
Remove any ladders or anything on the trampoline that will hinder assembling the tent on the trampoline mat (bed) or frame.
Step 1:
First verify that you have received all the tent parts. Use the shipping container to keep all the hardware together.
You should have the following pieces:
(see page 15 for details). If you do not have the required parts then contact your dealer or JumpKing before proceeding (see page 14).
2 - pole attachment bracket assemblies.
2 - sliding - pole attachment pieces.
2 - long poles.
1 - short pole.
1 - tent with attached tie string pouch.
1 - tent floor.
1 - stuff sack
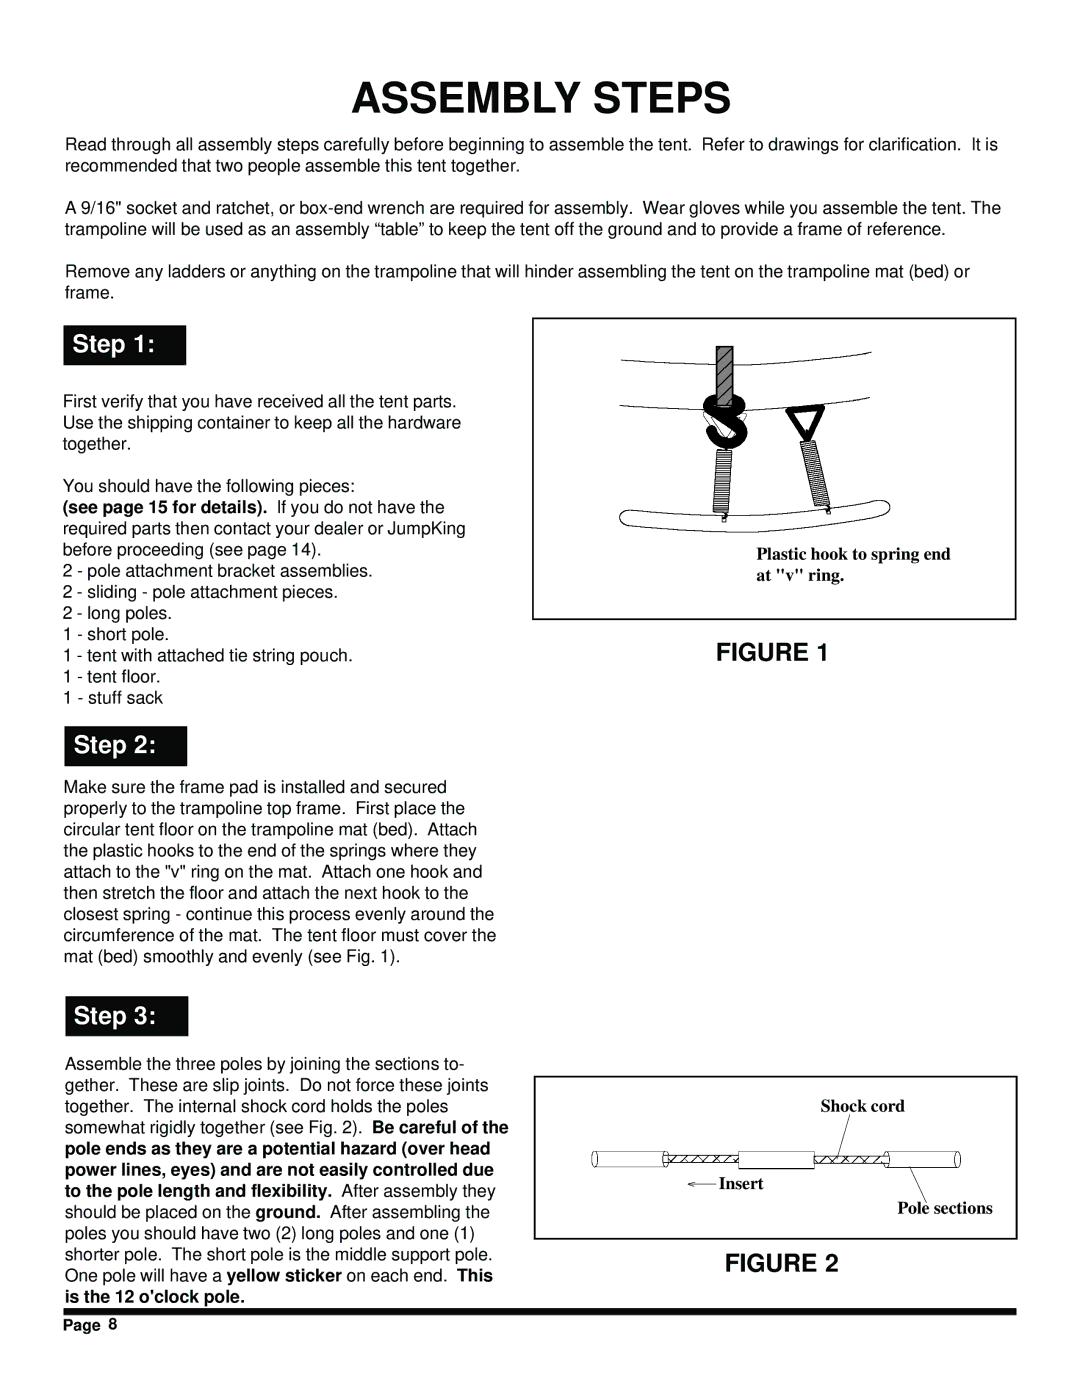
Plastic hook to spring end at "v" ring.
FIGURE 1
Step 2:
Make sure the frame pad is installed and secured properly to the trampoline top frame. First place the circular tent floor on the trampoline mat (bed). Attach the plastic hooks to the end of the springs where they attach to the "v" ring on the mat. Attach one hook and then stretch the floor and attach the next hook to the closest spring - continue this process evenly around the circumference of the mat. The tent floor must cover the mat (bed) smoothly and evenly (see Fig. 1).
Step 3:
Assemble the three poles by joining the sections to- gether. These are slip joints. Do not force these joints together. The internal shock cord holds the poles somewhat rigidly together (see Fig. 2). Be careful of the pole ends as they are a potential hazard (over head power lines, eyes) and are not easily controlled due to the pole length and flexibility. After assembly they should be placed on the ground. After assembling the poles you should have two (2) long poles and one (1) shorter pole. The short pole is the middle support pole. One pole will have a yellow sticker on each end. This is the 12 o'clock pole.
Shock cord
Insert
Pole sections
FIGURE 2
Page 8