X7-S specifications
The Jura Capresso X7-S is a remarkable super-automatic espresso machine that's designed to bring the café experience into the comfort of your home. With its sleek design and robust build quality, this machine not only looks good on your countertop but also delivers exceptional performance and versatility.One of the main features of the X7-S is its integrated coffee grinder. The professional-grade conical burr grinder ensures consistent grind size, allowing for optimal extraction and rich flavor in every cup. With an adjustable grind setting, users can customize the coarseness to suit their preference, from fine espresso to coarser coffee. This feature ensures that whether you’re in the mood for a classic espresso, a rich cappuccino, or a light Americano, the X7-S can cater to your needs.
Another highlight of the Jura Capresso X7-S is its one-touch brewing system. This innovative technology allows users to prepare their favorite coffee beverages at the touch of a button. The intuitive control panel features clearly labeled options for different types of coffee, making it easy to create a variety of beverages with minimal effort. The machine can prepare a plethora of drinks, from espresso and cappuccino to lattes, all at the touch of a single button.
The X7-S also incorporates Jura's Pulse Extraction Process (P.E.P.), a state-of-the-art brewing method that optimizes the extraction time, ensuring full flavor and aroma in every shot of espresso. The P.E.P. technology delivers short pulses of water through the coffee grounds, enhancing the extraction process and resulting in a well-balanced, flavorful cup.
Additionally, the Jura Capresso X7-S features a high-performance milk frother that allows users to create perfectly frothed milk for cappuccinos and lattes. With options for both steaming and frothing, the machine gives users the flexibility to craft café-quality beverages with ease.
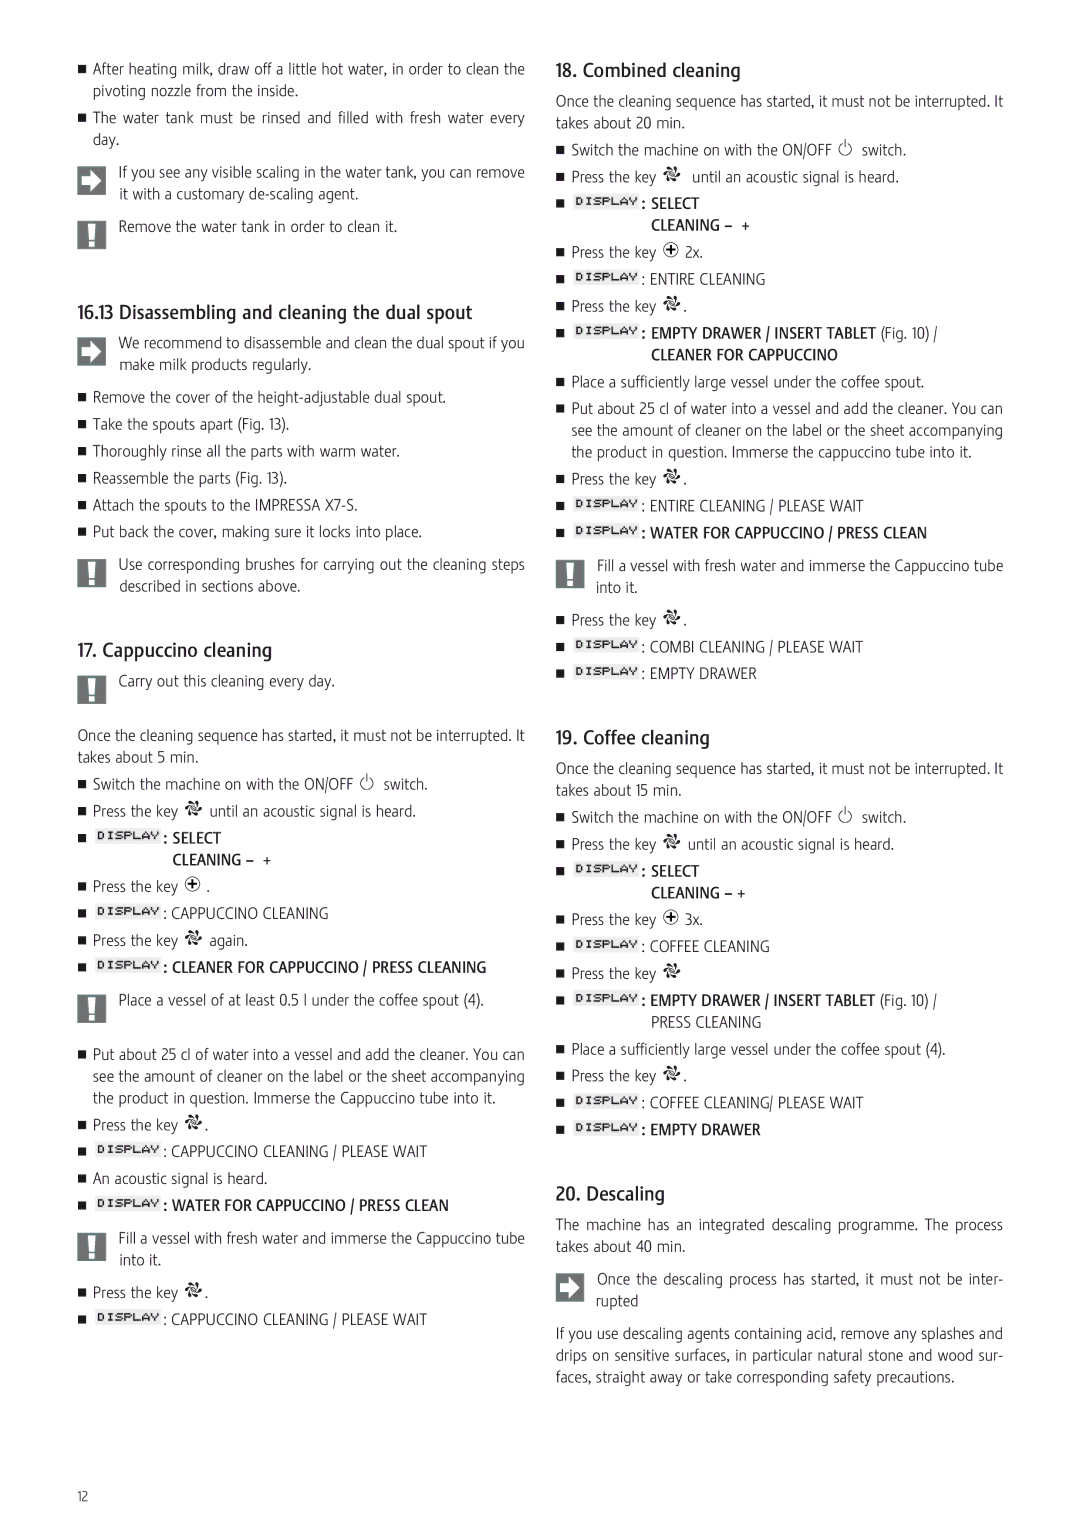
Moreover, the machine boasts a self-cleaning function, which simplifies maintenance and ensures that the X7-S remains in top condition without extensive effort from the user. The water reservoir is large enough to accommodate multiple brews, reducing the frequency of refilling.
In conclusion, the Jura Capresso X7-S stands out as a high-quality super-automatic espresso machine that combines advanced technology with user-friendly features. Its blend of style, performance, and versatility makes it an excellent choice for coffee enthusiasts looking to enjoy café-style beverages at home. Whether you are a seasoned barista or a casual coffee drinker, the X7-S is designed to enhance your coffee experience to new heights.

