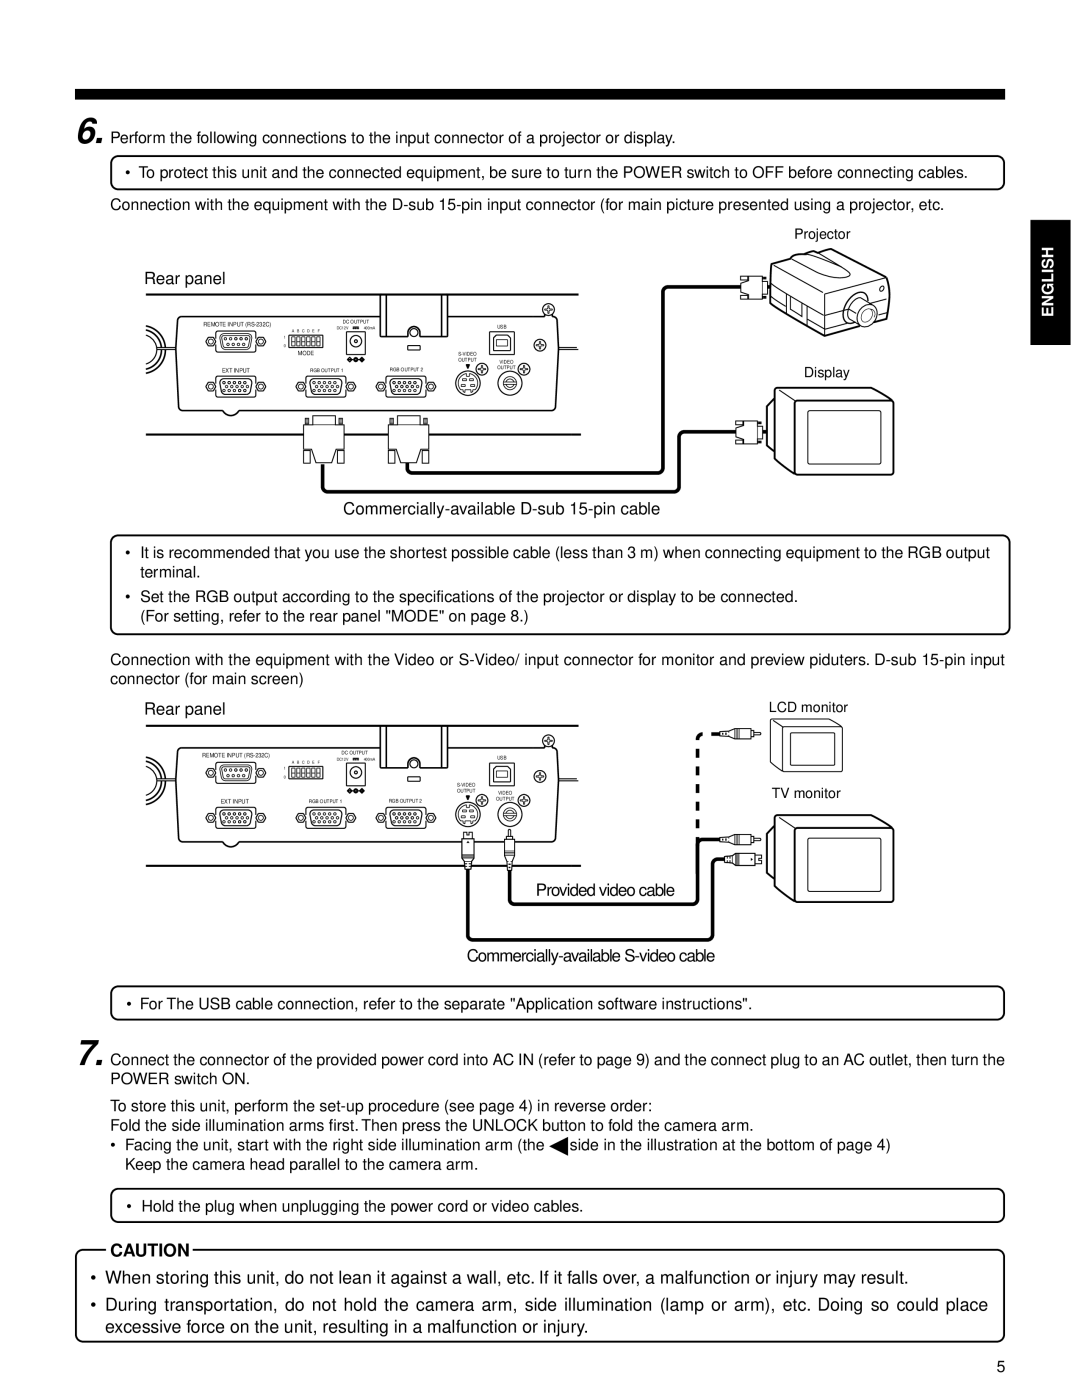
6. Perform the following connections to the input connector of a projector or display.
•To protect this unit and the connected equipment, be sure to turn the POWER switch to OFF before connecting cables.
●Connection with the equipment with the
Projector
Rear panel
REMOTE INPUT | DC OUTPUT |
|
| USB |
| |
DC12V | 400mA |
|
|
| ||
| A B C D E F |
|
|
|
|
|
| 1 |
|
|
|
|
|
| 0 |
|
|
|
|
|
| MODE |
|
|
|
| |
|
|
|
| OUTPUT | VIDEO |
|
|
|
|
|
| Display | |
EXT INPUT | RGB OUTPUT 1 |
| RGB OUTPUT 2 |
| OUTPUT | |
|
|
| ||||
ENGLISH |
Commercially-available D-sub 15-pin cable
•It is recommended that you use the shortest possible cable (less than 3 m) when connecting equipment to the RGB output terminal.
•Set the RGB output according to the specifications of the projector or display to be connected. (For setting, refer to the rear panel "MODE" on page 8.)
●Connection with the equipment with the Video or
Rear panel | LCD monitor | |
|
|
|
REMOTE INPUT | DC OUTPUT |
|
| USB | |
| DC12V | 400mA |
|
| |
| A B C D E F |
|
|
|
|
| 1 |
|
|
|
|
| 0 |
|
|
|
|
|
|
|
|
| |
|
|
|
| OUTPUT | VIDEO |
EXT INPUT | RGB OUTPUT 1 |
| RGB OUTPUT 2 |
| OUTPUT |
|
|
| |||
TV monitor
Provided video cable
Commercially-available S-video cable
•For The USB cable connection, refer to the separate "Application software instructions".
7.Connect the connector of the provided power cord into AC IN (refer to page 9) and the connect plug to an AC outlet, then turn the POWER switch ON.
●To store this unit, perform the
Fold the side illumination arms first. Then press the UNLOCK button to fold the camera arm.
•Facing the unit, start with the right side illumination arm (the 5 side in the illustration at the bottom of page 4) Keep the camera head parallel to the camera arm.
•Hold the plug when unplugging the power cord or video cables.
CAUTION
•When storing this unit, do not lean it against a wall, etc. If it falls over, a malfunction or injury may result.
•During transportation, do not hold the camera arm, side illumination (lamp or arm), etc. Doing so could place excessive force on the unit, resulting in a malfunction or injury.
5