
BR-DV600EA, BR-DV600UA specifications
The JVC BR-DV600UA and BR-DV600EA are professional digital video recorders that have gained recognition in the broadcasting and media production industries due to their advanced features and reliability. These models are tailored for video professionals who require high-quality video capture and playback capabilities.One of the standout features of the BR-DV600 series is its compatibility with various formats, including DVCAM, DVCPRO, and standard DV, making it an adaptable option for many users. The ability to record in multiple formats allows for flexibility in production workflows, accommodating diverse client needs and project requirements.
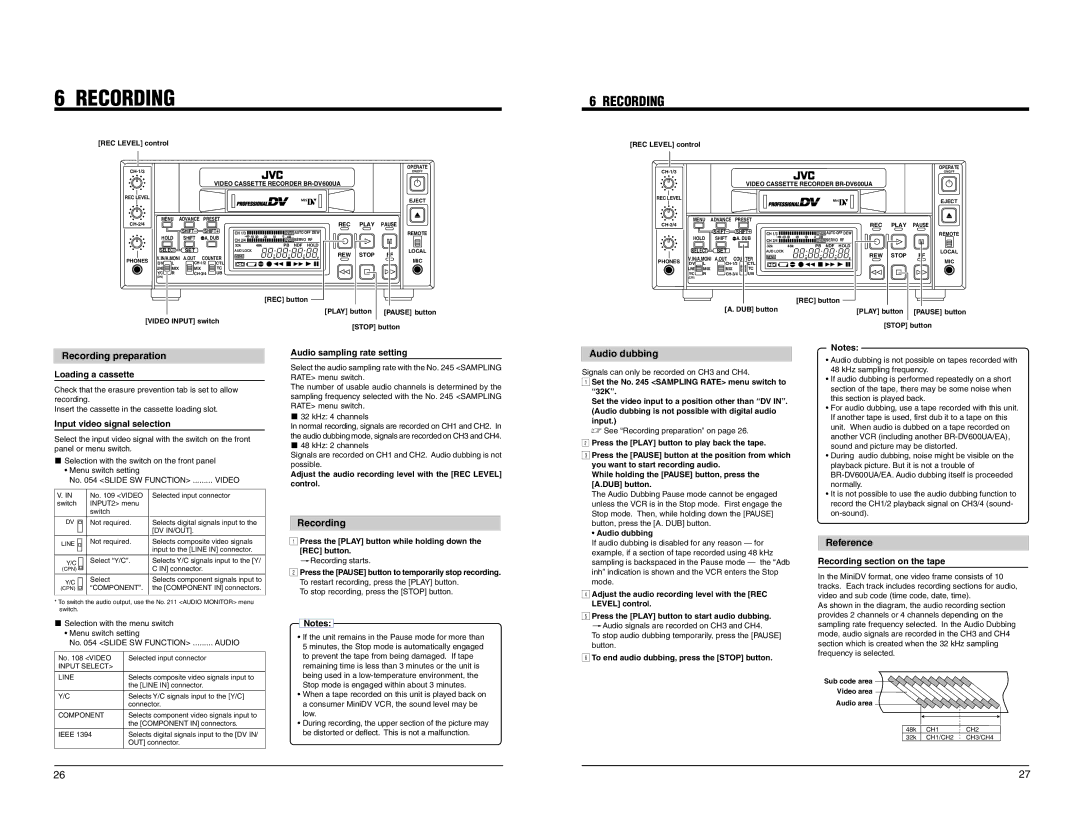
The BR-DV600UA and BR-DV600EA are equipped with robust transport mechanisms, ensuring stable and accurate playback. This reliability is crucial in professional settings where quality cannot be compromised. The units are designed to withstand the rigors of daily use, featuring durable construction that protects the internal components.
A notable technology integrated into these recorders is JVC's innovative digital signal processing, which enhances the overall video quality. This technology ensures improved color reproduction and finer detail, resulting in footage that meets the high standards of professional productions. Furthermore, the devices support real-time editing capabilities, which allow for seamless transitions and effects during the recording process, thus expediting post-production.
Another key characteristic of the BR-DV600 series is its comprehensive connectivity options. The recorders come equipped with multiple input and output interfaces, including FireWire (IEEE 1394), composite, and SDI connections. This versatility enables users to integrate the units into various production environments easily, whether for live events, studio recordings, or field productions.
User-friendly operational design is also evident in these models. The intuitive interface, clear LCD displays, and accessible controls facilitate ease of use, allowing operators to focus on their craft without being hindered by complicated setups. The built-in editing functions further enhance usability, enabling quick adjustments and refinements on the fly.
In summary, the JVC BR-DV600UA and BR-DV600EA digital video recorders stand out in the professional video market due to their format versatility, advanced digital processing technologies, reliable construction, and user-friendly designs. These features collectively make them an excellent choice for videographers, broadcasters, and production companies seeking dependable and high-quality recording solutions.