
CA-MXJ980V, CA-MXJ970V specifications
The JVC CA-MXJ970V and CA-MXJ980V are highly regarded mini Hi-Fi systems that combine powerful audio performance with advanced technological features, making them ideal for music enthusiasts seeking an immersive listening experience within a compact package.One of the standout features of both systems is their robust output power. The CA-MXJ970V delivers a substantial 170 watts RMS, while the CA-MXJ980V takes it a notch higher with an impressive 200 watts RMS. This power translates into rich, dynamic sound reproduction that fills any room with clarity and depth, ensuring that whether you’re enjoying soft melodies or high-energy tracks, the audio remains crisp and engaging.
Both models enhance your music experience with the inclusion of JVC’s exclusive “Mega Bass” technology. This feature boosts low frequencies, providing a rich bass response that resonates well, particularly for bass-heavy genres such as hip-hop and electronic dance music. Additionally, the systems incorporate a variety of equalizer presets, allowing listeners to customize their audio output to suit personal preferences and different music styles.
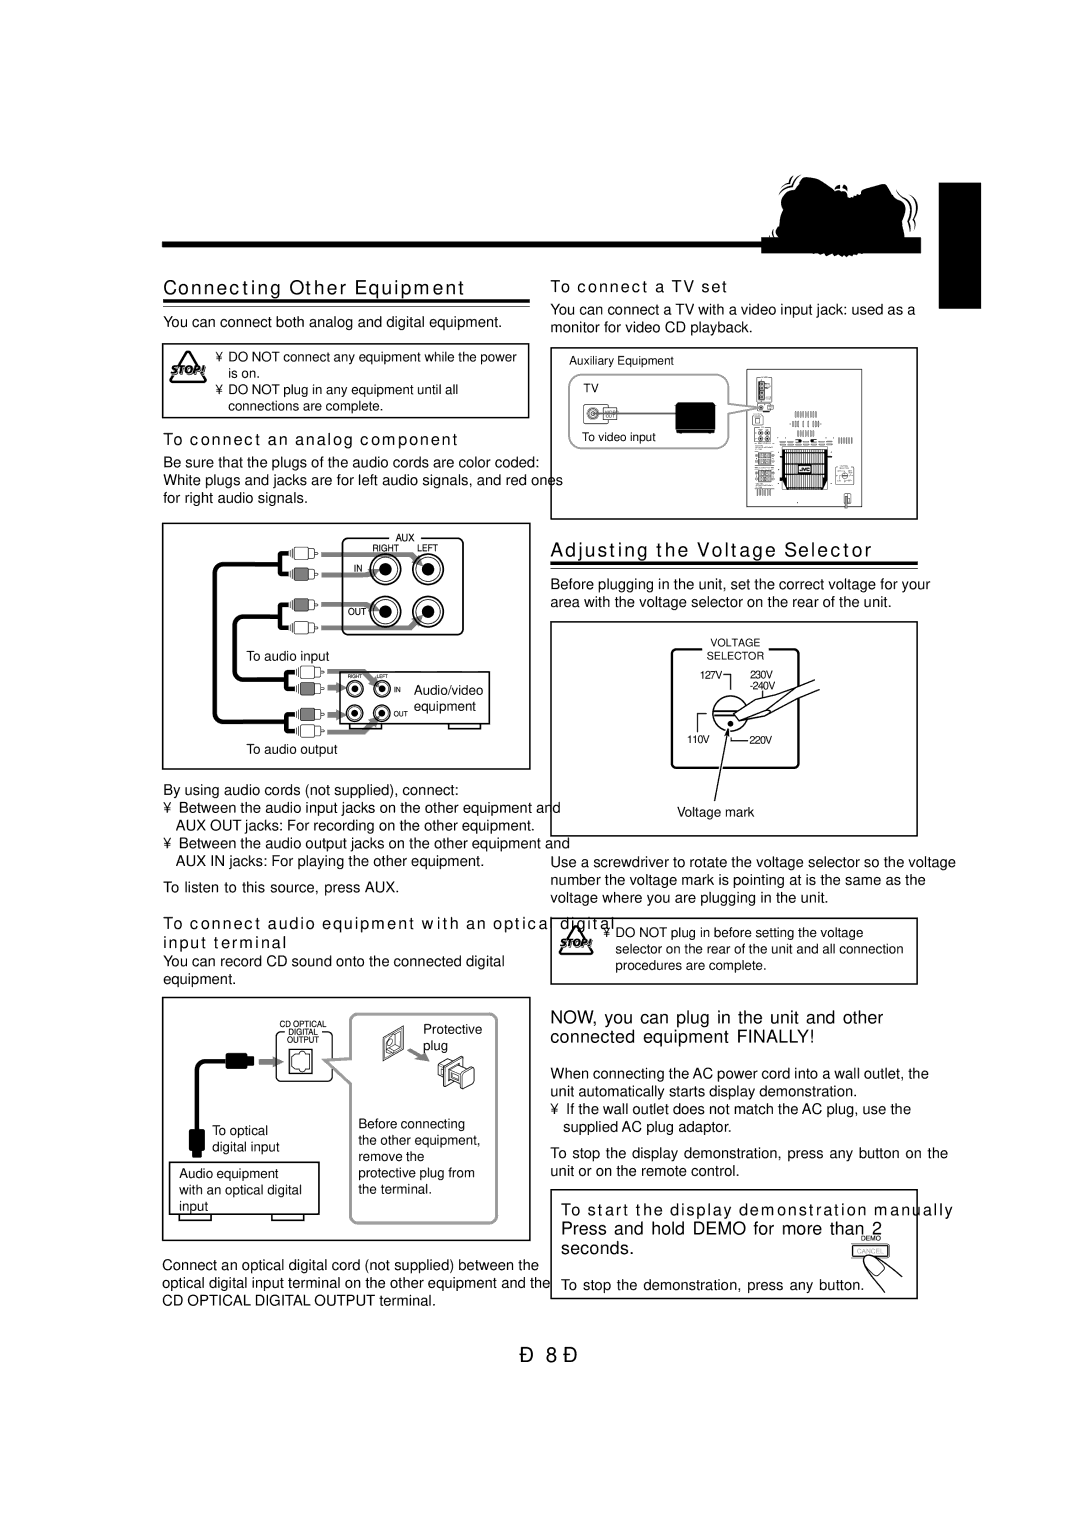
In terms of versatility, the JVC CA-MXJ970V and CA-MXJ980V support a range of playback options. They are equipped with a CD player, allowing you to enjoy your favorite albums, while also featuring a built-in FM/AM tuner for radio enthusiasts. Furthermore, both systems come with a USB port, enabling direct playback from flash drives, making it easy to access your digital music library.
Connectivity options are ample, with Bluetooth capabilities allowing for seamless wireless streaming from smartphones and other compatible devices. This feature is particularly appreciated in today's digital age, granting users the convenience of controlling their music from a distance without the need for cumbersome cables.
The design of these mini Hi-Fi systems is sleek and modern, with an attractive finish that complements any room décor. They also include an easy-to-read LCD display, making navigation simple and user-friendly.
Lastly, the systems come with a remote control, providing convenience and flexibility in managing playback without needing to approach the unit directly. Whether you're hosting a gathering or enjoying a quiet evening, the JVC CA-MXJ970V and CA-MXJ980V are equipped to deliver an exceptional listening experience. With their powerful performance, versatile playback options, and stylish design, they stand out in the realm of compact audio systems.