System Setup
Recognized” message, with the question if you would like to play the disc from the beginning or would like to resume from where you last stopped the disc. The memory can contain infor- mation of the last 100 discs played.
PBC Support: Activates PBC (Play Back Control) Support for VCD discs.
Screen Saver: Activates a Screen Saver to pre- vent image “burn” in a video display device. If you connect the HS Controller to a plasma screen or video projector, we recommend you activate the screen saver at all times.
Show Angle Icon: Determines whether the Angle Icon will appear on the screen when there are different angles available on a DVD disc.
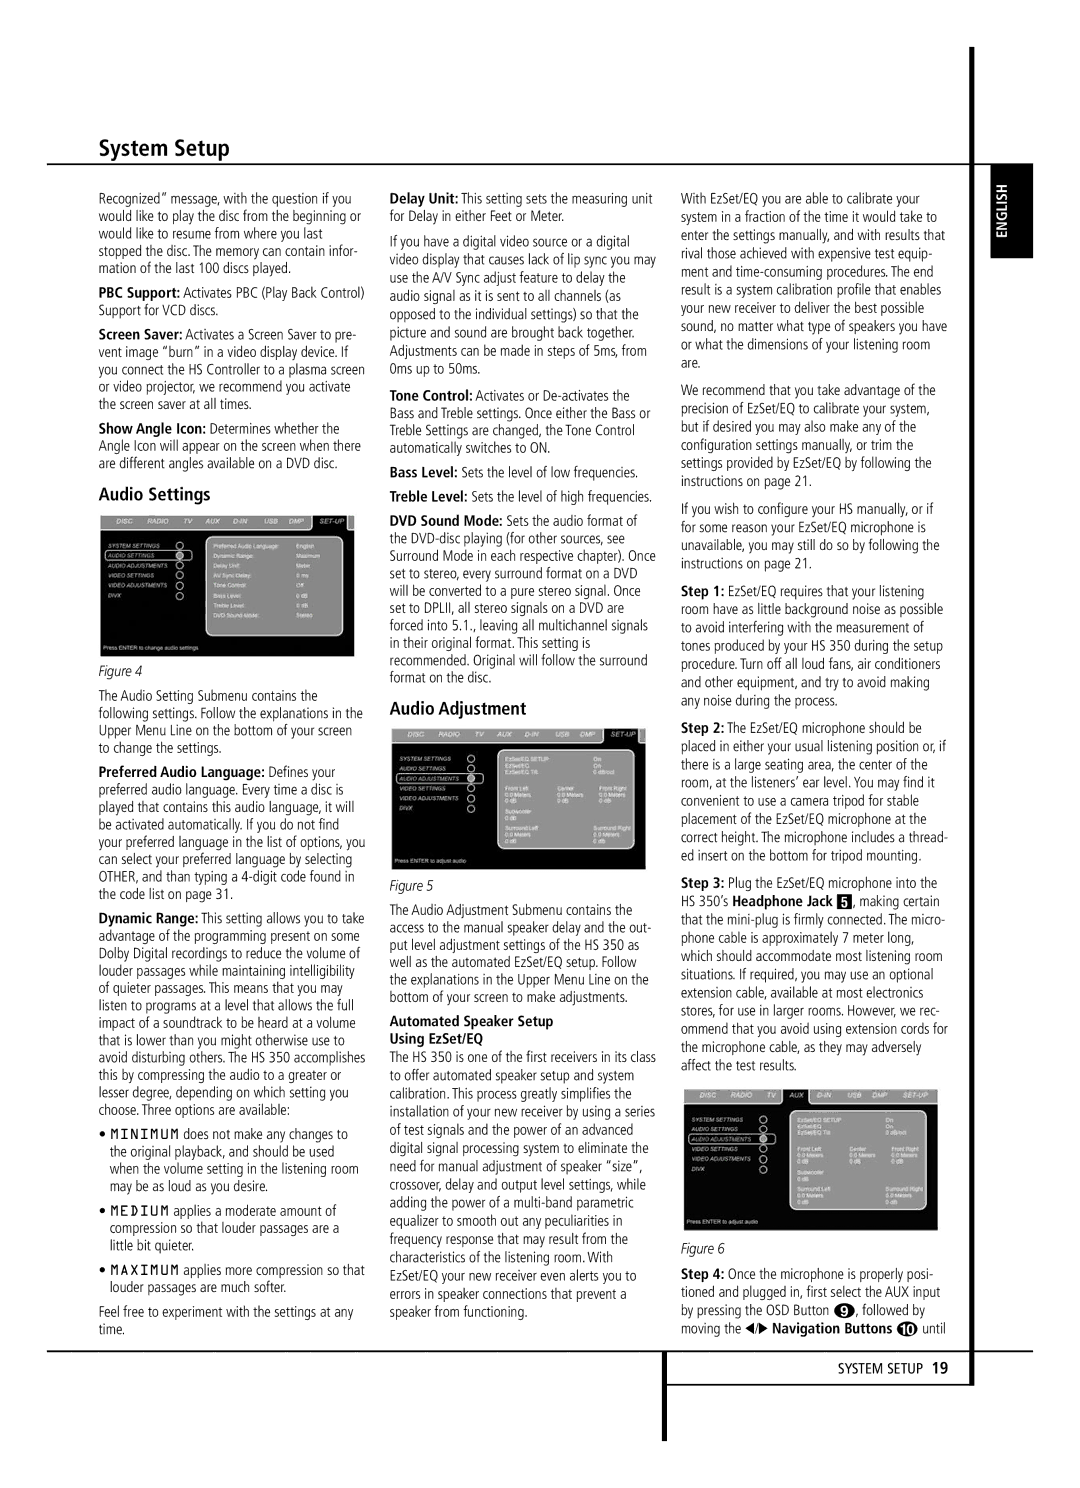
Audio Settings
Figure 4
The Audio Setting Submenu contains the following settings. Follow the explanations in the Upper Menu Line on the bottom of your screen to change the settings.
Preferred Audio Language: Defines your preferred audio language. Every time a disc is played that contains this audio language, it will be activated automatically. If you do not find your preferred language in the list of options, you can select your preferred language by selecting OTHER, and than typing a
Dynamic Range: This setting allows you to take advantage of the programming present on some Dolby Digital recordings to reduce the volume of louder passages while maintaining intelligibility of quieter passages. This means that you may listen to programs at a level that allows the full impact of a soundtrack to be heard at a volume that is lower than you might otherwise use to avoid disturbing others. The HS 350 accomplishes this by compressing the audio to a greater or lesser degree, depending on which setting you choose. Three options are available:
•MINIMUM does not make any changes to the original playback, and should be used when the volume setting in the listening room may be as loud as you desire.
•MEDIUM applies a moderate amount of compression so that louder passages are a little bit quieter.
•MAXIMUM applies more compression so that louder passages are much softer.
Feel free to experiment with the settings at any time.
Delay Unit: This setting sets the measuring unit for Delay in either Feet or Meter.
If you have a digital video source or a digital video display that causes lack of lip sync you may use the A/V Sync adjust feature to delay the audio signal as it is sent to all channels (as opposed to the individual settings) so that the picture and sound are brought back together. Adjustments can be made in steps of 5ms, from 0ms up to 50ms.
Tone Control: Activates or
Bass Level: Sets the level of low frequencies.
Treble Level: Sets the level of high frequencies.
DVD Sound Mode: Sets the audio format of the
Audio Adjustment
Figure 5
The Audio Adjustment Submenu contains the access to the manual speaker delay and the out- put level adjustment settings of the HS 350 as well as the automated EzSet/EQ setup. Follow the explanations in the Upper Menu Line on the bottom of your screen to make adjustments.
Automated Speaker Setup
Using EzSet/EQ
The HS 350 is one of the first receivers in its class to offer automated speaker setup and system calibration. This process greatly simplifies the installation of your new receiver by using a series of test signals and the power of an advanced digital signal processing system to eliminate the need for manual adjustment of speaker “size”, crossover, delay and output level settings, while adding the power of a
With EzSet/EQ you are able to calibrate your system in a fraction of the time it would take to enter the settings manually, and with results that rival those achieved with expensive test equip- ment and
We recommend that you take advantage of the precision of EzSet/EQ to calibrate your system, but if desired you may also make any of the configuration settings manually, or trim the settings provided by EzSet/EQ by following the instructions on page 21.
If you wish to configure your HS manually, or if for some reason your EzSet/EQ microphone is unavailable, you may still do so by following the instructions on page 21.
Step 1: EzSet/EQ requires that your listening room have as little background noise as possible to avoid interfering with the measurement of tones produced by your HS 350 during the setup procedure. Turn off all loud fans, air conditioners and other equipment, and try to avoid making any noise during the process.
Step 2: The EzSet/EQ microphone should be placed in either your usual listening position or, if there is a large seating area, the center of the room, at the listeners’ ear level. You may find it convenient to use a camera tripod for stable placement of the EzSet/EQ microphone at the correct height. The microphone includes a thread- ed insert on the bottom for tripod mounting.
Step 3: Plug the EzSet/EQ microphone into the HS 350’s Headphone Jack 4, making certain that the
Figure 6
Step 4: Once the microphone is properly posi- tioned and plugged in, first select the AUX input by pressing the OSD Button 8, followed by moving the M/N Navigation Buttons 9 until
ENGLISH