Using the Timers
Preparation for each music source:
Perform the following operation according to the music source you have selected. Then, the System enters Volume Setting mode.
When selecting TUNER FM or TUNER AM:
Press the ¢ or 4 button to select the preset station number, then press the SET button.
When selecting CD :
Press the ¢ or 4 button to select the disc number, then press the SET button.
Each time you press the button the disc number changes as fol- lows:
DISC 1 = DISC 2 = DISC 3 = (back to the beginning)
When selecting TAPE:
Insert a cassette tape you want to play into Deck A.
When selecting AUX:
Prepare the external equipment so that it will turn on at the ON time set by the System.
To allow this, the equipment should have the timer function.
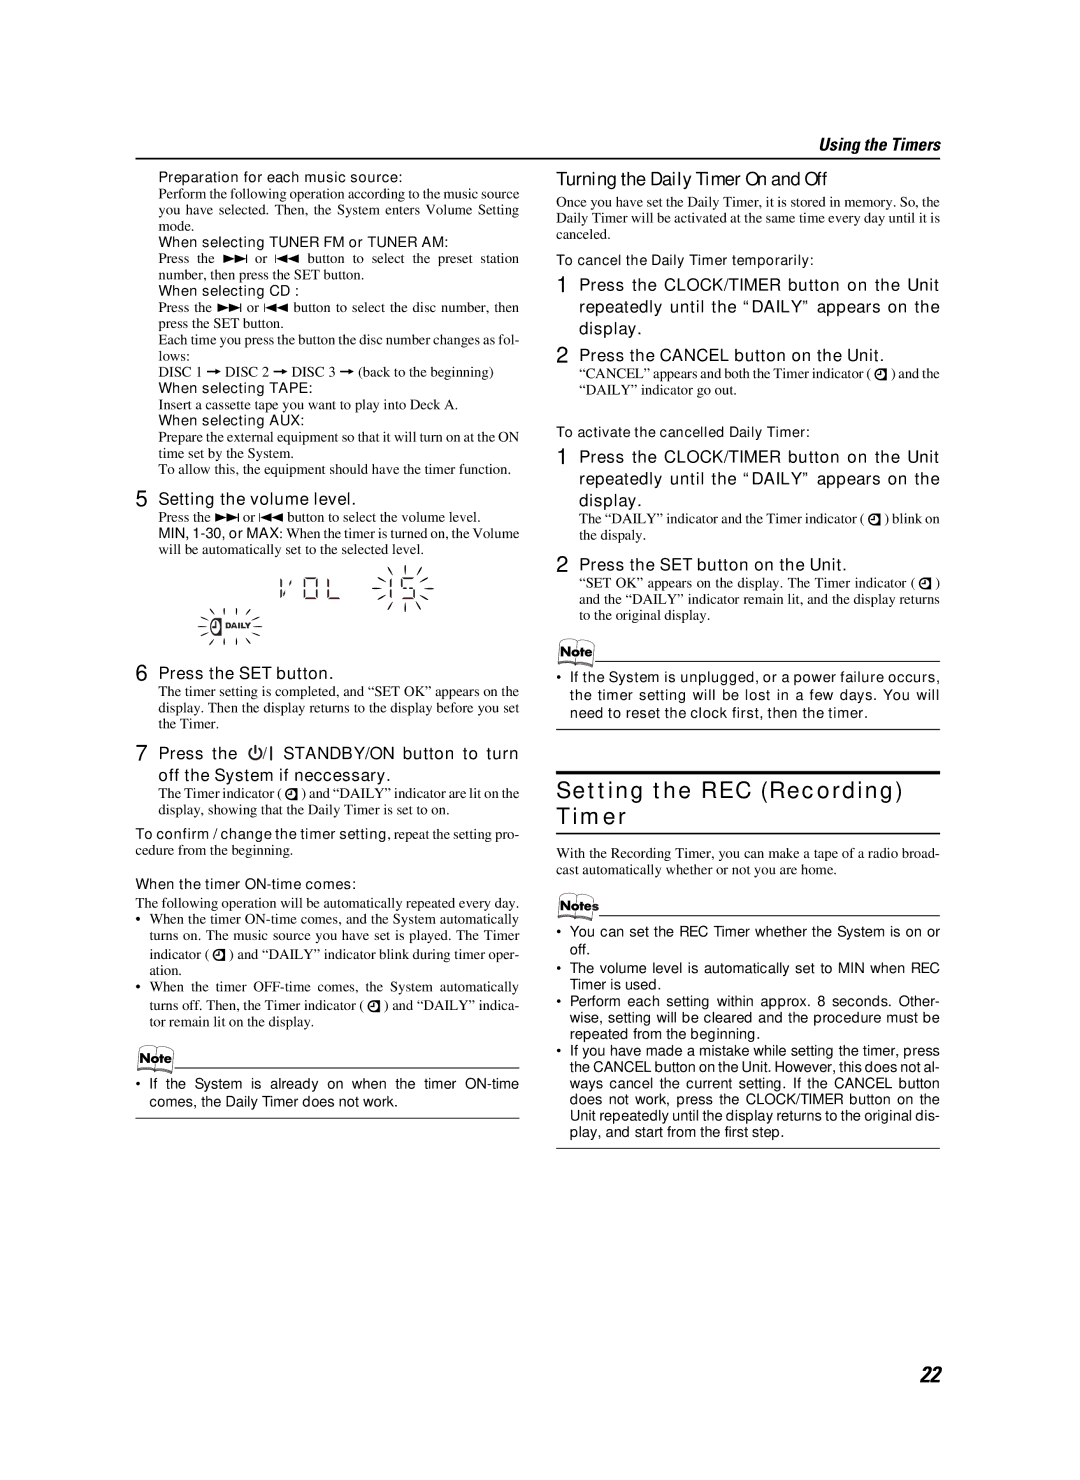
5 Setting the volume level.
Press the ¢ or 4 button to select the volume level.
MIN,
6 Press the SET button.
The timer setting is completed, and “SET OK” appears on the display. Then the display returns to the display before you set the Timer.
7 Press the ![]() STANDBY/ON button to turn off the System if neccessary.
STANDBY/ON button to turn off the System if neccessary.
The Timer indicator ( ![]() ) and “DAILY” indicator are lit on the display, showing that the Daily Timer is set to on.
) and “DAILY” indicator are lit on the display, showing that the Daily Timer is set to on.
To confirm / change the timer setting, repeat the setting pro- cedure from the beginning.
When the timer
The following operation will be automatically repeated every day.
•When the timer
indicator ( ![]() ) and “DAILY” indicator blink during timer oper- ation.
) and “DAILY” indicator blink during timer oper- ation.
•When the timer
turns off. Then, the Timer indicator ( ![]() ) and “DAILY” indica- tor remain lit on the display.
) and “DAILY” indica- tor remain lit on the display.
•If the System is already on when the timer
Turning the Daily Timer On and Off
Once you have set the Daily Timer, it is stored in memory. So, the Daily Timer will be activated at the same time every day until it is canceled.
To cancel the Daily Timer temporarily:
1 Press the CLOCK/TIMER button on the Unit repeatedly until the “DAILY” appears on the display.
2 Press the CANCEL button on the Unit.
“CANCEL” appears and both the Timer indicator ( ![]() ) and the “DAILY” indicator go out.
) and the “DAILY” indicator go out.
To activate the cancelled Daily Timer:
1 Press the CLOCK/TIMER button on the Unit repeatedly until the “DAILY” appears on the display.
The “DAILY” indicator and the Timer indicator ( ![]() ) blink on the dispaly.
) blink on the dispaly.
2 Press the SET button on the Unit.
“SET OK” appears on the display. The Timer indicator ( ![]() ) and the “DAILY” indicator remain lit, and the display returns to the original display.
) and the “DAILY” indicator remain lit, and the display returns to the original display.
•If the System is unplugged, or a power failure occurs, the timer setting will be lost in a few days. You will need to reset the clock first, then the timer.
Setting the REC (Recording) Timer
With the Recording Timer, you can make a tape of a radio broad- cast automatically whether or not you are home.
•You can set the REC Timer whether the System is on or off.
•The volume level is automatically set to MIN when REC Timer is used.
•Perform each setting within approx. 8 seconds. Other- wise, setting will be cleared and the procedure must be repeated from the beginning.
•If you have made a mistake while setting the timer, press the CANCEL button on the Unit. However, this does not al- ways cancel the current setting. If the CANCEL button does not work, press the CLOCK/TIMER button on the Unit repeatedly until the display returns to the original dis- play, and start from the first step.
22