Setup
Connection Using a LAN Cable
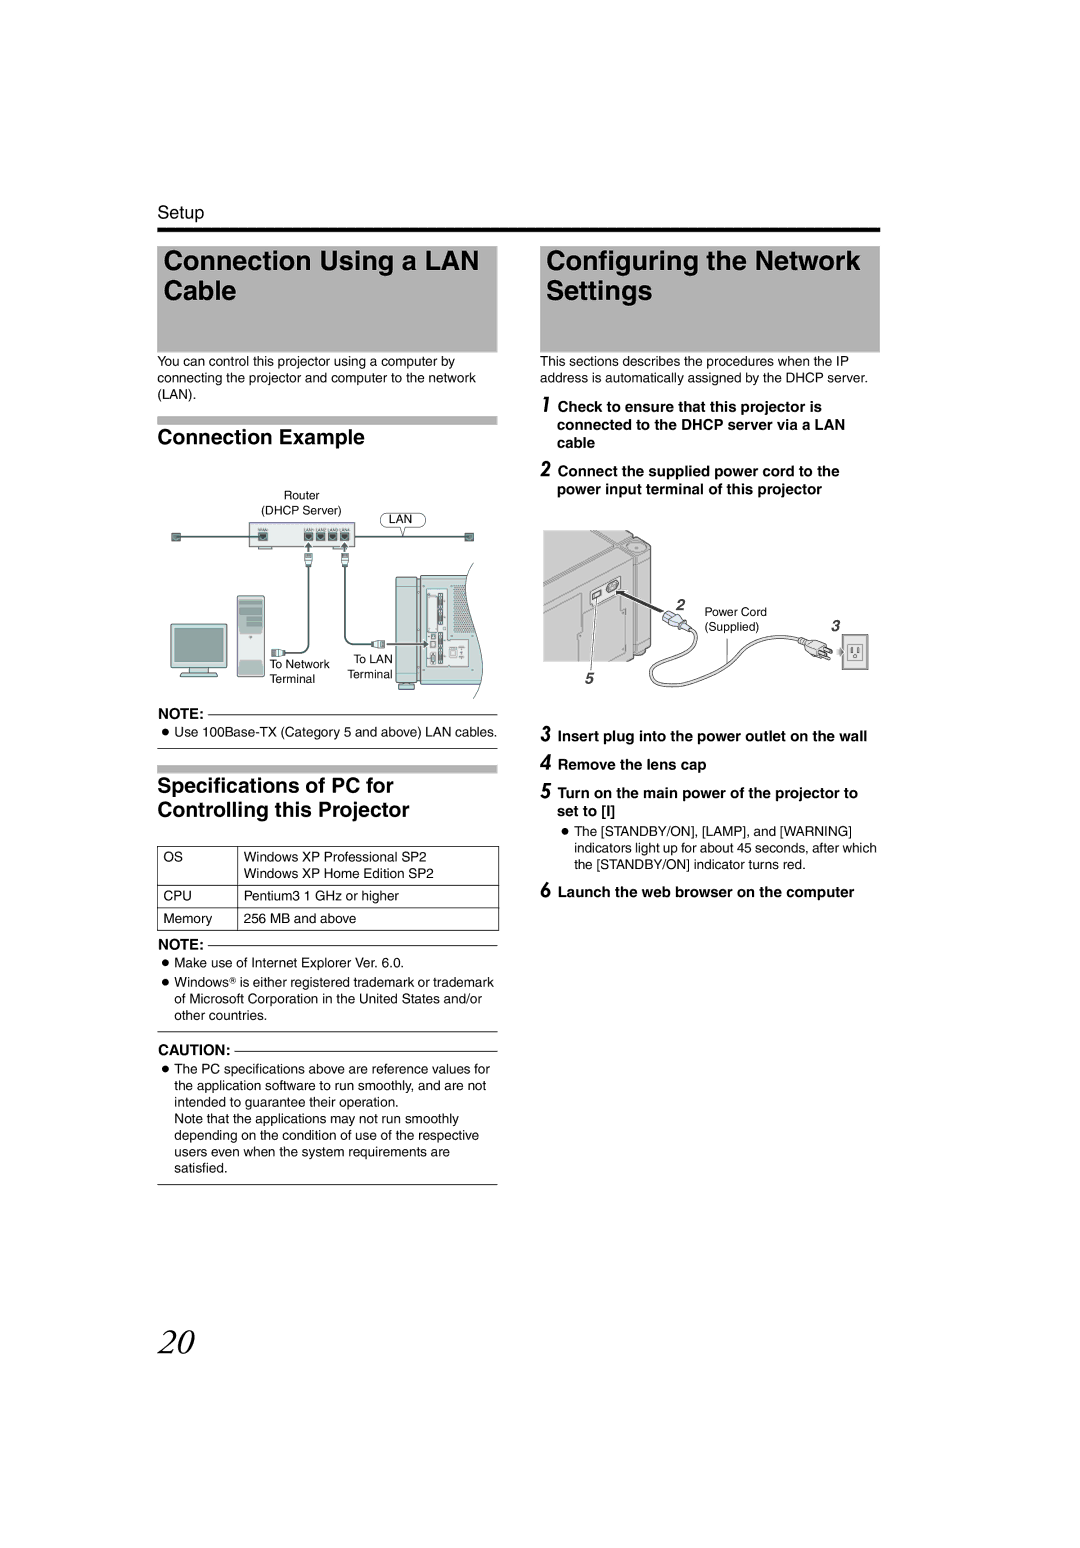
You can control this projector using a computer by connecting the projector and computer to the network (LAN).
Connection Example
Router
(DHCP
LAN
WAN
To LAN
Terminal
5 and above) LAN cables.
of PC for this Projector
Windows XP Professional SP2
Windows XP Home Edition SP2
Pentium3 1 GHz or higher
256 MB and above
●Make use of Internet Explorer Ver. 6.0.
●Windows is either registered trademark or trademark of Microsoft Corporation in the United States and/or other countries.
CAUTION:
●The PC specifications above are reference values for the application software to run smoothly, and are not intended to guarantee their operation.
Note that the applications may not run smoothly depending on the condition of use of the respective users even when the system requirements are satisfied.
Configuring the Network Settings
This sections describes the procedures when the IP address is automatically assigned by the DHCP server.
1 Check to ensure that this projector is connected to the DHCP server via a LAN cable
2 Connect the supplied power cord to the
power input terminal of this projector
2
●The [STANDBY/ON], [LAMP], and [WARNING] indicators light up for about 45 seconds, after which the [STANDBY/ON] indicator turns red.
6
20