Using External Equipments
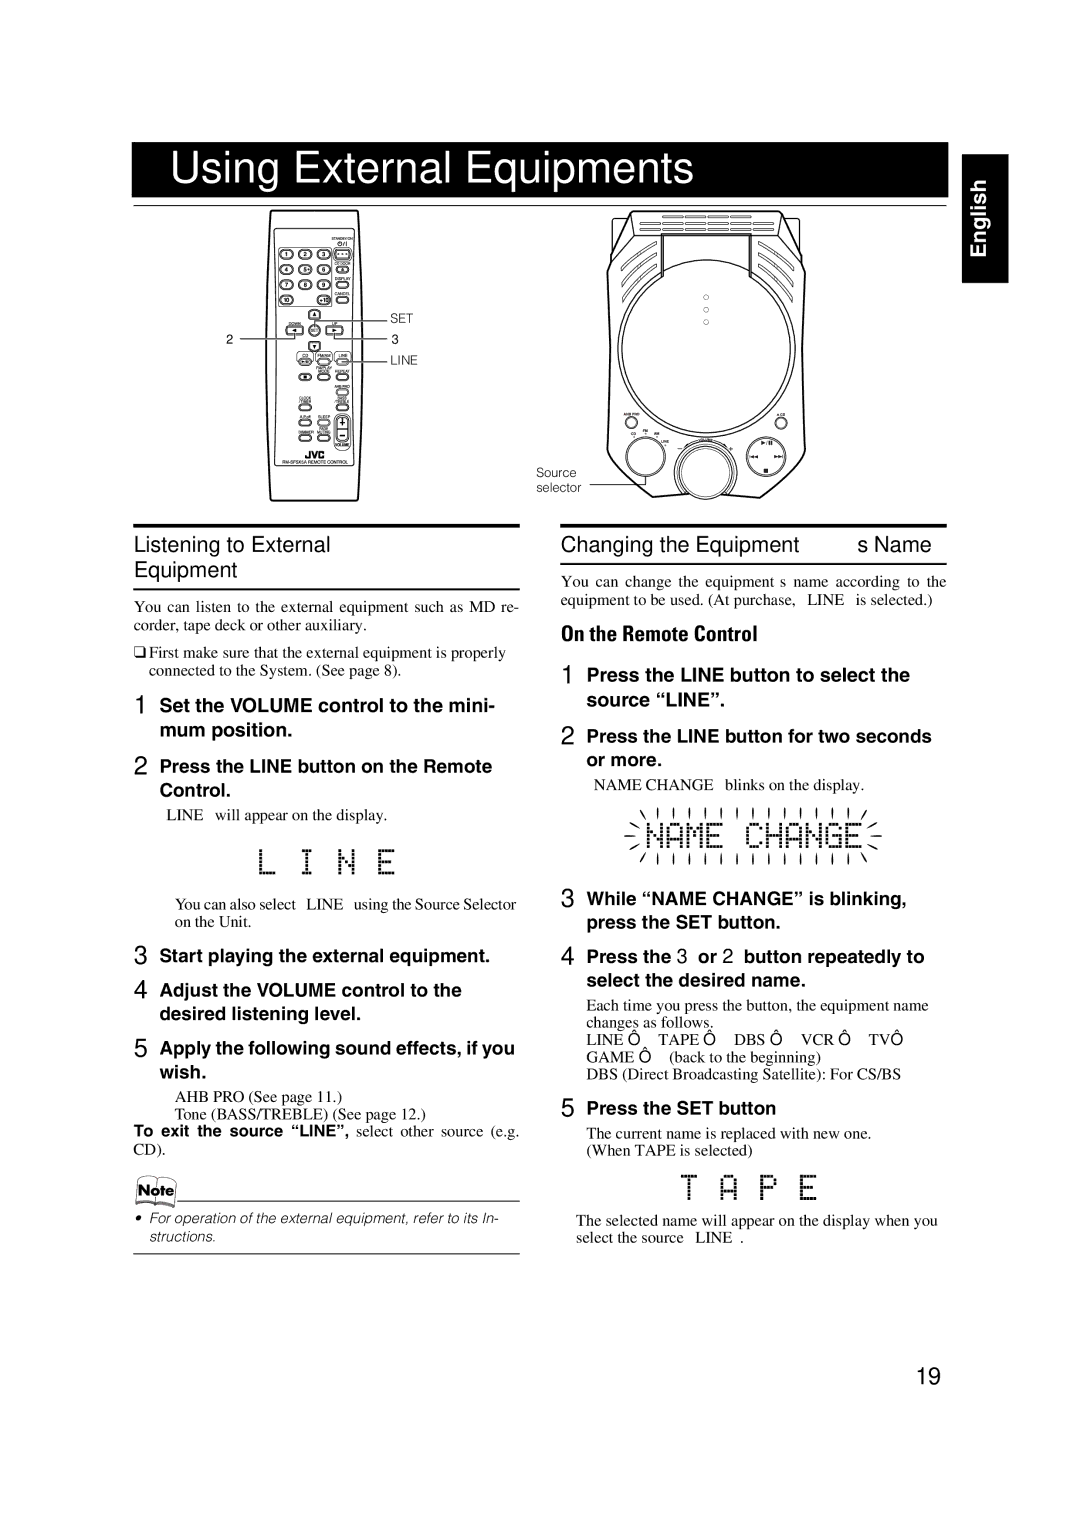
SET
23
LINE
Source selector
English
Listening to External
Equipment
You can listen to the external equipment such as MD re- corder, tape deck or other auxiliary.
❑First make sure that the external equipment is properly connected to the System. (See page 8).
1 Set the VOLUME control to the mini- mum position.
2 Press the LINE button on the Remote Control.
“LINE” will appear on the display.
•You can also select “LINE” using the Source Selector on the Unit.
3 Start playing the external equipment.
4 Adjust the VOLUME control to the desired listening level.
5 Apply the following sound effects, if you wish.
•AHB PRO (See page 11.)
•Tone (BASS/TREBLE) (See page 12.)
To exit the source “LINE”, select other source (e.g. CD).
•For operation of the external equipment, refer to its In- structions.
Changing the Equipment’s Name
You can change the equipment’s name according to the equipment to be used. (At purchase, “LINE” is selected.)
On the Remote Control
1 Press the LINE button to select the source “LINE”.
2 Press the LINE button for two seconds or more.
“NAME CHANGE” blinks on the display.
3 While “NAME CHANGE” is blinking, press the SET button.
4 Press the 3 or 2 button repeatedly to select the desired name.
Each time you press the button, the equipment name changes as follows.
LINE Ô TAPE Ô DBS Ô VCR Ô TVÔ GAME Ô (back to the beginning)
DBS (Direct Broadcasting Satellite): For CS/BS
5 Press the SET button
The current name is replaced with new one. (When TAPE is selected)
•The selected name will appear on the display when you select the source “LINE”.
19