
GR-DVL100 specifications
The JVC GR-DVL300 and GR-DVL100 are part of JVC's line of compact and versatile MiniDV camcorders that gained popularity in the early 2000s. Both models are designed to cater to the needs of amateur videographers and provide high-quality video recording in a user-friendly format.The JVC GR-DVL300 stands out with its progressive scan technology, which enhances video clarity and reduces motion blur. This feature is particularly beneficial when shooting fast-moving subjects, making it a great choice for capturing sports events or action-packed scenes. The GR-DVL300 also boasts a 20x optical zoom lens, which allows users to get closer to their subjects without sacrificing image quality, while a digital zoom feature extends this capability even further.
In contrast, the GR-DVL100 is equipped with a 16x optical zoom and offers slightly fewer advanced features compared to its sibling. However, it remains a robust option for those who prioritize simplicity and ease of use. Both camcorders incorporate JVC’s advanced Image Stabilization technology, reducing camera shake and ensuring smooth footage, even during handheld use.
A key characteristic of both models is their ability to record in both LP (long play) and SP (standard play) modes, providing flexibility in recording time and video quality. Users can choose the mode that best suits their needs, whether they want longer recording durations or superior video quality.
Additionally, both camcorders feature a built-in digital still camera function, allowing users to capture snapshots at 640x480 resolution. This dual functionality adds value for those who want to capture both video and still images without the need for separate devices.
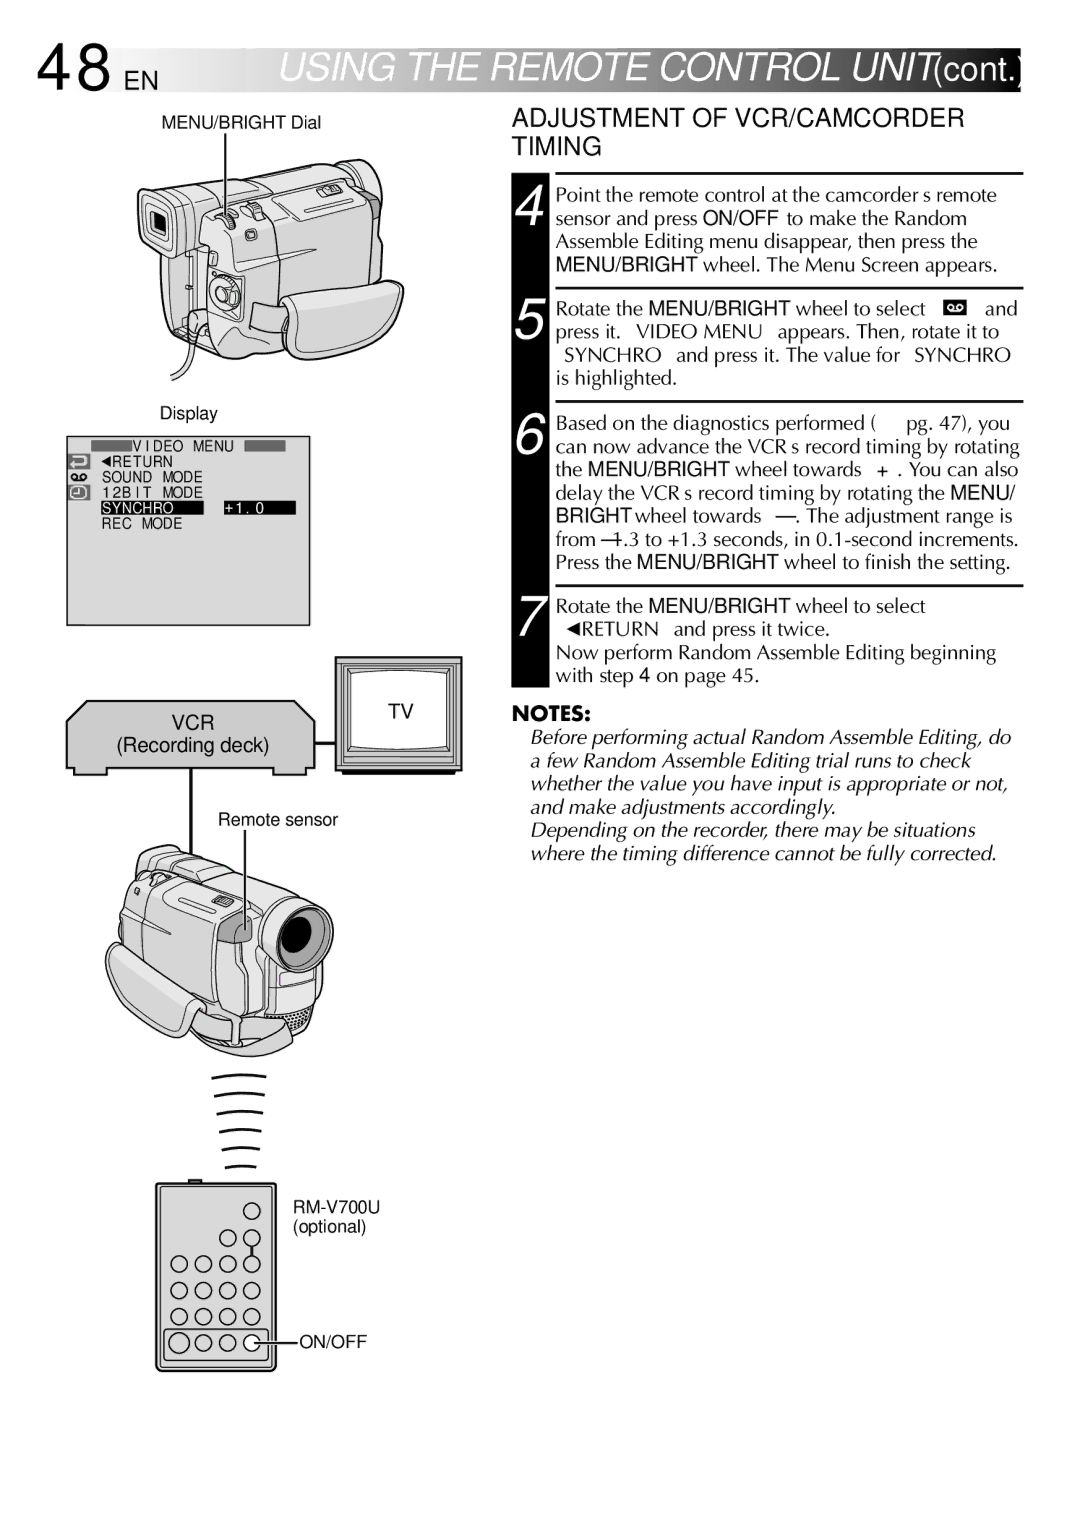
The JVC GR-DVL300 and GR-DVL100 also come with an array of connectivity options, including USB ports for easy transfer of videos to computers as well as S-Video and AV outputs for playback on larger screens. Their compact design makes them portable and convenient for on-the-go shooting, catering to travelers and event documentarians alike.
With their blend of functionality, ease of use, and versatile features, the JVC GR-DVL300 and GR-DVL100 remain noteworthy options for casual filmmakers who want reliable performance and impressive video quality in a compact camcorder package.