GR-DVL155 specifications
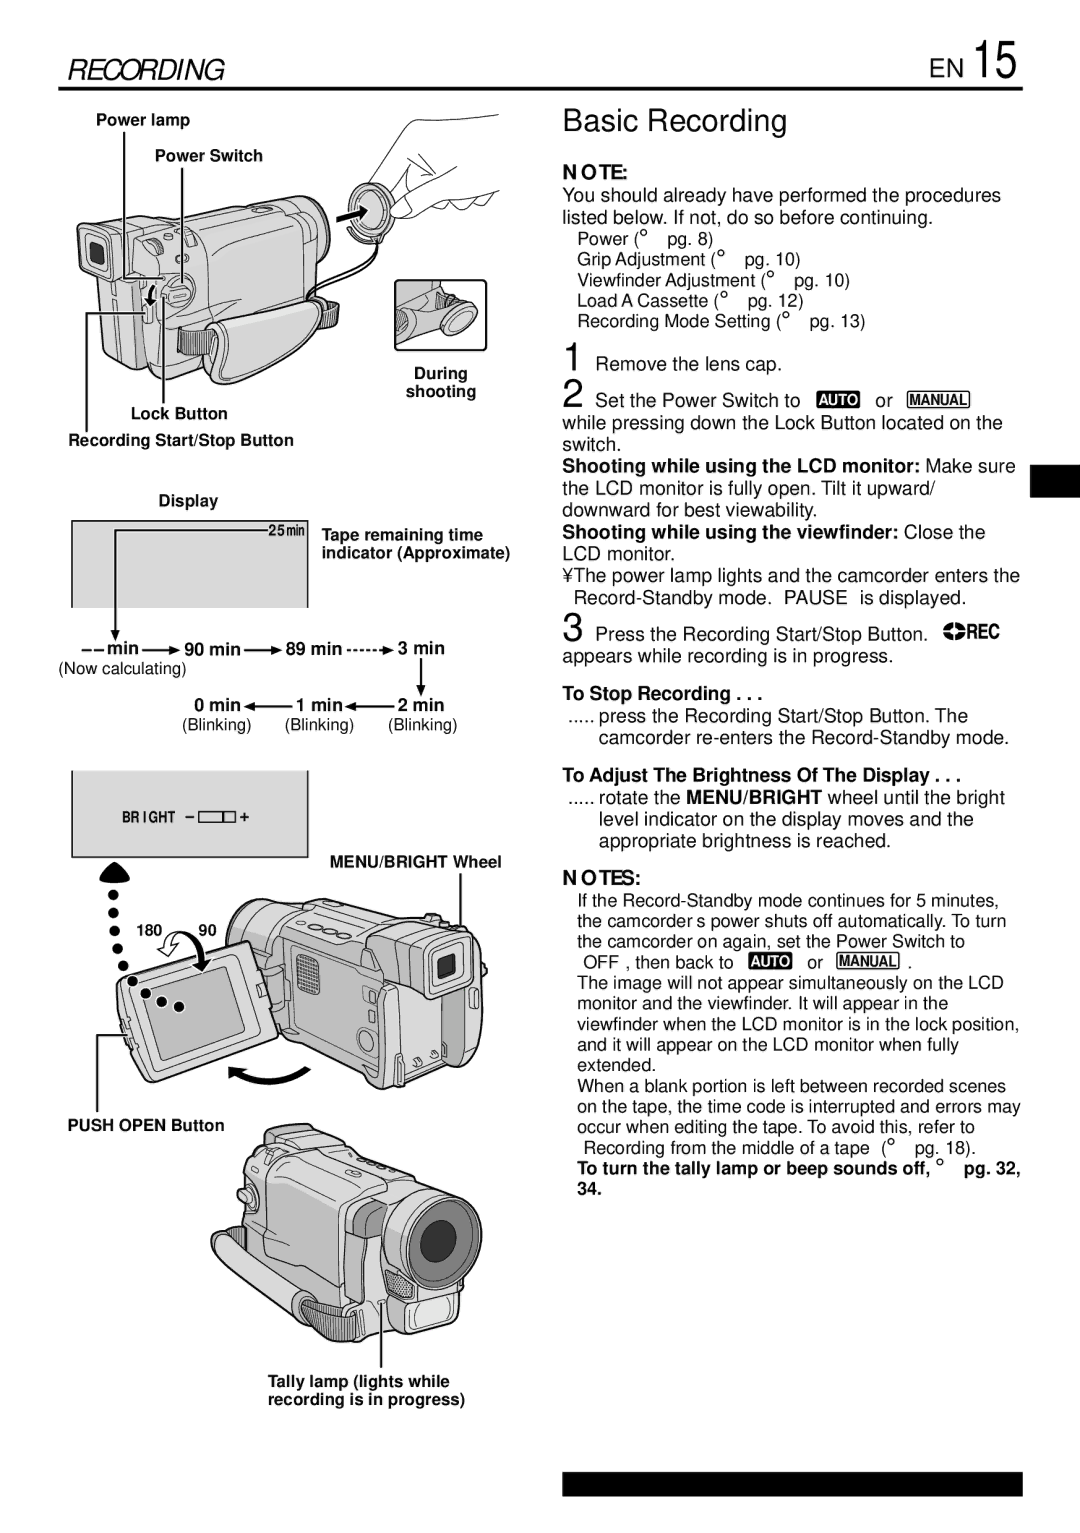
The JVC GR-DVL155 is a compact mini DV camcorder that gained popularity in the early 2000s for its innovative features and ease of use. Designed with both amateur and novice videographers in mind, the GR-DVL155 is lightweight and portable, making it an excellent choice for capturing life's memorable moments on the go.One of the standout features of the JVC GR-DVL155 is its high-quality 1/6-inch glass lens, which provides a 35x optical zoom and 800x digital zoom capability. This allows users to capture detailed footage from a distance, making it ideal for various shooting scenarios, whether it be a graduation ceremony, family gatherings, or outdoor adventures. The camcorder also boasts a 2.5-inch flip-out LCD monitor, allowing for easy framing of shots and playback of recorded content, enhancing user experience and flexibility in operation.
Equipped with JVC's Digital Signal Processing, the GR-DVL155 ensures smooth and clear image quality by reducing noise and enhancing color accuracy. This technology further optimizes camera performance in a variety of lighting conditions. The camcorder's built-in image stabilization system is another notable aspect, helping to counteract the effects of shake and vibration, resulting in steady footage that is pleasing to view.
For sound, the JVC GR-DVL155 features a built-in stereo microphone that captures high-quality audio, which is essential for conveying the full experience of any event. Additionally, users have the option to connect an external microphone for even higher audio fidelity, catering to more advanced filming needs.
The GR-DVL155 also offers a variety of shooting modes, including a night mode that enhances low-light performance, making it versatile for shooting in different environments. This flexibility is further complemented by the ability to record in various modes, such as LP (long play) and SP (standard play), allowing users to extend recording times based on their needs.
Connectivity options on the JVC GR-DVL155 include standard FireWire and RCA outputs, enabling easy transfer of footage to computers or other devices for editing and sharing. With its combination of functionality, user-friendly design, and high-quality performance, the JVC GR-DVL155 has earned its place as a notable entry in the world of camcorders, appealing to both those looking to document their experiences and those who wish to delve deeper into videography. Its reliability and robust features make it a lasting choice for many home movie creators.

