ATTENTION:
Before detaching the power source, make sure that the camcorder’s power is turned off. Failure to do so can result in a camcorder malfunction.
 Charge marker
A charge marker is provided on the battery pack to help you remember whether it has been charged or not. Two colors are provided (red and
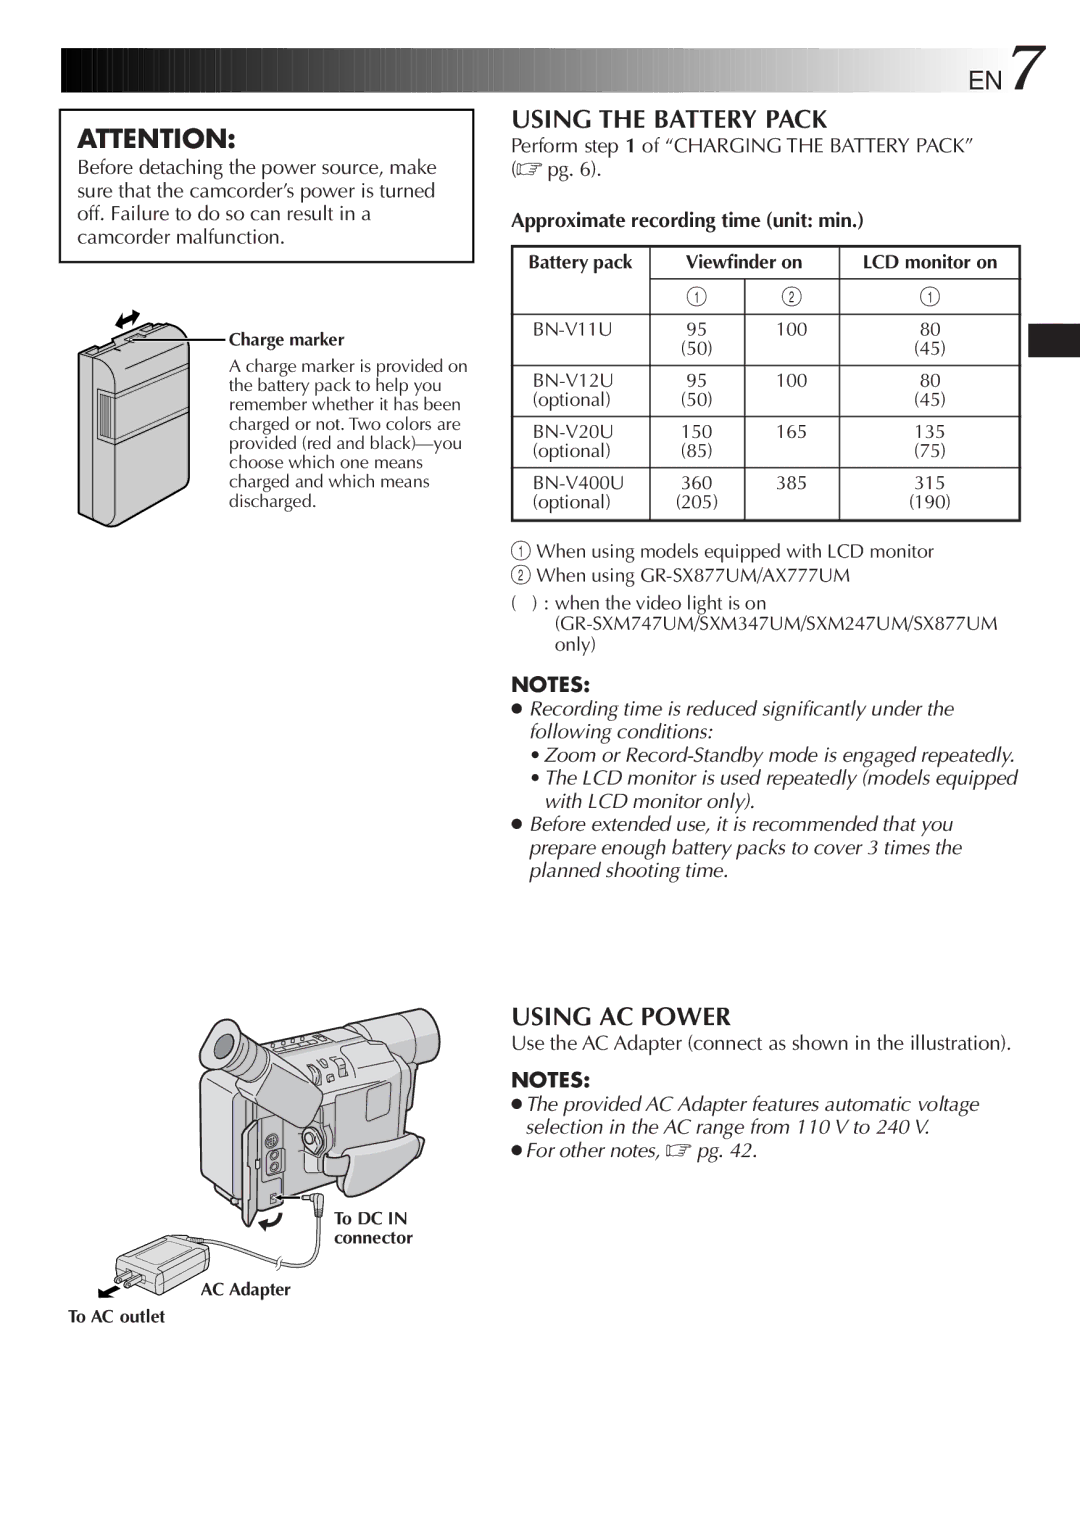
To DC IN connector
AC Adapter
To AC outlet
![]()
![]()
![]()
![]()
![]()
![]()
![]()
![]()
![]()
![]()
![]()
![]()
![]()
![]()
![]()
![]()
![]()
![]()
![]()
![]()
![]()
![]()
![]()
![]()
![]()
![]()
![]()
![]()
![]()
![]()
![]()
![]()
![]()
![]()
![]()
![]()
![]()
![]()
![]()
![]()
![]()
![]()
![]()
![]()
![]()
![]()
![]()
![]()
![]() EN7
EN7
USING THE BATTERY PACK
Perform step 1 of “CHARGING THE BATTERY PACK” (☞ pg. 6).
Approximate recording time (unit: min.)
Battery pack | Viewfinder on | LCD monitor on |
| 1 | 2 | 1 |
95 | 100 | 80 | |
| (50) |
| (45) |
|
|
|
|
95 | 100 | 80 | |
(optional) | (50) |
| (45) |
|
|
|
|
150 | 165 | 135 | |
(optional) | (85) |
| (75) |
|
|
|
|
360 | 385 | 315 | |
(optional) | (205) |
| (190) |
|
|
|
|
1When using models equipped with LCD monitor
2 When using
( ) : when the video light is on
NOTES:
●Recording time is reduced significantly under the following conditions:
•Zoom or
•The LCD monitor is used repeatedly (models equipped with LCD monitor only).
●Before extended use, it is recommended that you prepare enough battery packs to cover 3 times the planned shooting time.
USING AC POWER
Use the AC Adapter (connect as shown in the illustration).
NOTES:
●The provided AC Adapter features automatic voltage selection in the AC range from 110 V to 240 V.
●For other notes, ☞ pg. 42.