You cannot use Karaoke Scoring during Program Play, Random Play, or recording. However, you can turn Karaoke Scoring on and off by using KARAOKE SCORING button during these play modes.

The ranking (top 3) is cleared when you turn off the System.

For some VCD, the Karaoke Scoring result may not appear at the end of the track if PBC is activated. In this case, press 7 to view your scoring result.

Reserving Karaoke Songs—Karaoke Program Play:

You can use RESERVE button when a microphone is plugged in. However, you can cancel Karaoke Program Play using the button even if a microphone is not plugged in. In case you reactivate Karaoke Program Play, plug in a microphone.

If you have selected a disc tray on which a disc containing Video files or JPEG file or DVD-VR is loaded, that disc number is skipped.

If DVD-VR or a disc containing Video files and JPEG file is loaded on the current tray, you cannot activate Karaoke Program Play.

When the track starts playback, that track number will be erased from the Karaoke Reserve screen (the programmed contents will remain until you erase it).

While the PROGRAM indicator is flashing, you cannot change the disc to play. (DISC 1 – 5 on the remote control and 3 on the main unit do not work.)

Timer Operations (see pages 42 to 43)

Setting the Timer:

If you do not specify the preset station or track number correctly while setting a timer, the currently selected station or the first track will be played when timer is activated.

When you unplug the AC power cord or if a power failure occurs, the timer will be canceled. You need to set the clock first, then the timer again.

Without stopping the recording, you cannot change the source while Recording Timer is recording.

Daily Timer will not work correctly for some DVDs.

Setup Menu Operations (see pages 44 to 45)

General:

If the upper and lower parts of the menu are cut off, adjust the picture size control of the TV.

LANGUAGE menu:

When the language you have selected for MENU LANGUAGE, AUDIO LANGUAGE, or SUBTITLE is not recorded on a disc, the original language is used as the initial language.

PICTURE menu—MONITOR TYPE:

Even if “4:3 PS/4:3 MULTI PS” is selected, the screen size may become 4:3 letter box with some disc. This depends on how they are recorded.

When you select “16:9 NORMAL/16:9 MULTI NORMAL” or “16:9 AUTO/16:9 MULTI AUTO” for a

picture whose aspect ratio is 4:3, the picture slightly changes due to the process for converting the picture width.

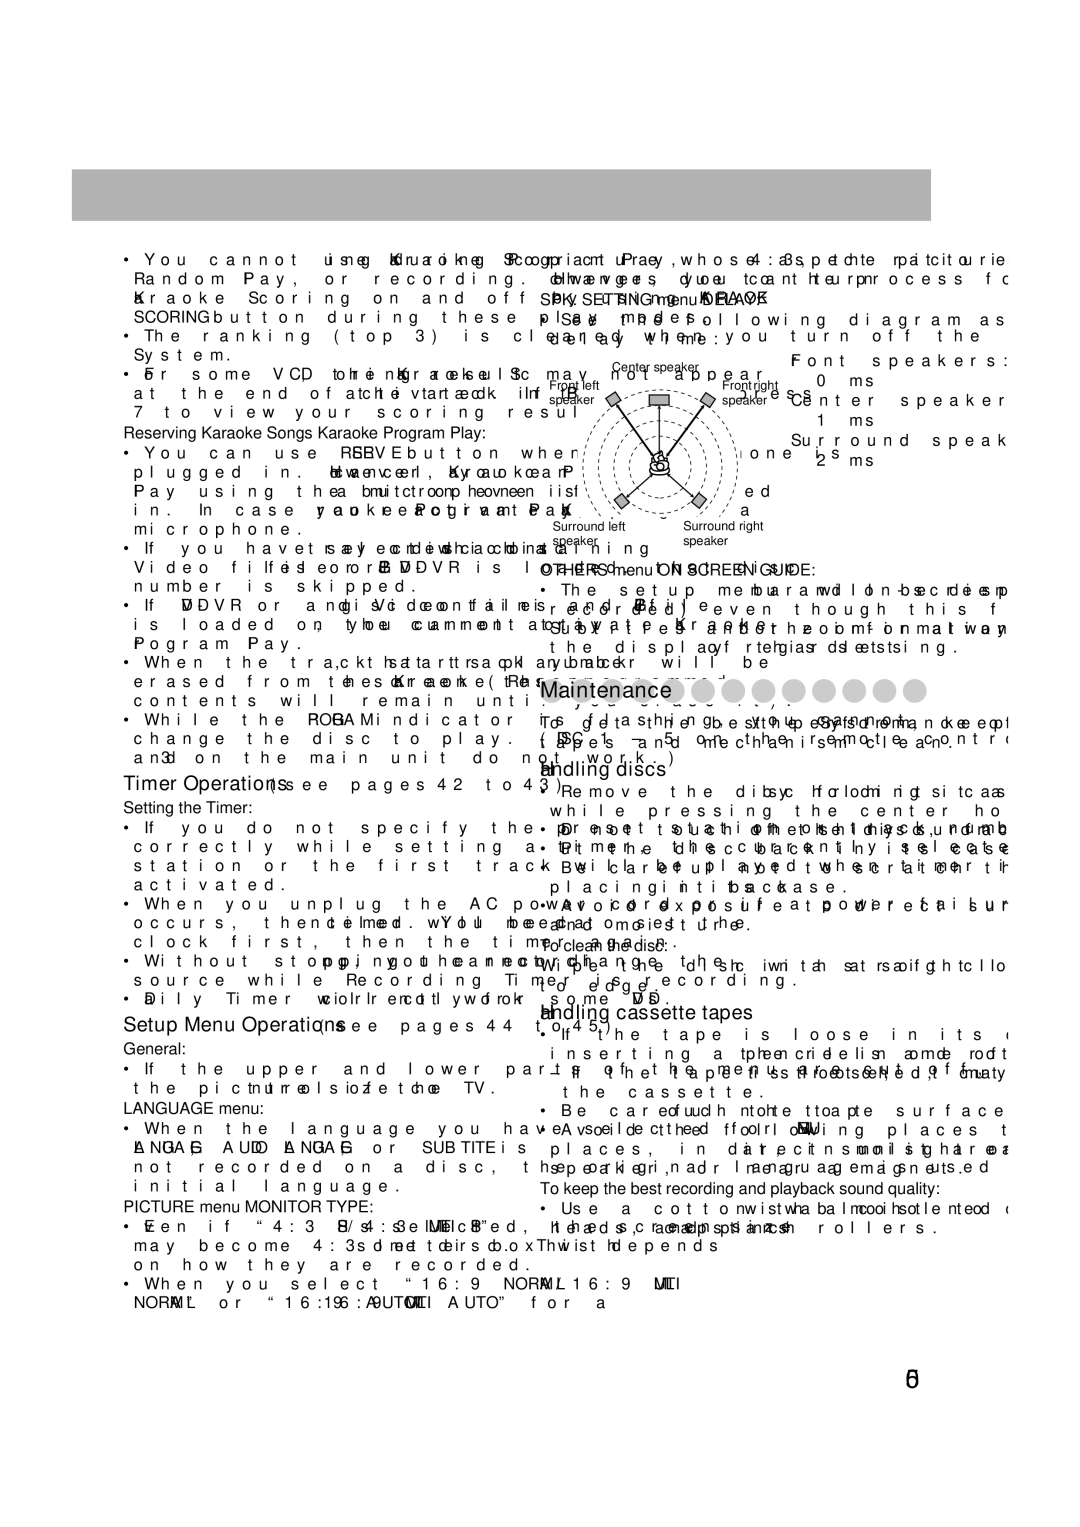
SPK. SETTING menu—DELAY:

See the following diagram as an example for setting the delay time:

Center speaker

Front speakers:

0 ms

Front left

Front right

speaker

speaker

Center speaker:


1 ms


Surround speakers:


2 ms

Surround left

Surround right


speaker

speaker


OTHERS menu—ON SCREEN GUIDE:

The setup menu and on-screen bar will be displayed (and recorded) even though this function is set to “OFF.” Subtitles and the information for zoom-in always appear on the display regardless of this setting.

Maintenance

To get the best performance of the System, keep your discs, tapes and mechanism clean.

Handling discs

Remove the disc from its case by holding it at the edge while pressing the center hole lightly.

Do not touch the shiny surface of the disc, or bend the disc.

Put the disc back in its case after use to prevent warping.

Be careful not to scratch the surface of the disc when placing it back in its case.

Avoid exposure to direct sunlight, extreme temperatures, and moisture.

To clean the disc:

Wipe the disc with a soft cloth in a straight line from center to edge.

Handling cassette tapes

If the tape is loose in its cassette, take up the slack by inserting a pencil in one of the reels and rotate it.

If the tape is loose, it may get stretched, cut, or caught in the cassette.

Be careful not to touch the tape surface.

Avoid the following places to store the tape—in dusty places, in direct sunlight or heat, in moist areas, on a TV or speaker, or near a magnet.

To keep the best recording and playback sound quality:

Use a cotton swab moistened with alcohol to clean the heads, capstans and pinch rollers.

50

Page 53
Image 53
JVC CA-DXU20, GVT0270-001A Maintenance, Setup Menu Operations see pages 44 to, Handling discs, Handling cassette tapes

CA-DXU20, CA-DXU9, GVT0270-001A specifications

The JVC GVT0270-001A, CA-DXU9, and CA-DXU20 are part of JVC's innovative lineup of audio systems, designed to deliver high-quality sound and versatile functionality for music enthusiasts. Each model brings its own distinct features that cater to different user needs, ensuring an exceptional listening experience.

The JVC GVT0270-001A is known for its advanced audio technology, which includes a powerful amplifier that enhances sound clarity and depth. This system features an easy-to-use interface, allowing users to quickly navigate through their music library. The inclusion of Bluetooth connectivity enables users to stream music wirelessly from their smartphones or tablets, making it convenient for those who prefer a clutter-free setup. Additionally, the GVT0270-001A supports multiple audio formats, ensuring compatibility with various media sources.

The CA-DXU9 model is tailored for users who prioritize portability without compromising on sound quality. It comes equipped with an integrated rechargeable battery, allowing for enjoyable playback on the go. The compact design makes it ideal for small spaces or outdoor gatherings, while still producing impressive audio performance. The CA-DXU9 also features USB and auxiliary inputs, providing users with versatile options for connecting external devices.

On the other hand, the CA-DXU20 stands out with its robust performance and distinctive design. This model is engineered with an enhanced bass response, making it perfect for bass lovers. The CA-DXU20 includes several equalizer presets, giving users the flexibility to customize the sound profile according to their preferences or the genre of music being played. Its larger frame accommodates powerful speakers, ensuring a fuller sound experience for indoor settings.

All three models share a commitment to durability and user-friendly design. Their sleek aesthetics make them a great addition to any home or personal space, while the intuitive controls facilitate easy operation. With their blend of advanced technology and user adaptability, the JVC GVT0270-001A, CA-DXU9, and CA-DXU20 represent a significant step forward in modern audio systems, appealing to both casual listeners and serious audiophiles alike. Whether for home use or on-the-go, JVC has crafted a collection of systems that cater to a wide range of audio needs, ensuring satisfactory playback experiences for all types of users.