Dubbing Video Files to DVD Discs
Using a DVD Burner for Dubbing (DVD Creation Function)
Connecting the camera to a DVD burner (CU- VD10, sold separately) enables you to dub the video files in the camera to a DVD disc.
Supported discs: DVD-R, DVD-RW
●Regarding
●After dubbing, the disc is automatically finalised so that it can be played on other devices. After finalising, the disc is a
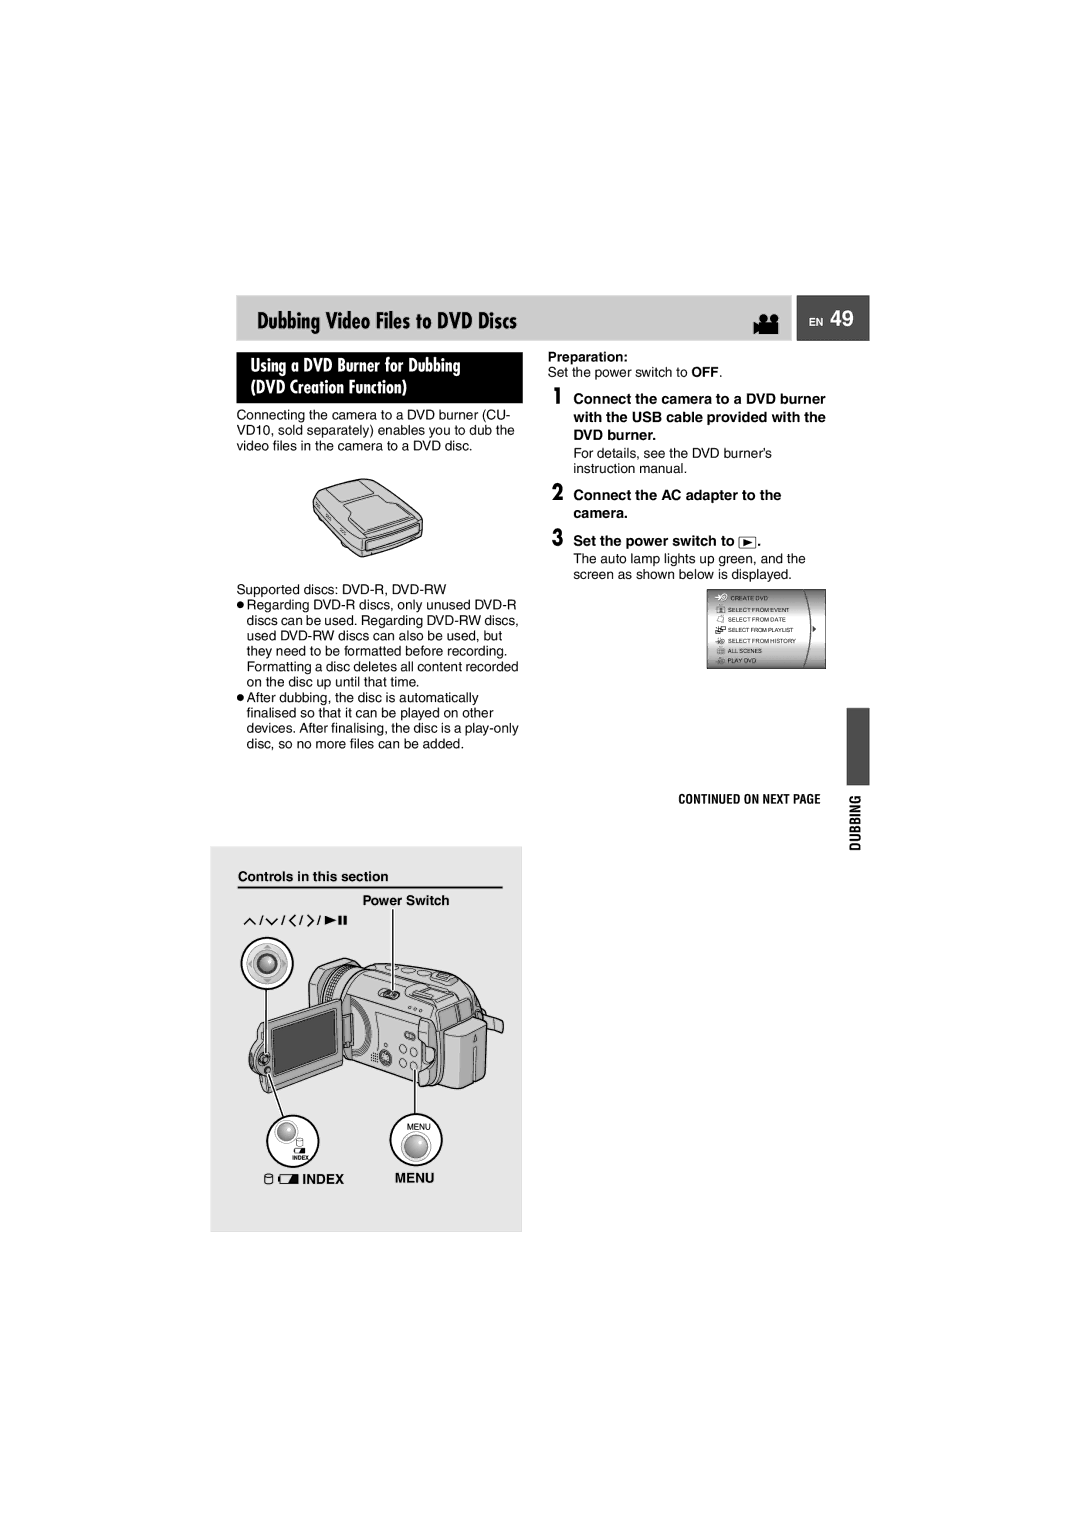
Controls in this section
Power Switch
![]() /
/ ![]() /
/ ![]() /
/ ![]() / 49
/ 49
EN 49
Preparation:
Set the power switch to OFF.
1 Connect the camera to a DVD burner with the USB cable provided with the DVD burner.
For details, see the DVD burner’s instruction manual.
2 Connect the AC adapter to the camera.
3 Set the power switch to ![]() .
.
The auto lamp lights up green, and the screen as shown below is displayed.
![]() CREATE DVD
CREATE DVD
![]()
![]()
![]() SELECT FROM EVENT
SELECT FROM EVENT
SELECT FROM DATE
![]()
![]()
![]()
![]() SELECT FROM PLAYLIST
SELECT FROM PLAYLIST
![]() SELECT FROM HISTORY
SELECT FROM HISTORY
ALL SCENES
![]() PLAY DVD
PLAY DVD
CONTINUED ON NEXT PAGE | DUBBING |
|
