22![]()
![]()
![]()
![]()
![]()
![]()
![]()
![]()
![]()
![]()
![]()
![]()
![]()
![]()
![]()
![]()
![]()
![]()
![]()
![]()
![]()
![]()
![]()
![]()
![]()
![]()
![]()
![]()
![]()
![]()
![]()
![]()
![]()
![]()
![]()
![]()
![]()
![]()


 TIMER
TIMER
 RECORDING(cont.)


TIMER
q 6
7 | SP/LP |
|
| 2 | DAILY | |
1 | 2 | ||
3 | |||
4 | 5 | 6 |
7 8 9 ![]() WEEKLY
WEEKLY
0![]()
![]() TIMER 9
TIMER 9
TV PROG. 6
7 SP/LP
1 | 3 | OK 8 |
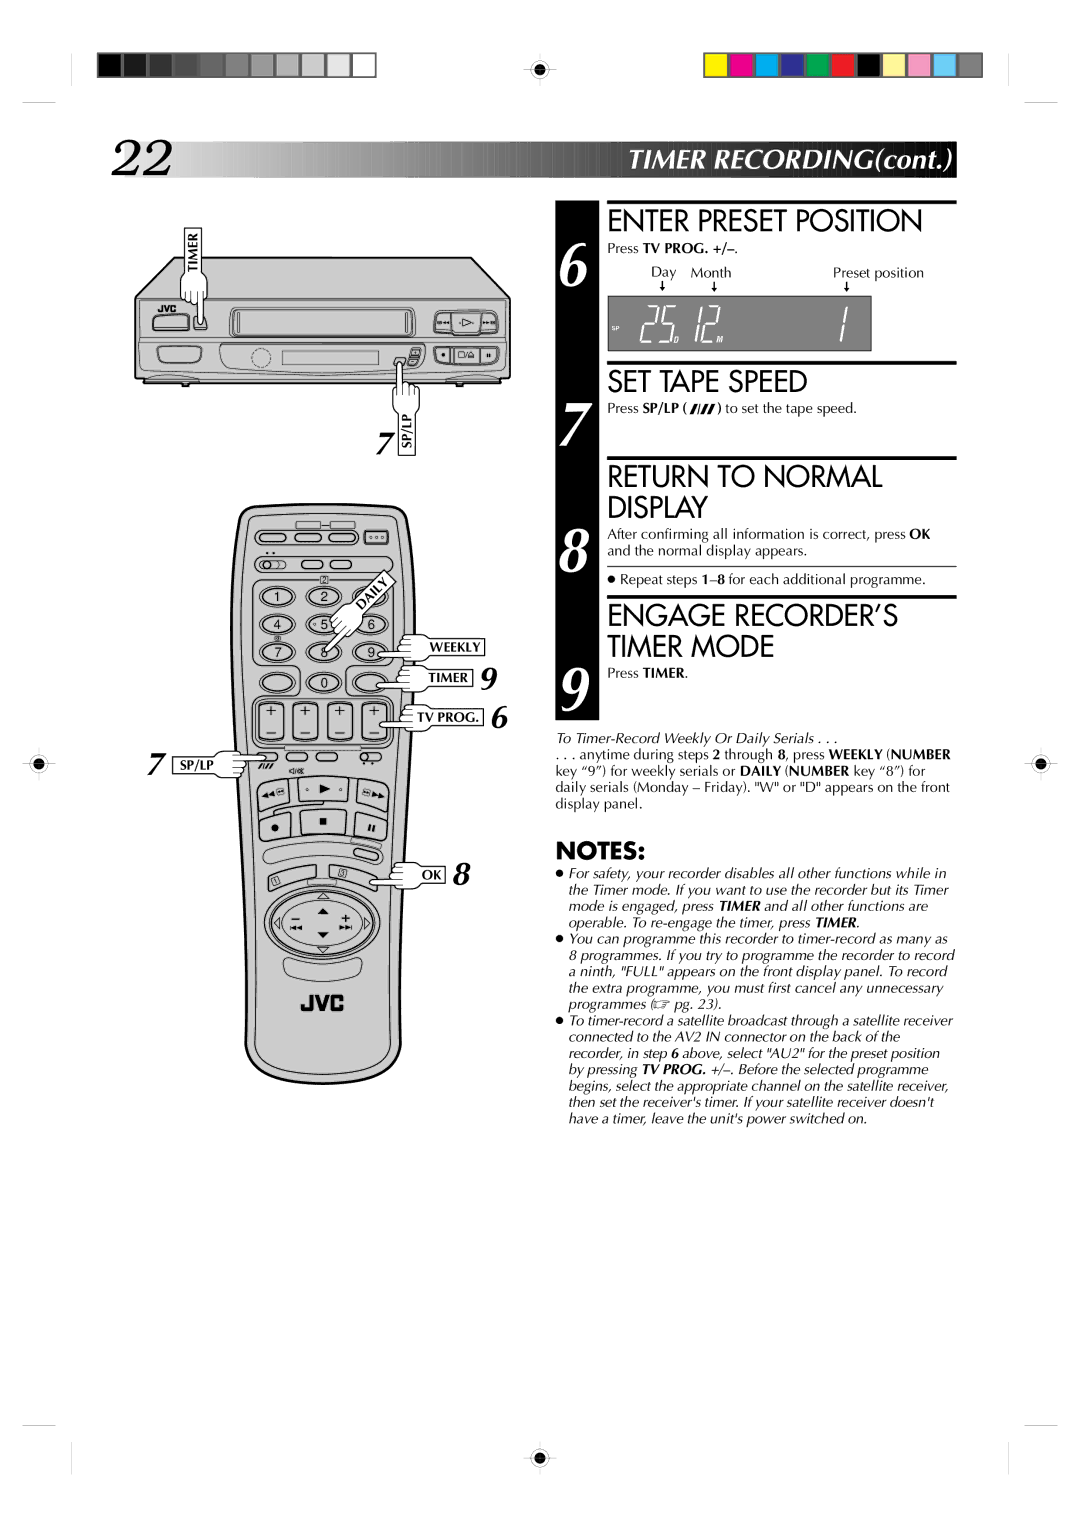
ENTER PRESET POSITION
6 | Press TV PROG. |
|
| |
Day | Month | Preset position | ||
- | - | - |
| |
| SP |
|
|
|
| D | M |
|
|
|
|
|
| |
|
|
|
|
|
| SET TAPE SPEED |
|
| |
7 Press SP/LP ( | ) to set the tape speed. | |||
| RETURN TO NORMAL | |||
8 | DISPLAY |
|
| |
After confirming all information is correct, press OK | ||||
and the normal display appears. |
|
| ||
|
|
| ||
●Repeat steps
ENGAGE RECORDER’S
TIMER MODE
9 Press TIMER.
To Timer-Record Weekly Or Daily Serials . . .
. . . anytime during steps 2 through 8, press WEEKLY (NUMBER key “9”) for weekly serials or DAILY (NUMBER key “8”) for daily serials (Monday – Friday). "W" or "D" appears on the front display panel.
NOTES:
●For safety, your recorder disables all other functions while in the Timer mode. If you want to use the recorder but its Timer mode is engaged, press TIMER and all other functions are operable. To
●You can programme this recorder to
●To