6![]()
![]()
![]() EN
EN![]()
![]()
![]()
![]()
![]()
![]()
![]()
![]()
![]()
![]()
![]()
![]()
![]()
![]()
![]()
![]()
![]()
![]()
![]()
![]()
![]()
![]()
![]()
![]()
![]()
![]()
![]()
![]()
![]()
![]()
![]()
![]()
![]()
![]()
![]()
![]()
![]()
![]()
![]()
![]()
![]()
![]()
![]()
![]()
![]()
![]()
![]()
![]()
![]()
![]()
![]()
![]()
![]()
![]()
![]()
![]()
![]()
![]()
![]()
![]()
![]() INITIAL
INITIAL![]()
![]() SETTINGS
SETTINGS![]() (cont.)
(cont.)![]()
![]()
![]()
Auto Set Up
IMPORTANT
●Don't press any buttons on the recorder or remote that are not directly related to the step you are performing while Auto Set Up is in progress.
●If you perform Auto Set Up successfully during installa- tion, there's no need to separately perform the Language Select, Clock Set or Channel Set procedures, but if adjustments become necessary they can be performed as follows:
–To change the selected language ☞ pg. 9
–To reset or adjust the time ☞ pg. 10
–To add/delete channels manually ☞ pg. 31
–To reset the tuner after moving to a different location ☞ pg. 30
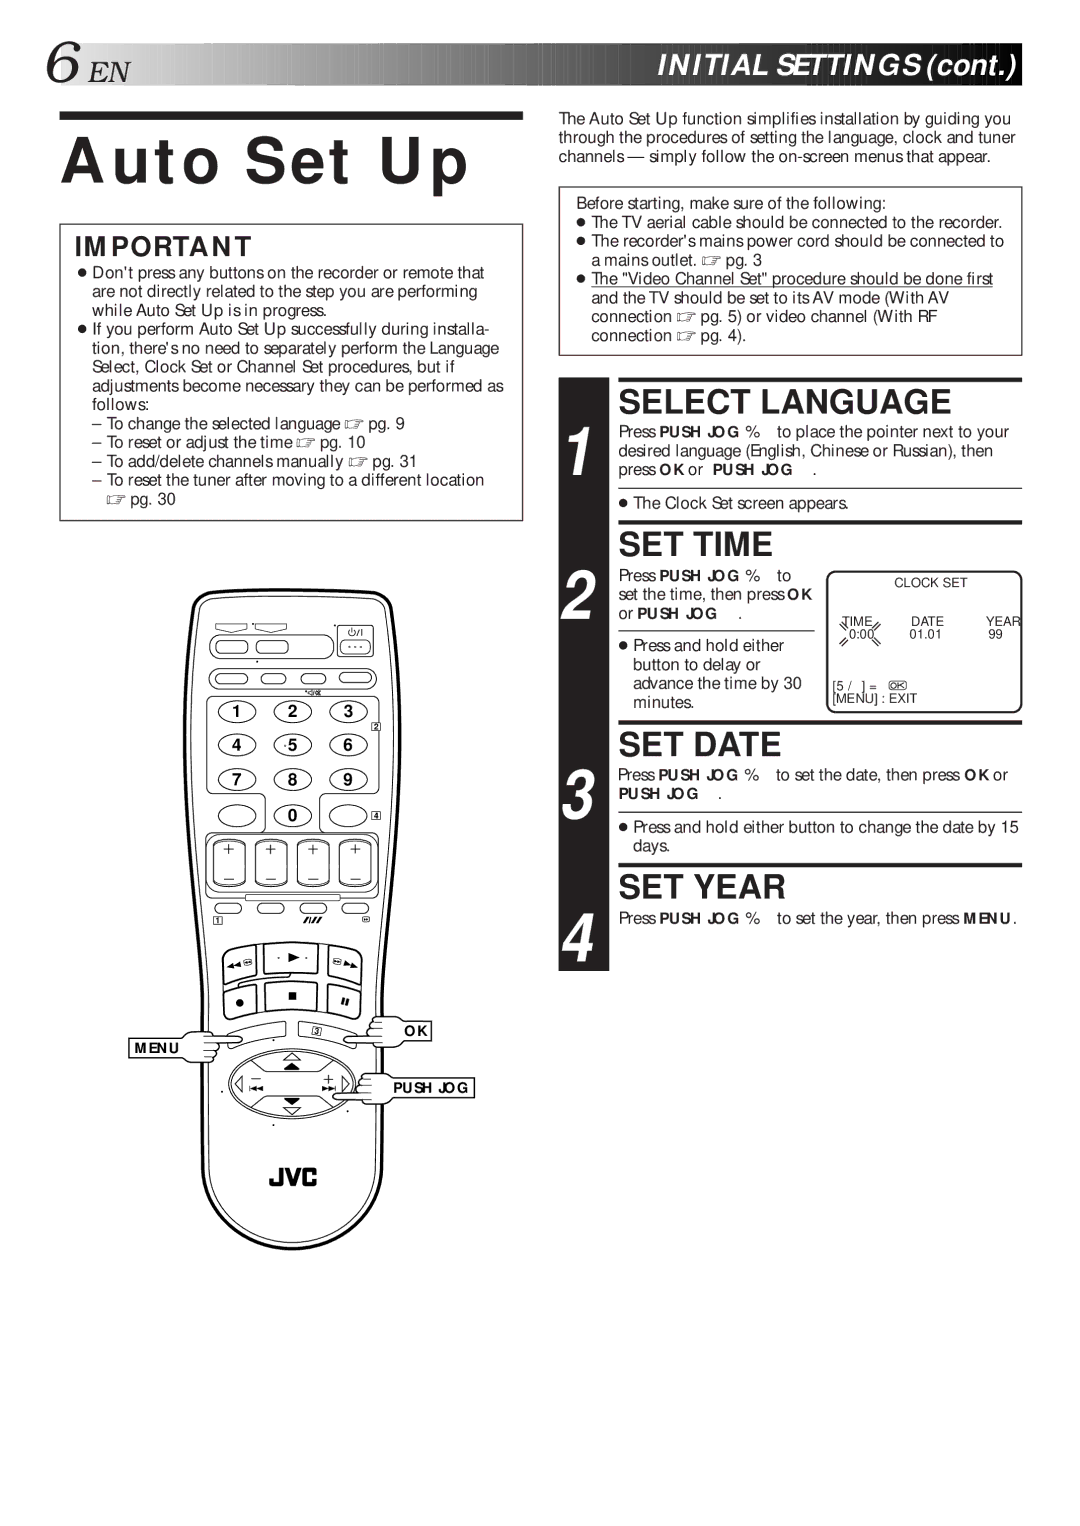
1 2 3
2
4 5 6
7 8 9
0 4
1
The Auto Set Up function simplifies installation by guiding you through the procedures of setting the language, clock and tuner channels — simply follow the
Before starting, make sure of the following:
●The TV aerial cable should be connected to the recorder.
●The recorder's mains power cord should be connected to a mains outlet. ☞ pg. 3
●The "Video Channel Set" procedure should be done first and the TV should be set to its AV mode (With AV connection ☞ pg. 5) or video channel (With RF connection ☞ pg. 4).
| 1 |
| SELECT LANGUAGE |
| |||
|
| Press PUSH JOG %Þto place the pointer next to your | |||||
|
| desired language (English, Chinese or Russian), then | |||||
|
| press OK or PUSH JOGÞ. |
|
|
| ||
|
|
| ● The Clock Set screen appears. |
|
| ||
|
|
|
|
|
|
|
|
| 2 |
| SET TIME |
|
|
| |
|
| Press PUSH JOG %Þto |
| CLOCK SET |
| ||
|
| set the time, then press OK |
|
|
| ||
|
| or PUSH JOGÞ. |
| TIME | DATE | YEAR | |
|
|
| ● Press and hold either | 0:00 | 01.01 | 99 | |
|
|
|
|
|
| ||
|
|
| button to delay or |
|
|
| |
|
|
| advance the time by 30 | [5/°] = |
|
| |
|
|
| minutes. | [MENU] : EXIT |
| ||
|
|
|
|
|
|
| |
| 3 |
| SET DATE |
|
|
| |
| Press PUSH JOG %Þto set the date, then press OK or | ||||||
|
| PUSH JOGÞ. |
|
|
| ||
|
|
| |||||
|
| ● Press and hold either button to change the date by 15 | |||||
|
|
| days. |
|
|
| |
|
|
|
|
|
|
| |
| 4 |
| SET YEAR |
|
|
| |
|
| Press PUSH JOG %Þto set the year, then press MENU. | |||||
OK
MENU
PUSH JOG