JVC HR-J781EU, HR-J780EU Perform Auto Channel Set, View the Confirmation screen, Press OK twice

Models: HR-J781EU HR-J780EU

1 60
Download 60 pages 21.99 Kb
Page 47
Image 47

EN 47

IMPORTANT

In certain reception conditions, station names may not be stored correctly, and Auto Guide Program Number Set may not work properly. If the Guide Program numbers are not set properly when you timer-record a TV programme using the SHOWVIEW system, the recorder will record a TV programme of a different station. When programming the

timer using the SHOWVIEW system, be sure to check the desired channel is selected correctly ( pg. 24, “SHOWVIEW® Timer Programming”).

Your video recorder memorizes all detected stations even if

reception of some of them is poor. You can delete those stations with an unacceptable picture ( pg. 49, “Delete A Channel”).

NOTES:

Fine tuning is performed automatically during Auto Channel Set. If you want to perform it manually, refer to page 50.

If you perform Auto Channel Set when the aerial cable is not connected properly, “SCAN COMPLETED -NO SIGNAL-” appears on the TV screen in step 7. When this happens, make sure of the aerial connection and press OK; Auto Channel Set will take place again.

If no sound accompanies the picture or the audio sounds unnatural on some channels that have been stored by Auto Set Up, the TV system setting for those channels may be incorrect.

Select the appropriate TV system for those channels ( pg. 49, “INFORMATION”).

F Perform Auto Channel Set.

Press OK twice.

If you have connected the


recorder and your TV via AV


connection ( pg. 7), the


recorder automatically


performs the Preset


Download and the T-V LINK


screen will appear


( pg. 10).


The Auto Set screen appears,

Beginning

End

and remains on screen while

the recorder searches for receivable stations.

As Auto Channel Set progresses, the “q” mark on the TV screen moves from left to right. Wait until the TV screen as shown in step 7 appears.

G View the Confirmation screen.

After “SCAN COMPLETED” is displayed on the TV screen for about 5 seconds, the Confirmation screen looking like the one to the right appears. The stations your recorder located appear on a Confirmation screen —

channel positions (PR),

channels (CH) and station names (ID –  pg. 51). The blueback screen and the programme currently being broadcast by the blinking station appear alternately for 8 seconds each. To view the next page, use the rt w e button on the remote control.

The stations located in the selected country appear at the top of the list.

The Guide Program numbers will also be set automatically during Auto Channel Set.

H Return to the normal screen.

Press MENU.

Using the Confirmation screen, you can skip or add channel positions, enter station names and perform other operations. Refer to pages 48 – 51 for the procedures.

Depending on reception conditions, the stations may not be stored in order, and the station names may not be stored correctly.

For information on scrambled broadcasts, refer to page 49.

Page 47
Image 47
JVC HR-J781EU, HR-J780EU specifications Perform Auto Channel Set, View the Confirmation screen, Press OK twice

HR-J781EU, HR-J780EU specifications

The JVC HR-J780EU and HR-J781EU are two impressive VCR models that showcase JVC's commitment to providing high-quality video recording and playback. Released during the height of VHS technology, these models stand out due to their robust features, advanced technologies, and user-friendly characteristics, making them a popular choice among enthusiasts and casual users alike.

One of the standout features of both models is the incorporation of JVC’s innovative Digital Scene Selector technology. This allows for enhanced image processing, resulting in sharper and clearer video quality. The Digital Scene Selector analyzes incoming video signals and optimizes them in real-time, ensuring that every frame is rendered to its fullest potential.

Both the HR-J780EU and HR-J781EU come equipped with a Time Base Corrector (TBC), which significantly improves the stability of the video image. This technology reduces jitter and enhances overall playback quality, making these VCRs excellent for archiving and preserving precious home videos. The TBC is particularly beneficial when playing back older tapes that may have degraded over time.

Another key characteristic of the JVC HR-J780EU and HR-J781EU is their ability to support long-play (LP) recording modes. This feature enables users to store more content on a single tape, doubling the recording capacity without a noticeable dip in quality. For regular viewers and home movie creators, this is an excellent advantage, allowing for longer viewing and recording sessions without the hassle of frequently changing tapes.

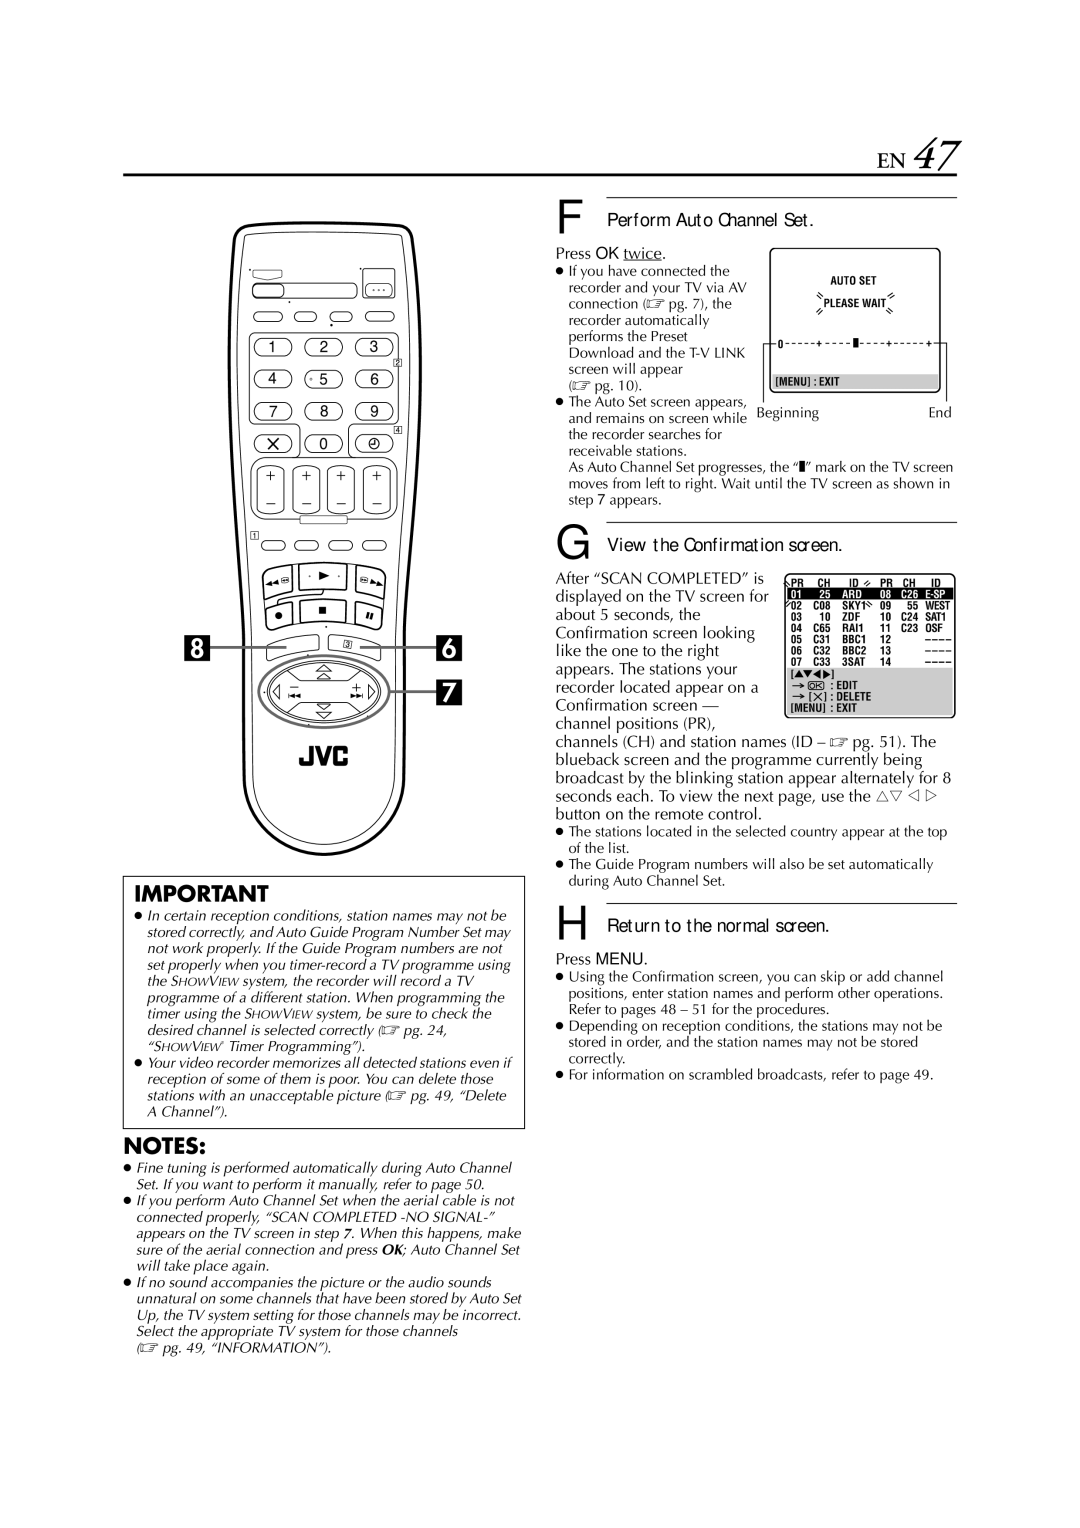
Both models are equipped with a comprehensive set of connectivity options, including SCART and composite outputs, making it easy to connect to various TVs and other playback devices. Additionally, the inclusion of an easy-to-navigate on-screen menu enhances user experience, allowing users to quickly access settings and functionalities.

Moreover, the JVC HR-J780EU and HR-J781EU boast built-in auto tracking features, which automatically adjust the tape heads to maintain optimal playback quality. The sleek design, combined with a remote control for convenience, makes these VCRs both aesthetically pleasing and practical.

In summary, the JVC HR-J780EU and HR-J781EU are finely crafted VCR models that showcase advanced recording technologies, user-friendly features, and excellent performance characteristics. For those looking to relive nostalgic moments captured on VHS tapes, these models provide a reliable and high-quality option for both recording and playback.