HR-P128EE, HR-P125EE specifications
The JVC HR-P125EE and HR-P128EE are notable VCR models that exemplify JVC's commitment to quality and innovation in video recording technology. Designed primarily for home entertainment enthusiasts and professionals who appreciate the intricacies of VHS technology, both models come with a range of features and specifications that cater to diverse user needs.One of the standout features of the HR-P125EE and HR-P128EE is the advanced video processing technology that ensures high-quality playback and recording. This includes JVC’s Super VHS capability, which elevates the standard VHS experience by providing improved picture resolution and clarity. With a resolution that exceeds traditional VHS, users can enjoy enhanced playback quality, making these models suitable for viewing both older VHS tapes and newer recordings.
Both models are equipped with a user-friendly interface, making navigation effortless. The on-screen menu provides straightforward options for adjusting settings, scheduling recordings, and managing tapes. The programmable timer allows users to set up recordings in advance, ensuring that they never miss a favorite show or event. This feature is particularly useful for busy households where multiple viewing preferences exist.
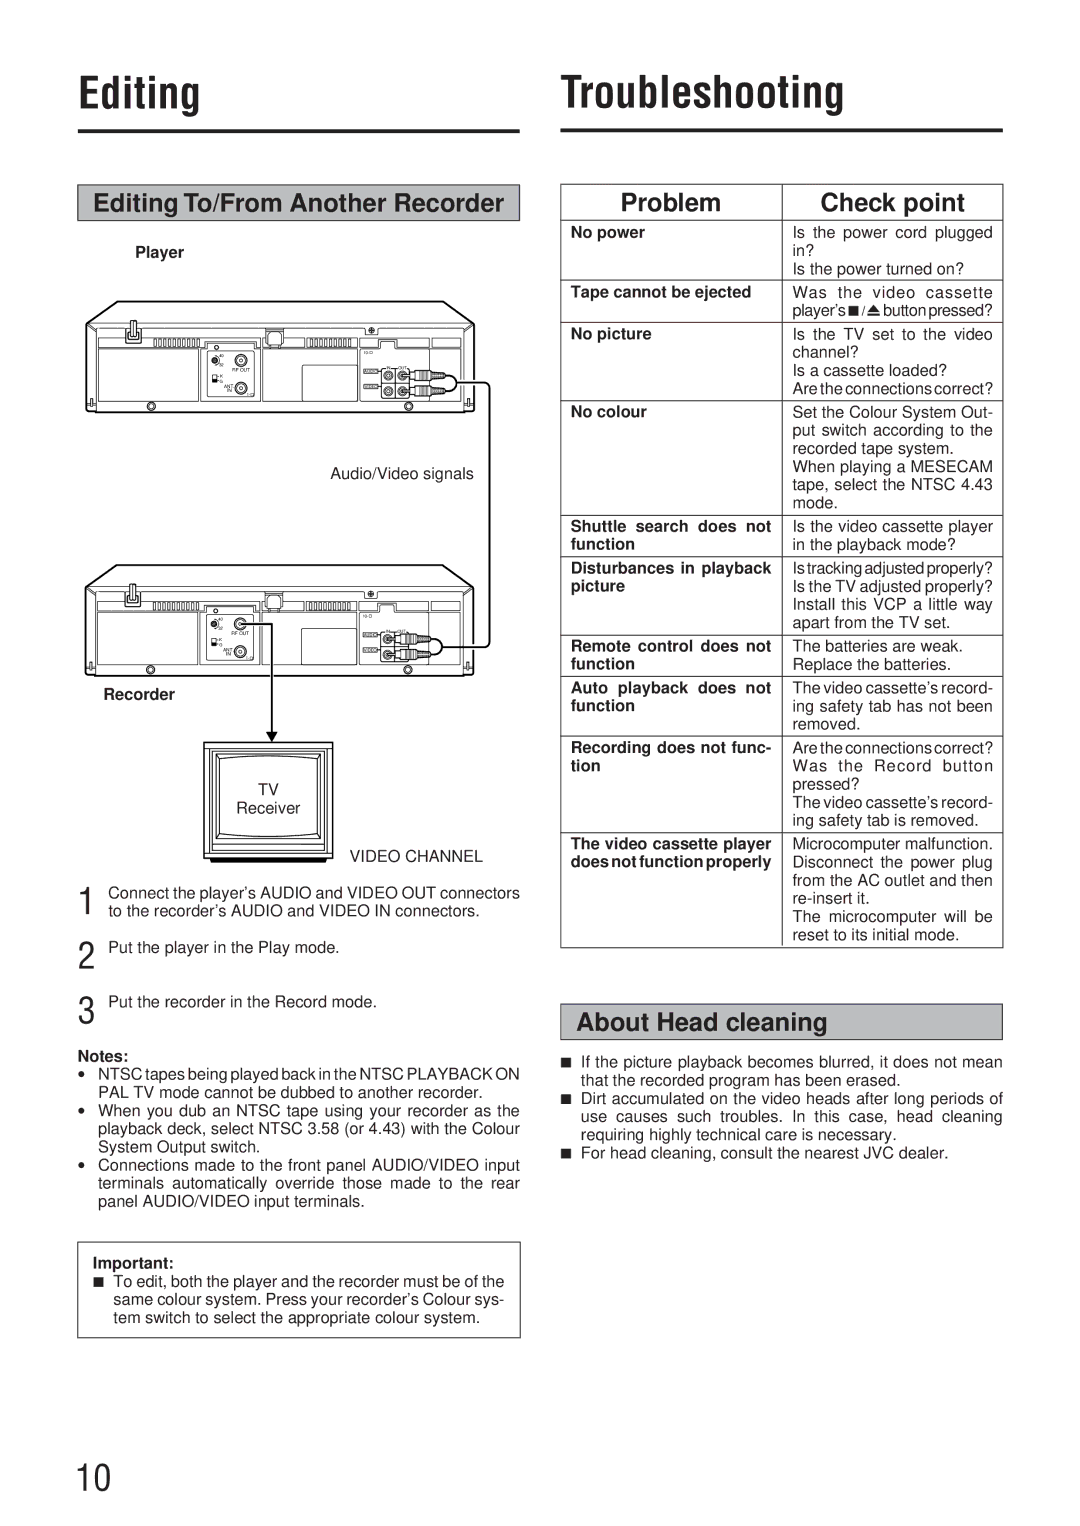
In terms of connectivity, the HR-P125EE and HR-P128EE offer composite video and audio outputs, allowing for seamless integration with standard televisions and audio systems. The inclusion of S-Video inputs further enhances video quality, making these models ideal for transferring content from other sources, such as camcorders or digital video players.
Another highlight of these JVC VCRs is the stability and reliability they provide during playback. Both models feature enhanced anti-vibration mechanisms that help prevent dropouts and ensure consistently high-quality playback. This stability is crucial for users who cherish their collection of tapes and want to ensure they remain in optimal condition over time.
Additionally, the HR-P128EE model features built-in capabilities for advanced noise reduction, which further improves the overall viewing experience by minimizing artifacts and distortions during playback. This makes it particularly beneficial for older tapes that may have degraded over time.
In summary, the JVC HR-P125EE and HR-P128EE VCRs are excellent choices for anyone looking to enjoy the classic VHS experience while benefiting from modern enhancements in video technology. With their user-friendly design, advanced features, and commitment to quality video processing, these models stand as reliable options in the world of video cassette recording. Whether for personal use or as part of a larger media setup, they provide robust performance that meets the demands of various users.

