EN 7

1 Check contents

Make sure the package contains all of the accessories listed in “SPECIFICATIONS” (pg. 48).

2 Situate VCR

Place the VCR on a stable, horizontal surface.

3 Connect VCR to TV

The following connections are required.

RF Connection

1Disconnect the TV antenna from the TV.

2Connect the TV antenna cable to the ANT. IN terminal on the rear of the VCR.

3Connect the supplied RF cable between the RF OUT terminal on the rear of the VCR and the TV’s antenna input terminal.

AV Connection (improves picture quality during

tape playback.)

If your TV is equipped with audio/video input connectors

1Connect the antenna, VCR and TV as shown in

the illustration.

2Connect an audio/video cable between the AUDIO/VIDEO OUT connectors on the rear of the VCR and the audio/video input connectors on the TV.

4 Connect VCR to power source Connect the AC power plug to an AC outlet.

The clock and tuner channels will automatically be set when the antenna is connected and when the AC power cord is first connected to an AC power outlet (pg. 8).

(If “Auto” or “CH” is displayed on the front display panel before the VCR is turned on, the clock and tuner channels are being set automatically. Wait until the clock time is displayed on the front display panel before turning on the VCR.)

5Final preparation for use

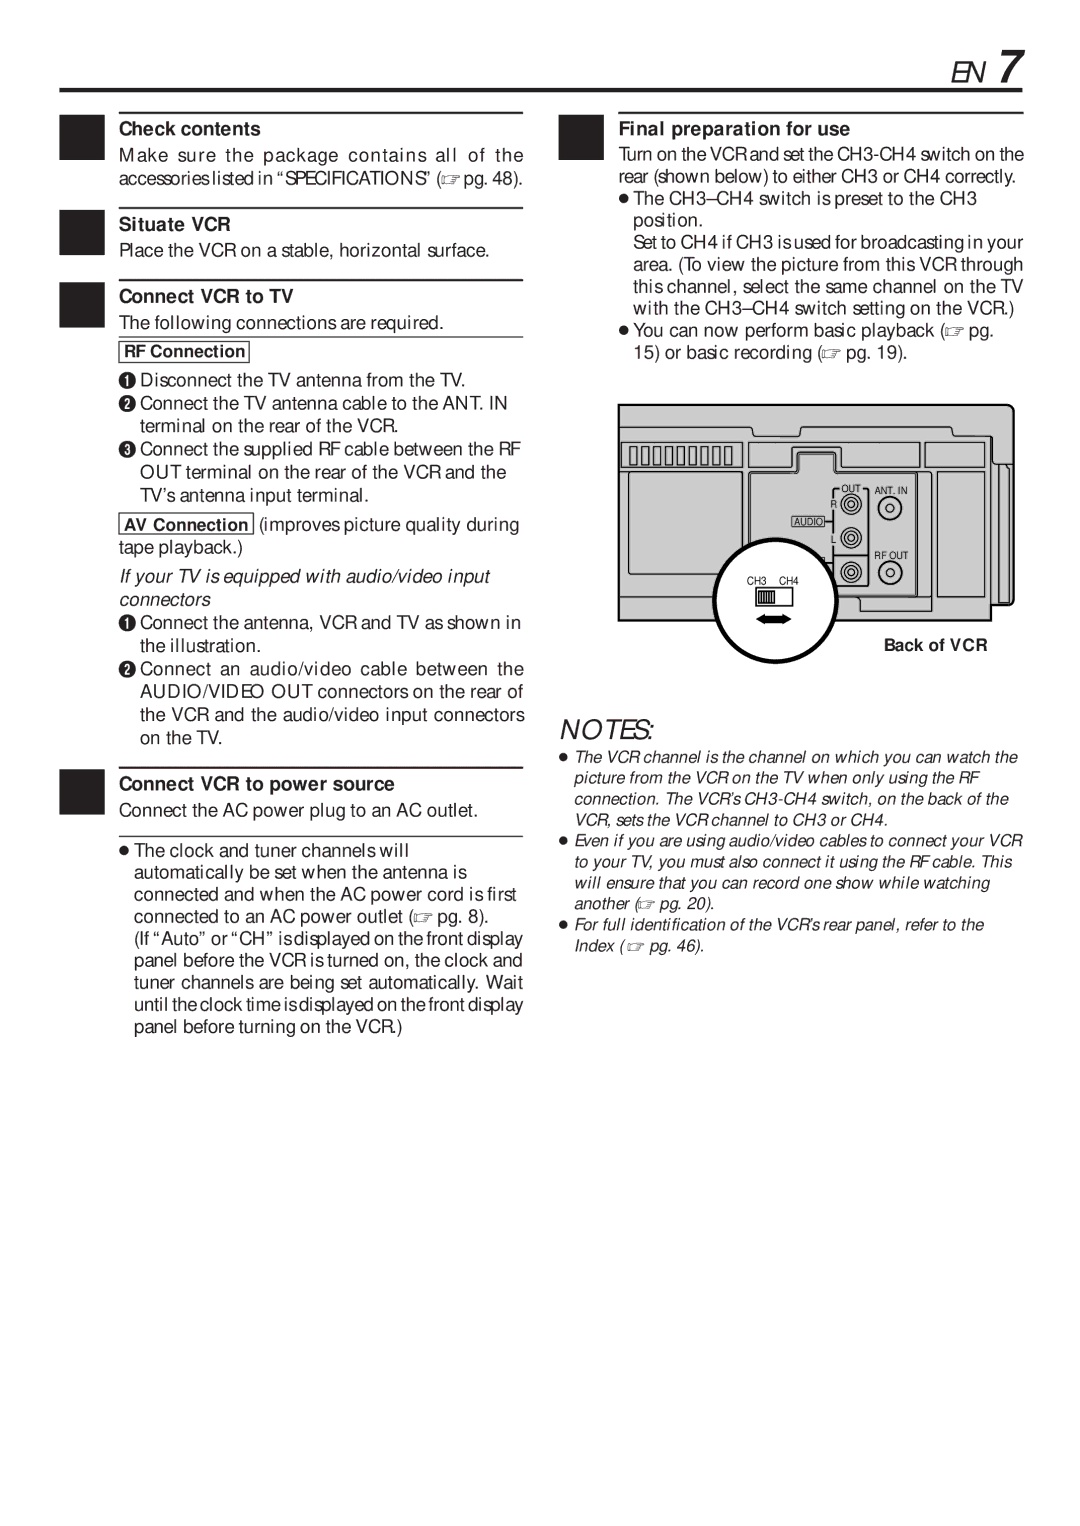
Turn on the VCR and set the CH3-CH4 switch on the rear (shown below) to either CH3 or CH4 correctly.

The CH3–CH4 switch is preset to the CH3 position.

Set to CH4 if CH3 is used for broadcasting in your area. (To view the picture from this VCR through this channel, select the same channel on the TV with the CH3–CH4 switch setting on the VCR.)

You can now perform basic playback (pg. 15) or basic recording (pg. 19).

OUT ANT. IN

R

AUDIO

L

RF OUT

VIDEO

CH3 CH4

Back of VCR

NOTES:

The VCR channel is the channel on which you can watch the picture from the VCR on the TV when only using the RF connection. The VCR’s CH3-CH4 switch, on the back of the VCR, sets the VCR channel to CH3 or CH4.

Even if you are using audio/video cables to connect your VCR to your TV, you must also connect it using the RF cable. This will ensure that you can record one show while watching another (pg. 20).

For full identification of the VCR’s rear panel, refer to the Index ( pg. 46).

Page 7
Image 7
JVC HR-VP680U manual Check contents, Situate VCR, Connect VCR to TV, Final preparation for use, RF Connection

HR-VP680U specifications

The JVC HR-VP680U is a versatile VHS VCR that combines classic features with advanced technology, allowing users to enjoy a seamless viewing experience while preserving their favorite memories on tape. Known for its durability and reliability, the HR-VP680U has made a name for itself as an excellent choice for both casual and enthusiast videographers.

One of the standout features of the HR-VP680U is its ability to play back a variety of VHS formats, including standard VHS, S-VHS, and even VHS-C tapes with the help of an adapter. The S-VHS capability enhances the video quality of standard VHS tapes, showcasing the rich colors and fine detail that many film enthusiasts cherish. This versatility ensures that users can enjoy a wide range of video content from various sources.

The HR-VP680U incorporates JVC's unique Digital Frame Synchronizer technology, which significantly reduces video noise and enhances the overall clarity of your recordings. This cutting-edge feature leads to a smoother playback experience, making it perfect for watching movies or old home videos. Additionally, this VCR is equipped with HQ (High Quality) playback, further improving the quality of standard tapes and ensuring that older recordings look their best.

Another notable characteristic of the HR-VP680U is its built-in timer programming capabilities. Users can easily set the timer to record shows or events, ensuring they never miss their favorite programs. The VCR supports up to eight different timer functions, which provides ample flexibility for recording various shows throughout the week.

In terms of connectivity, the JVC HR-VP680U comes with composite video inputs and outputs, allowing seamless integration with other devices such as TVs and external audio systems. The inclusion of an RF output also enables users to connect the VCR to older television sets easily.

Overall, the JVC HR-VP680U represents a marriage of nostalgic video technology with essential modern features. Its ability to playback multiple formats, enhanced viewing technologies, and user-friendly recording options make it a valuable addition to any home entertainment setup. Whether you are looking to convert your old tapes or simply enjoy classic films, the HR-VP680U remains a reliable choice that stands the test of time.