Assigning names to the sources
You can assign names to discs (both in this unit and in the CD changer), station frequencies and the external component.
After assigning a name, it will appear on the display when you select the source.
Sources | Maximum number of |
| characters |
|
|
CDs* | up to 32 characters |
| (up to 40 discs) |
|
|
Station frequencies | up to 10 characters (up to |
| 30 station frequencies |
| including both FM and AM.) |
|
|
External component | up to 8 characters |
|
|
*You cannot assign a name to a CD Text or an MP3 disc.
1 Select a source you want to assign a name to.
When you select a source, the power
automatically comes on.
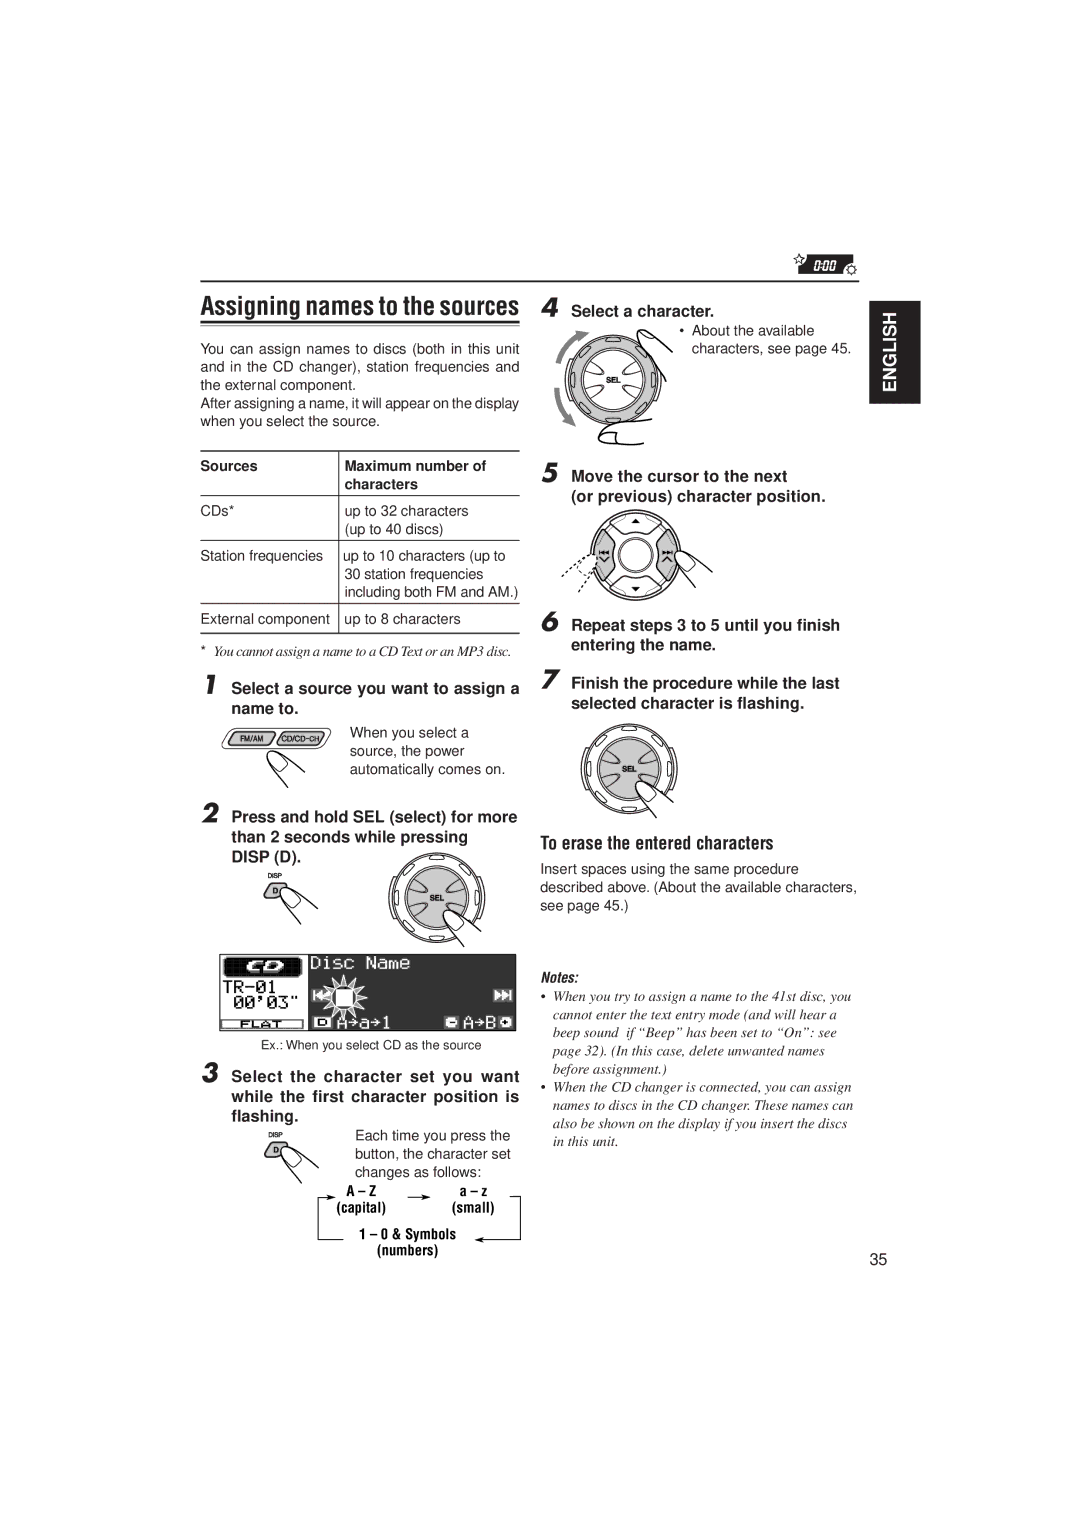
2 Press and hold SEL (select) for more than 2 seconds while pressing DISP (D).
Ex.: When you select CD as the source
3 Select the character set you want while the first character position is flashing.
Each time you press the button, the character set
changes as follows:
A – Z |
| a – z |
(capital) |
| (small) |
1 – 0 & Symbols
(numbers)
4 Select a character. | ENGLISH | |
• About the available | ||
| ||
characters, see page 45. |
|
5
6
7 Finish the procedure while the last selected character is flashing.
To erase the entered characters
Insert spaces using the same procedure
described above. (About the available characters, see page 45.)
Notes:
•When you try to assign a name to the 41st disc, you cannot enter the text entry mode (and will hear a beep sound if “Beep” has been set to “On”: see page 32). (In this case, delete unwanted names before assignment.)
•When the CD changer is connected, you can assign names to discs in the CD changer. These names can also be shown on the display if you insert the discs in this unit.
35