6WARNING

If you connect the ignition wire (red) and the


battery wire (yellow) to the car chassis (ground),


you may cause a short circuit, that in turn may


start a fire. Always connect those wires to the


power source running through the fuse box.

Do not cut out the fuse from the ignition wire (red)


and the battery wire (yellow). The power supply


must be connected to the wires via the fuse.

6

Precautions on installation and connection

Mounting and wiring this product requires


skills and experience. For best safety, leave the


mounting and wiring work to professionals.

Make sure to ground the unit to a negative 12 V


DC power supply.

Do not install the unit in a spot exposed to direct


sunlight or excessive heat or humidity. Also avoid


places with too much dust or the possibility of


water splashing.

Do not use your own screws. Use only the screws


provided. If you use the wrong screws, you could


damage the unit.

If the power is not turned on ("MISWIRING Check


wiring connection then reset unit", "WARNING


Check wiring connection then reset unit" is


displayed), the speaker wire may have a short


circuit or have touched the chassis of the vehicle


and the protection function may have been


activated. Therefore, the speaker wire should be


checked.

If your car'signition does not have an ACC


position, connect the ignition wires to a power


source that can be turned on and off with the


ignition key. If you connect the ignition wire to a


power source with a constant voltage supply, such


as with battery wires, the battery may be drained.

Only for KW-V40BT:


If the console has a lid, make sure to install the


unit so that the monitor panel will not hit the lid


when closing and opening.

If the fuse blows, first make sure the wires are not


touching to cause a short circuit, then replace the


old fuse with one with the same rating.

Insulate unconnected wires with vinyl tape or


other similar material. To prevent a short circuit,


do not remove the caps on the ends of the


unconnected wires or the terminals.

Connect the speaker wires correctly to the


terminals to which they correspond. The unit may


be damaged or fail to work if you share the 8


wires or ground them to any metal part in the car.

When only two speakers are being connected to


the system, connect both connectors either to


the front output terminals or to the rear output


terminals (do not mix front and rear). For example,


if you connect the E8 connector of the left speaker


to a front output terminal, do not connect the 8


connector to a rear output terminal.

After the unit is installed, check whether the brake


lamps, blinkers, wipers, etc. on the car are working


properly.

Mount the unit so that the mounting angle is 30°


or less.

Do not press hard on the panel surface when


installing the unit to the vehicle. Otherwise scars,


damage, or failure may result.

&CAUTION Install this unit in the console of your vehicle.

Do not touch the metal part of this unit during and shortly after the use of the unit. Metal parts such as the heat sink and enclosure become hot.

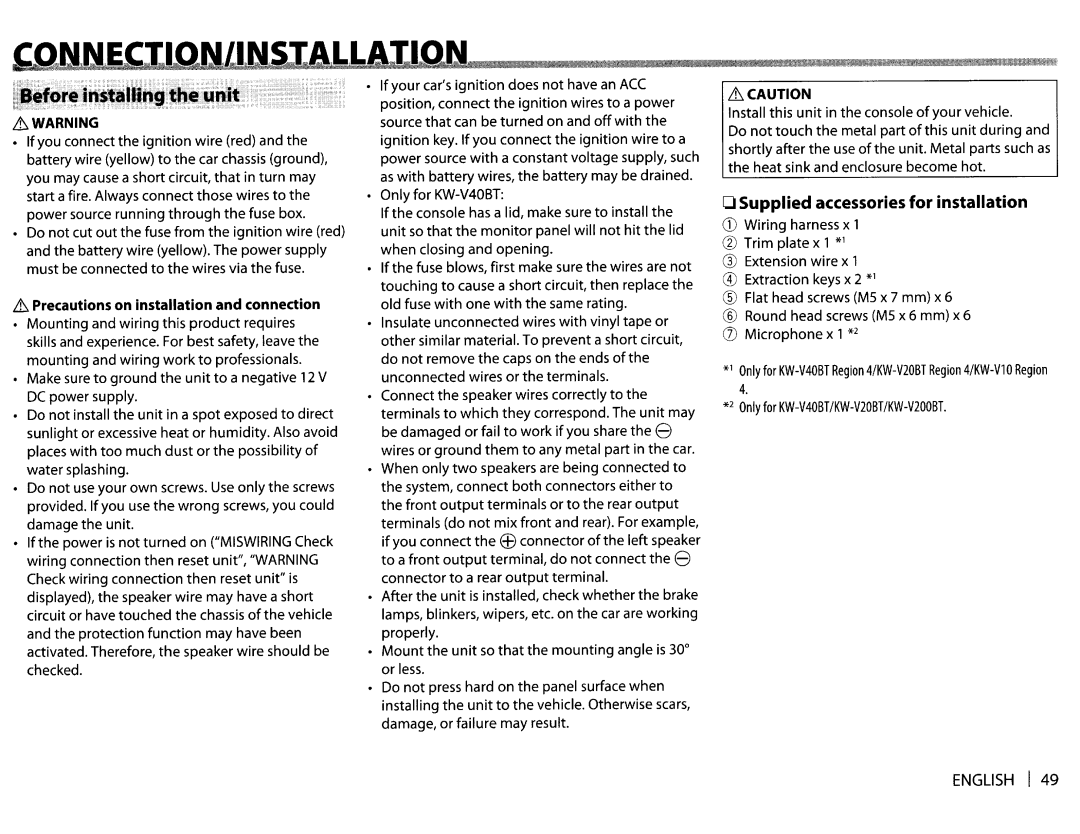
0 Supplied accessories for installation

CD

Wiring harness x

1


(%)

Trim plate x 1 *

1


®

Extension wire x

1


®

Extraction keys x 2 *

1


®

Flat head screws

(MS x 7 mm) x 6

®

Round head screws

(MS x 6 mm) x 6

(])


2


Microphone x 1 *


*

1

Only for KW-V40BT Region 4/KW-V20BTRegion 4/KW-V10Region

*


4.


2

Only for KW-V40BT/KW-V20BT/KW-V200BT.

ENGLISH

I

49

Page 49
Image 49
JVC KWV20BT instruction manual Supplied accessories for installation

KWV20BT specifications

The JVC KW-V20BT is a versatile multimedia receiver designed for modern vehicle audio systems, seamlessly integrating technology and entertainment for the driving experience. This double DIN receiver boasts a sleek design, a large 6.8-inch touchscreen display, and an intuitive interface that enhances navigation and usability.

One of the standout features of the KW-V20BT is its Bluetooth connectivity. With built-in Bluetooth technology, users can easily pair their smartphones for hands-free calling and audio streaming. The receiver supports A2DP, which allows for high-quality audio playback, making it easy to enjoy your favorite music or podcasts directly from your device.

The KW-V20BT is also compatible with both Apple CarPlay and Android Auto, providing users with access to essential apps and navigation tools directly from the receiver's interface. This feature allows drivers to safely utilize their smartphone’s capabilities while on the road, providing an enhanced experience without the need to handle the device.

Audio quality is a major focus of the KW-V20BT. It features a powerful built-in amplifier, ensuring clear and robust sound. Moreover, the receiver comes equipped with a 13-band equalizer, allowing users to adjust frequencies to suit their listening preferences. Additional audio enhancements include a selectable high-pass or low-pass crossover, and a powerful subwoofer output for those looking to bump up their bass response.

In terms of media support, the KW-V20BT is designed to accommodate various formats. Users can play music from USB drives, CD, or via Bluetooth. The receiver also features an HDMI input, which is perfect for connecting external devices for video playback, enhancing the in-car entertainment experience for passengers.

For those concerned about safety, the JVC KW-V20BT offers a range of rear camera options, providing added peace of mind when reversing. The unit is also compatible with steering wheel controls for added convenience.

With its robust set of features, modern connectivity options, and an emphasis on sound quality, the JVC KW-V20BT stands out as an excellent choice for drivers looking to upgrade their in-car audio system. Whether you’re commuting or embarking on a road trip, this receiver promises to deliver an engaging audio experience tailored to modern listening needs.